|
|
|
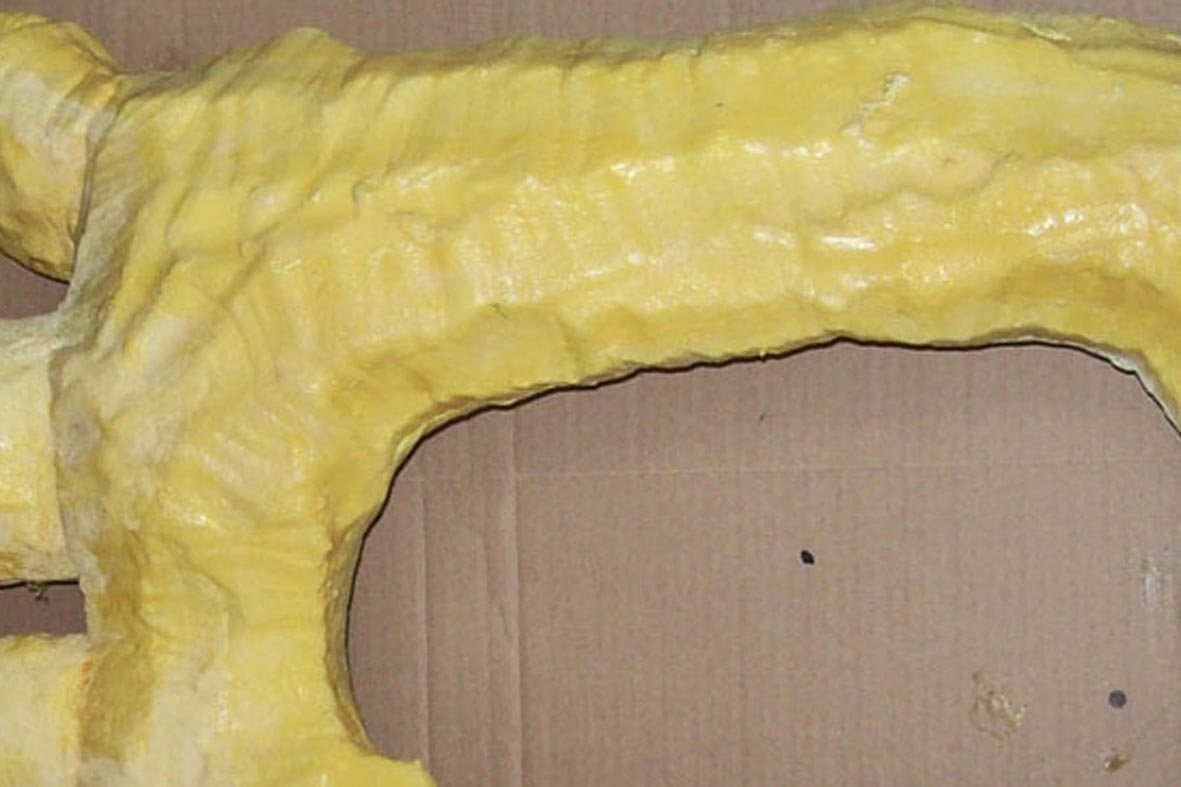
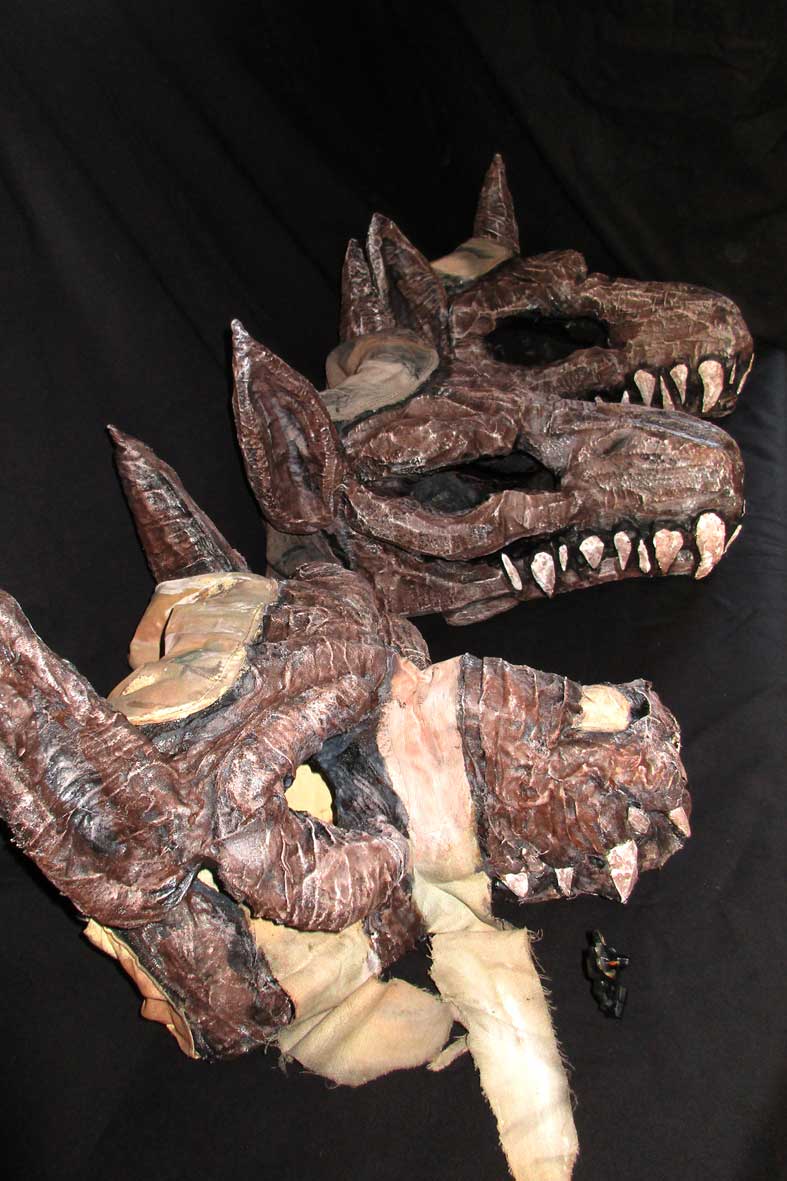
Soft open-pored matress foam is is an ideal medium for creating volume or carving soft objects; in this case a mask. It´s got a few drawbacks, though: the material will tear easily and the open-pored surface is difficult to paint. Covering it with a layer of very soft tissue fixed with glue (linothorax- composite) will produce a smooth, paintable, tearproof surface while all details are preserved. This page belongs to the subject area “linothorax”. The beginning would be here: composite armour |
|||||
 |
|||||
|
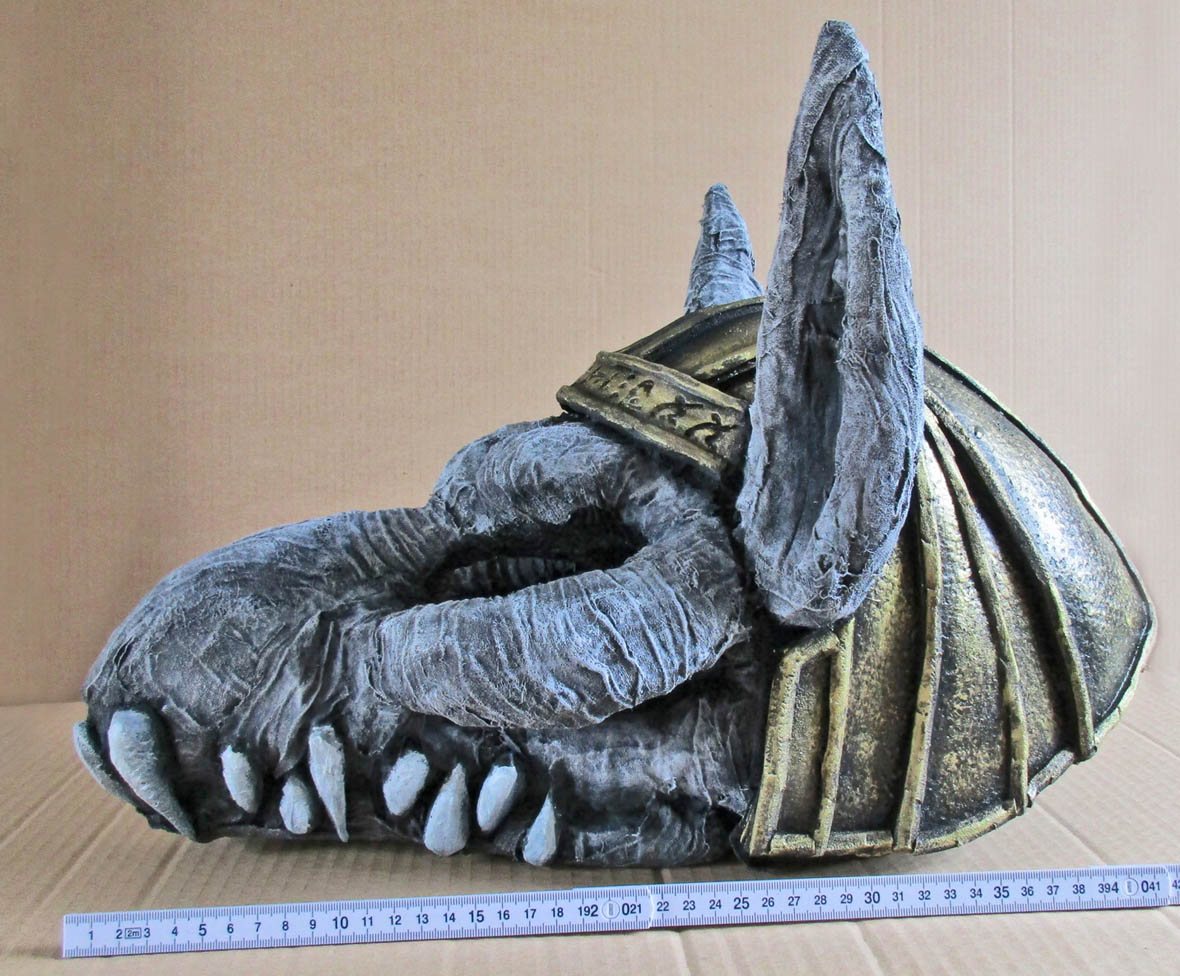
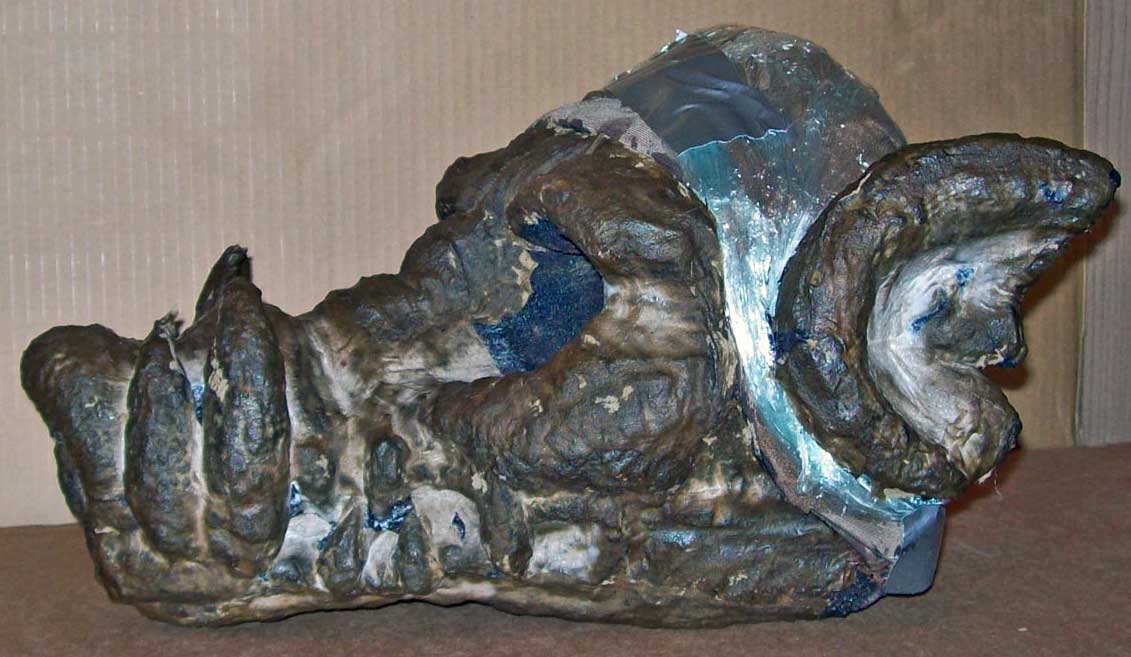
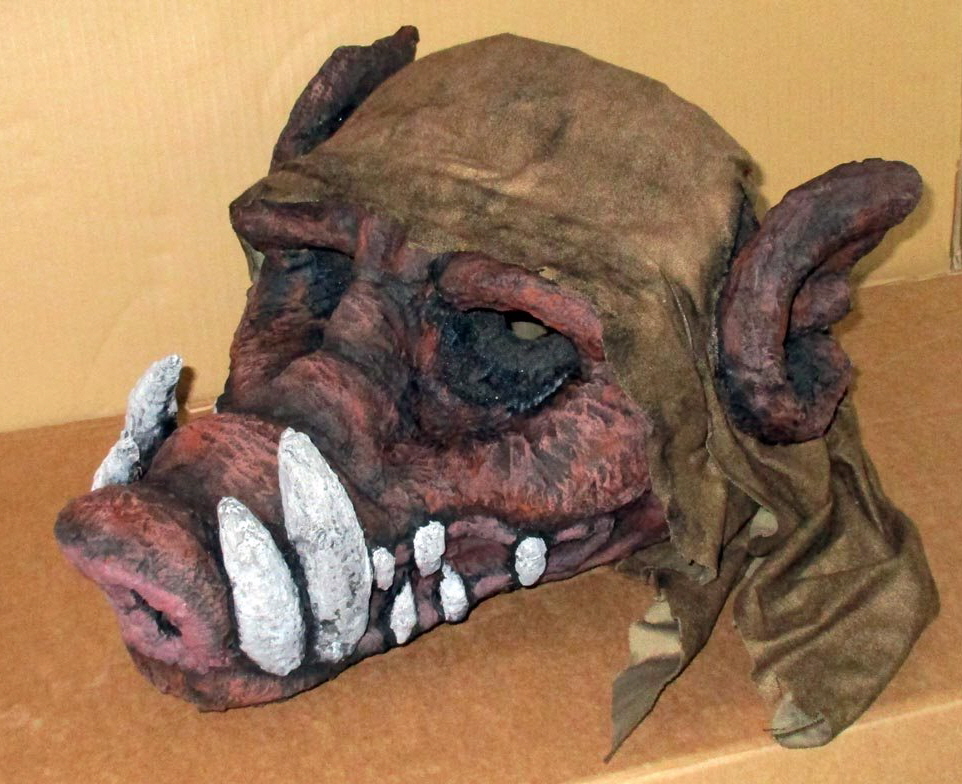
Sealing of open-pored foam surfaces by using cloth-glue- composite (linothorax), Aug 2015 Besides stand-alone- constructions glued cloth can be used to seal and strengthen foam surfaces. Below: a mask made of soft foam in 2005 (see here how it was built: wild hog). 10 years ago I built it for a “one-shot-monster” and painted the surface with acryl without sealing it. The pictures below show the mask before and after makeover in 2015. |
 |
|||
 |
|||
|
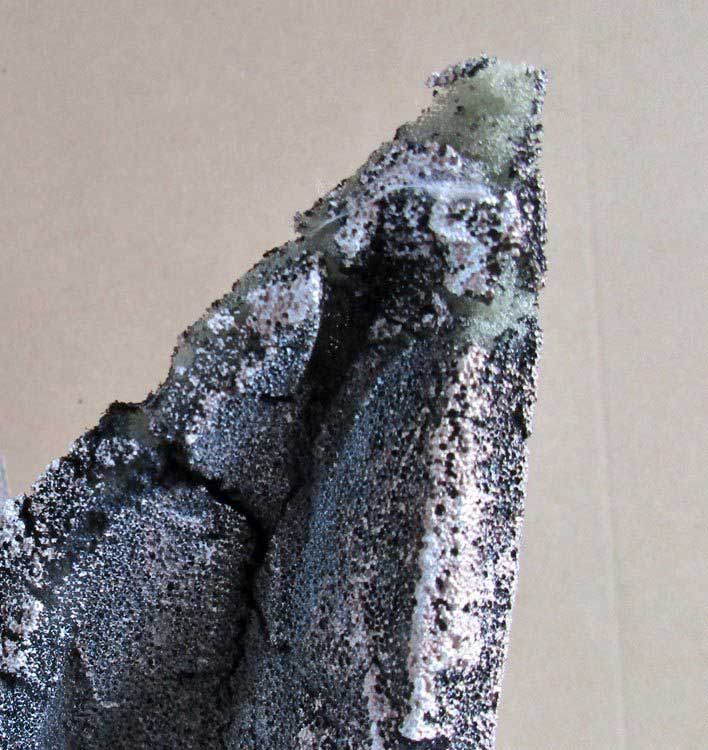
Soft foam (i.e. “mattress- foam”) is a good choice to quickly generate volume or carve big objects. I use it among other things for big face-masks, because they are light and if dislocated forcefully (which can easily happen in larp) don´t hurt the puppeteer. Disadvantages are the foam´s poor tear- resistance and the sponge- like open pores that stow moisture and complicate painting. These have to be sealed- preferably with a “skin” that is easy to paint and increases stability. Another possibility is to coat the surface with Pattex and then press on the pores to close them, thus creating a watertight, coherent top: |
|
|
||||||||||||||||||||||||||||
|
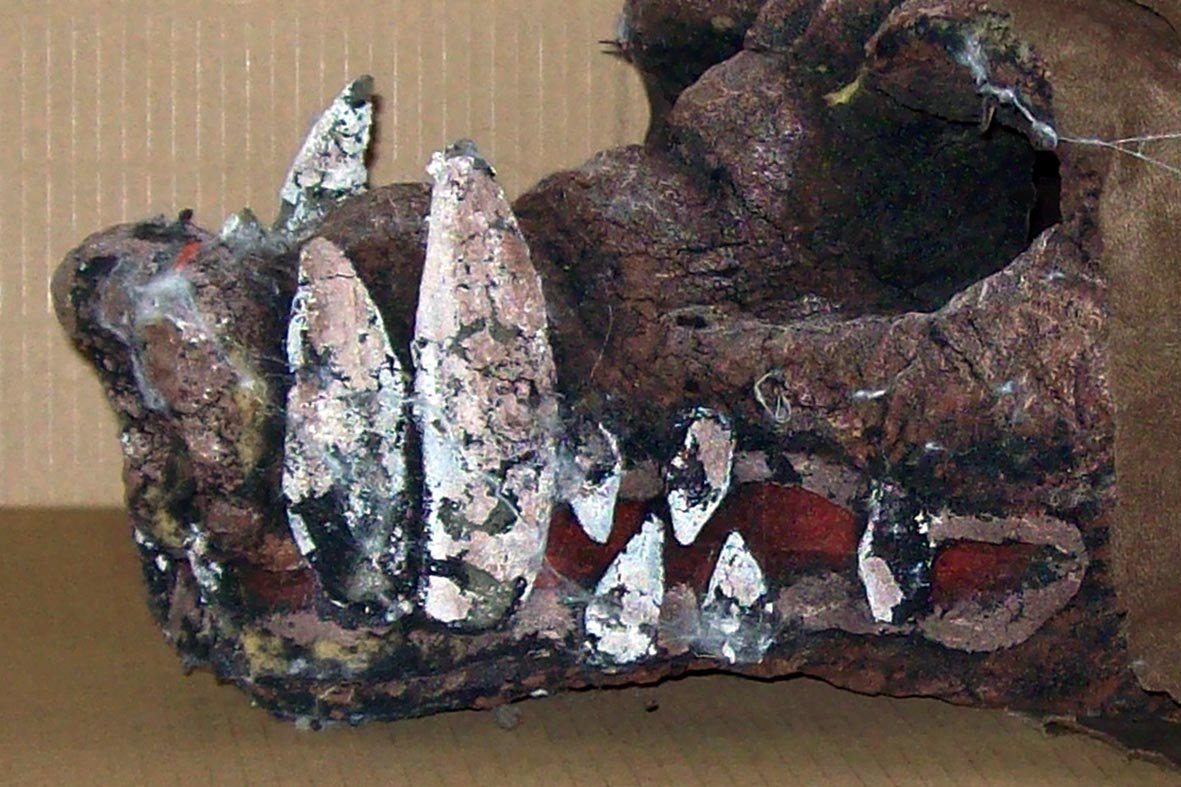
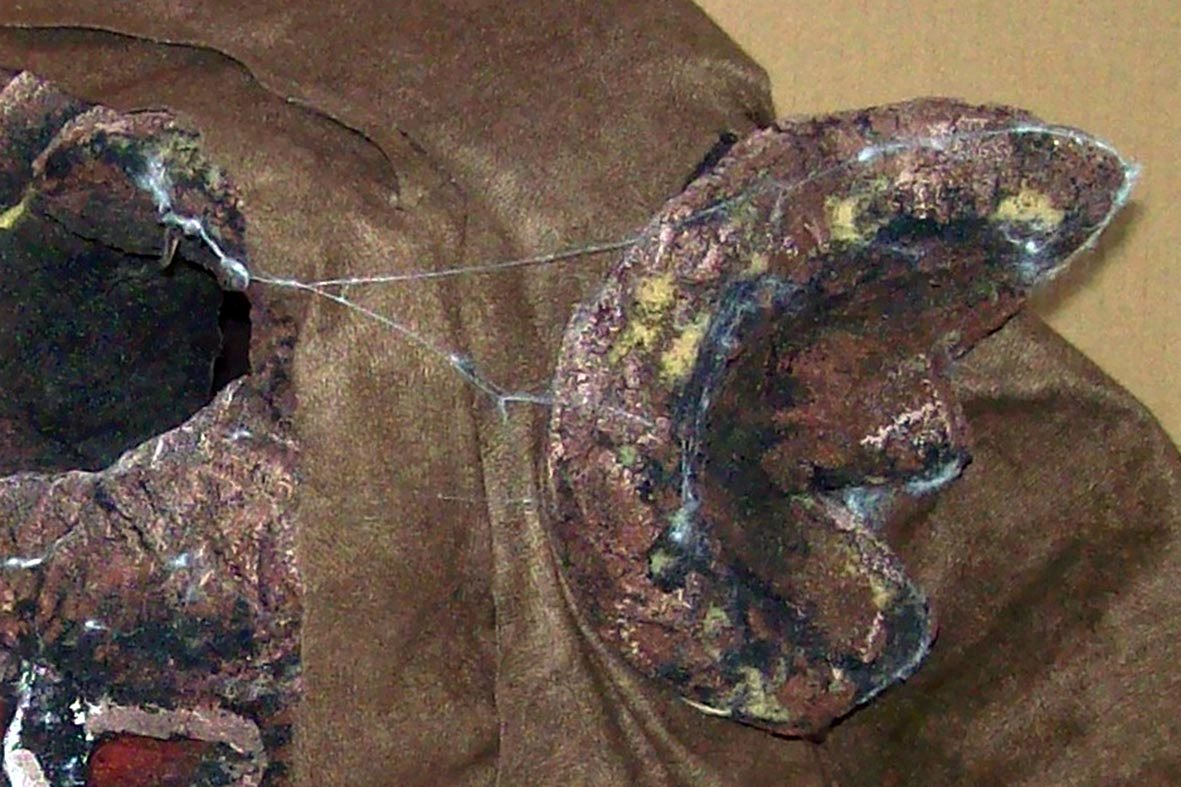
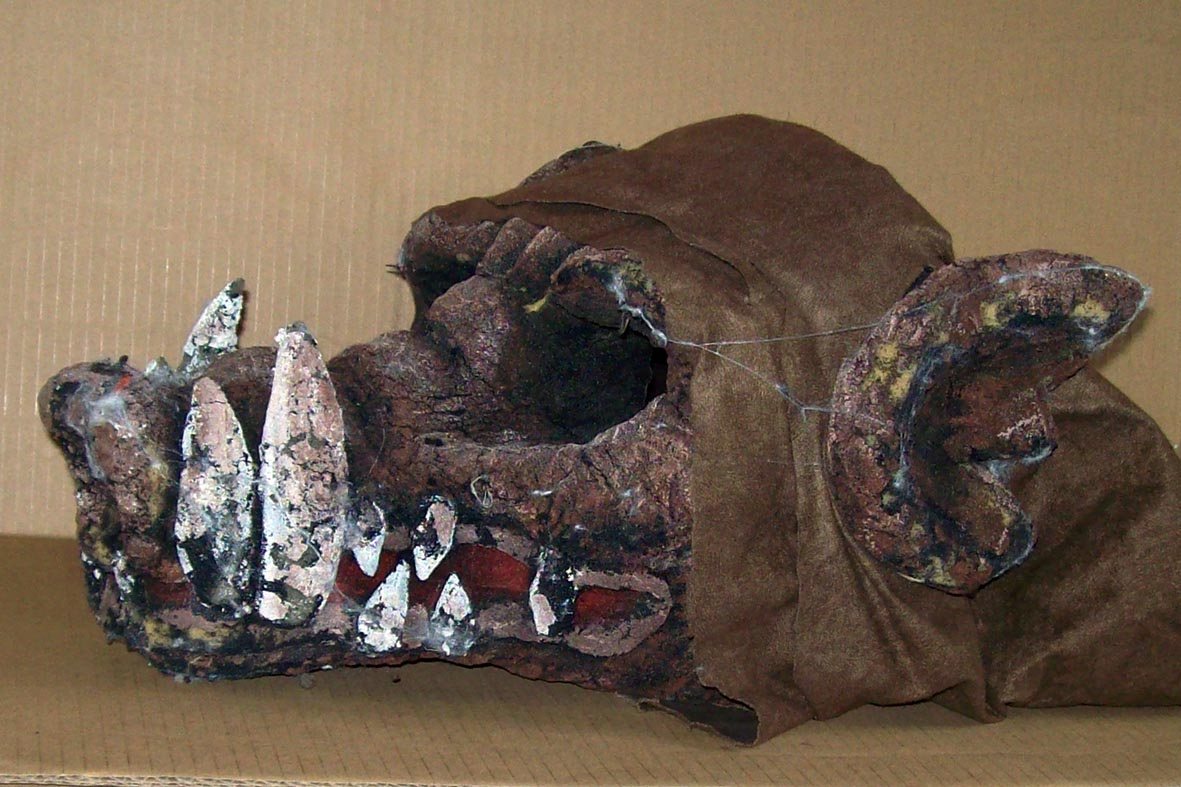
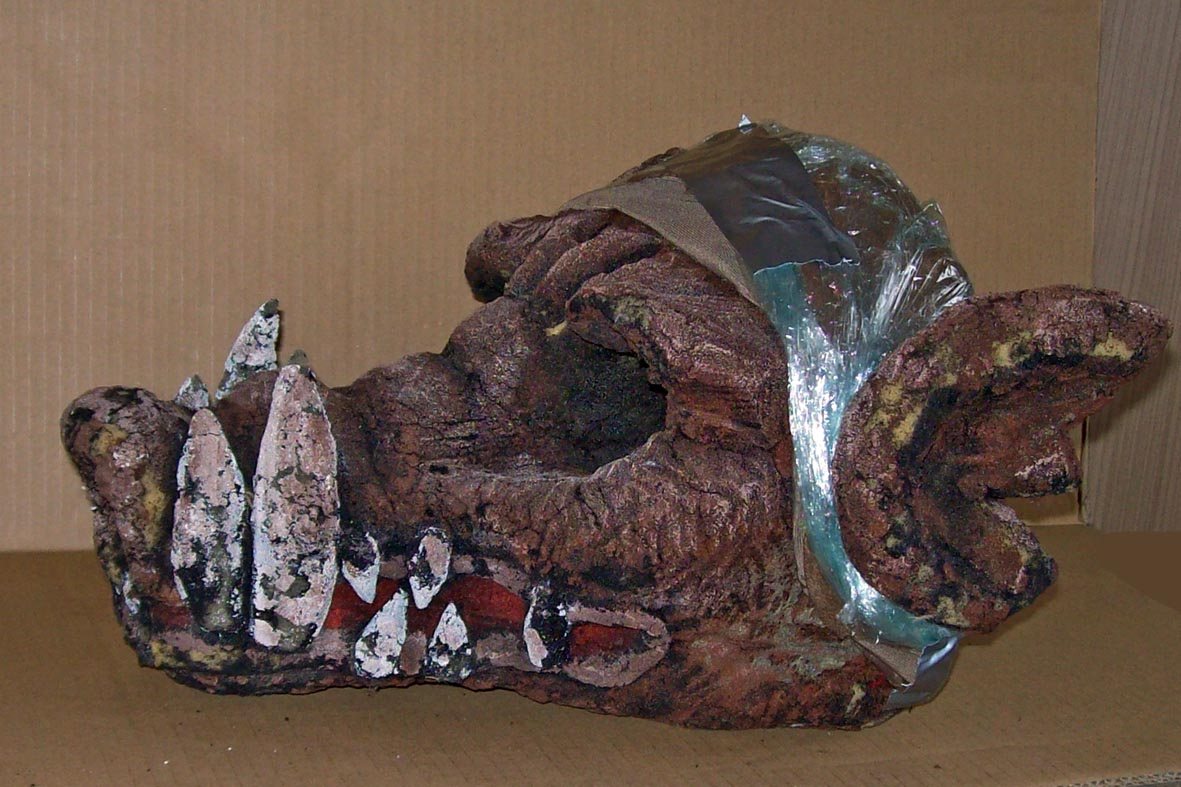
Above: the foam-mask´s surface that was painted without sealing it first 10 years ago (acrylics, black ground) is jagged and torn in many places. The thick layer of paint (during a makeover 5 years ago the mask was repainted) is calloused and fractured all over or misses in parts. The white filaments hanging about are artificial cobwebs from the creature´s last dungeon mission. Here the “normal” method (coat it with Pattex, then repaint it) won´t work. A new surface is necessary (and would have to be built initially). Rise curtain, entrance linothorax. |
 |
|||
 |
|||
|
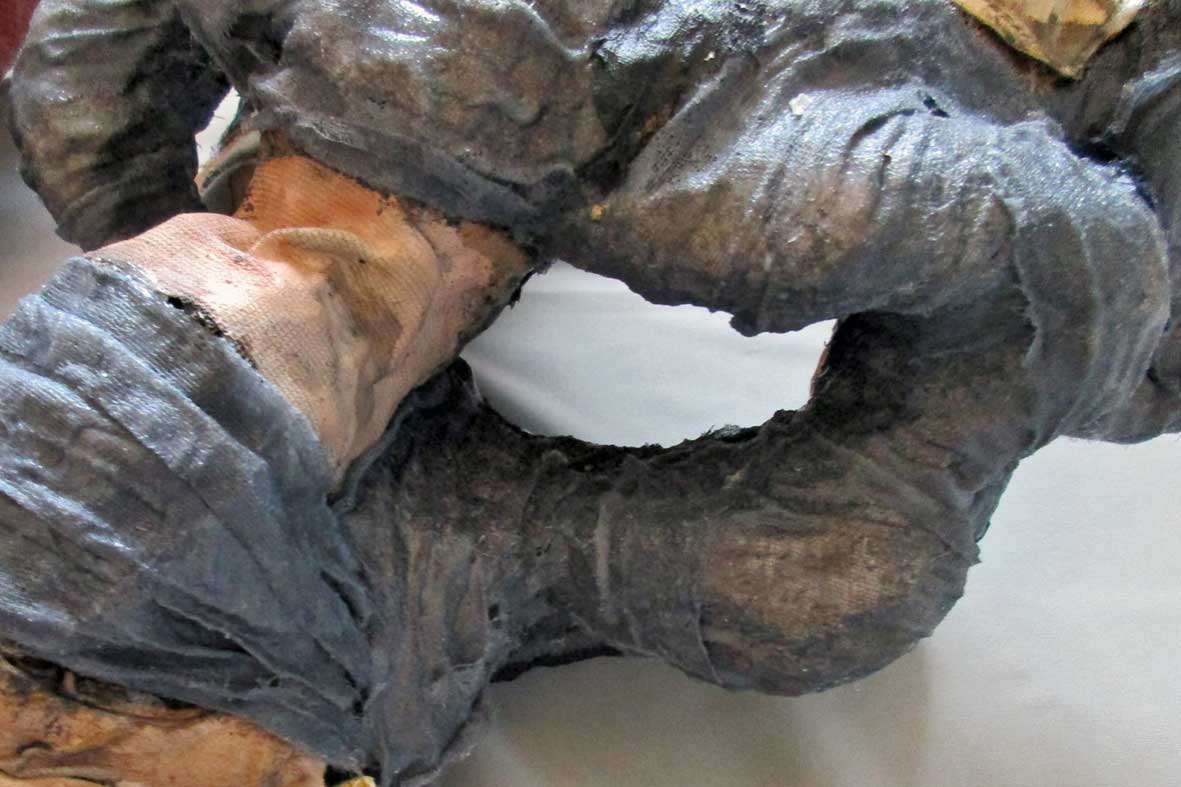
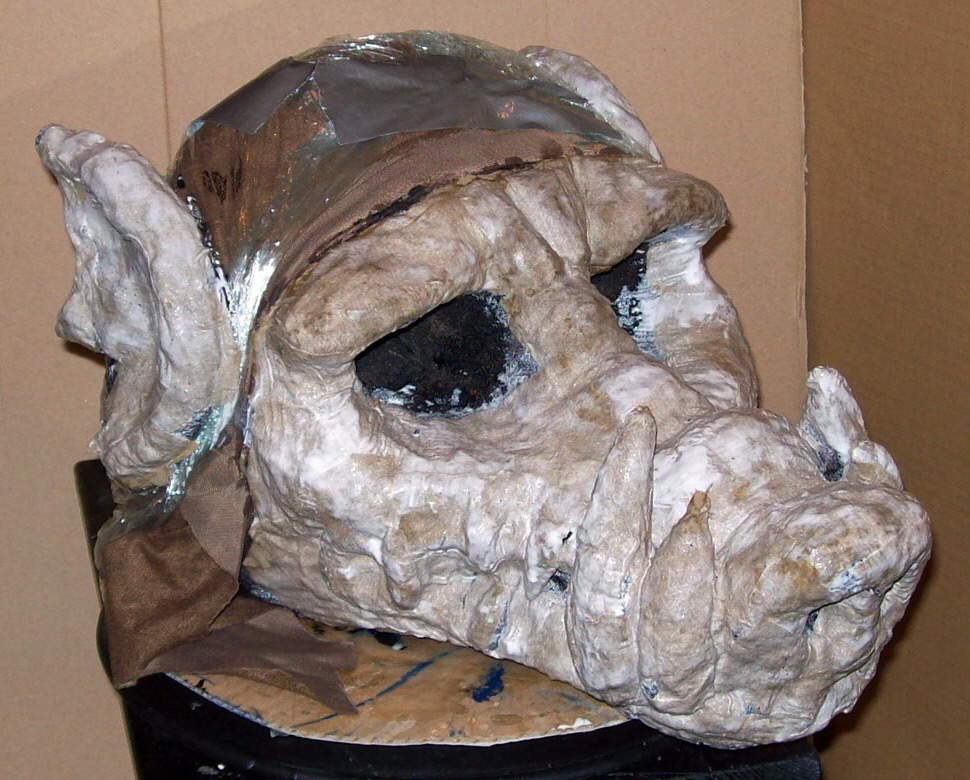
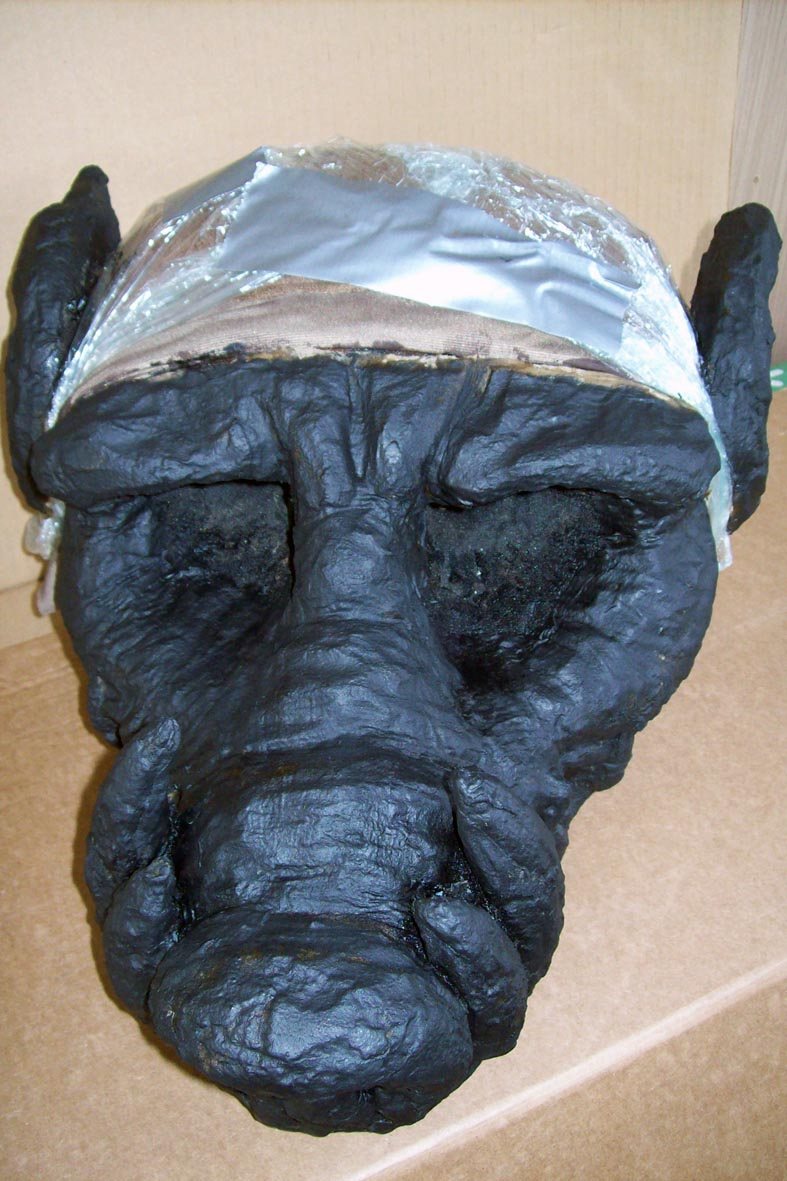
Above left: the mask is cleaned, loose parts are reattached, deep cuts are closed (using Pattex) and the cloth parts are covered with clingfilm. Above right: glue // cloth // glue. The glue used is D3: transparent drying, water resistant. The thinnest fabric I could find was one on theese almost gauze- like scarves sold either in square shape or as a tube. The cottton- fabric of the hippies of old has become expensive and is mostly been replaced by synthetic material, but no problem: in this case the fibres are not soaked but enclosed by the glue. One layer of cloth will do- we aren´t building armour here. I chose a brown, unpatterned scarf (which was understandably sold reduced, for who except larpers would wear something like this?) and applied single, in parts tailormade, pieces cut from strips about 3 fingers wide. Takes one evening. Let it dry overnight. |
 |
|||
 |
|||
|
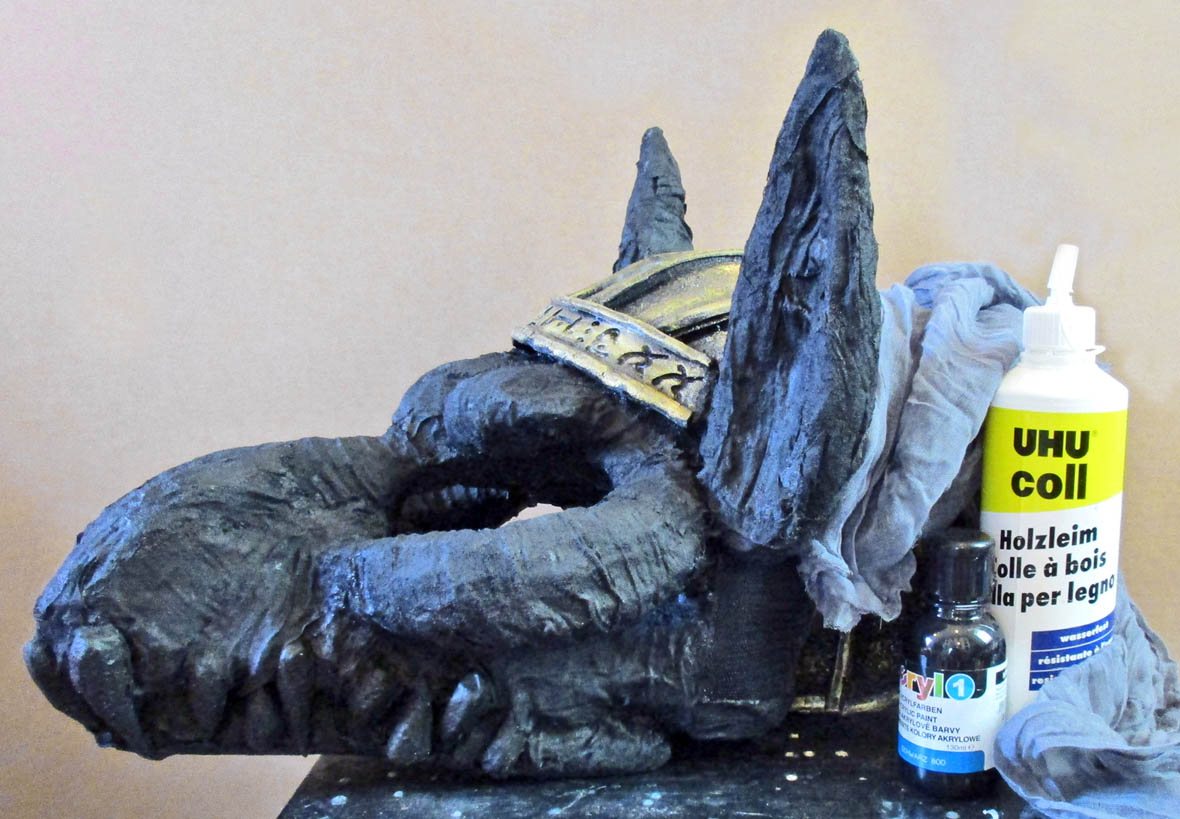
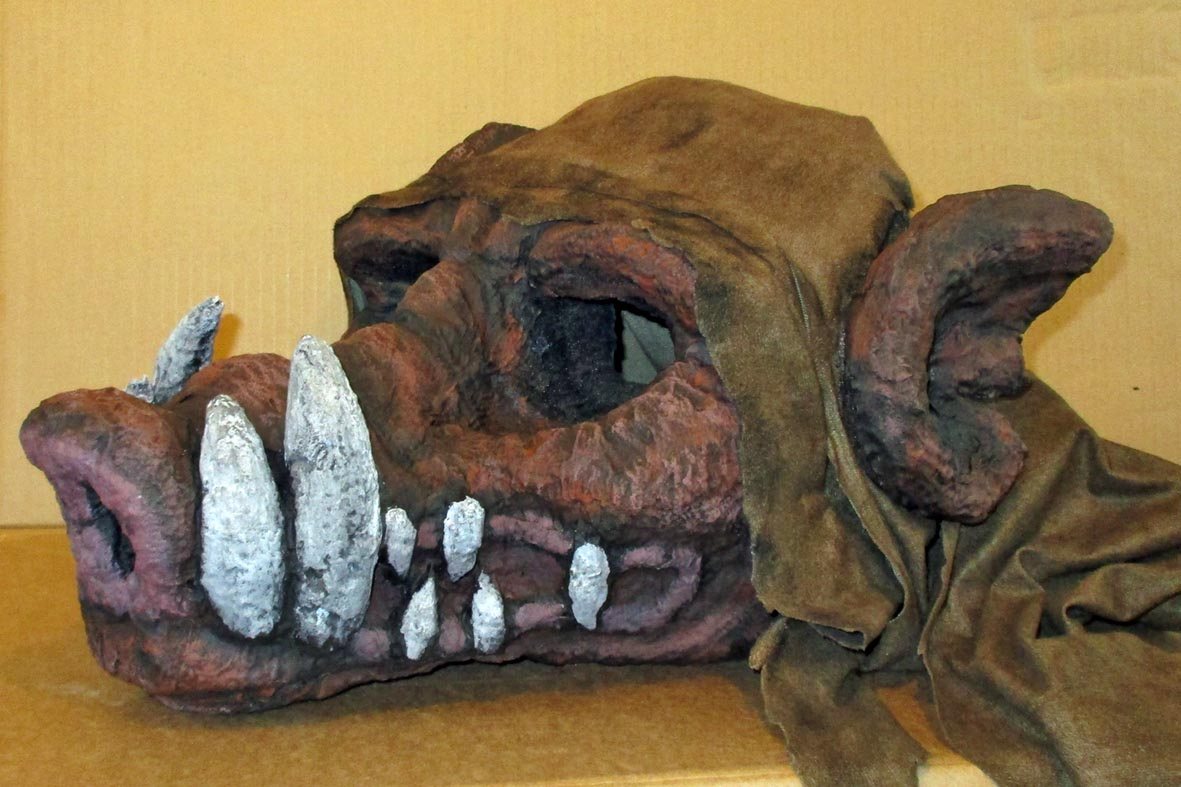
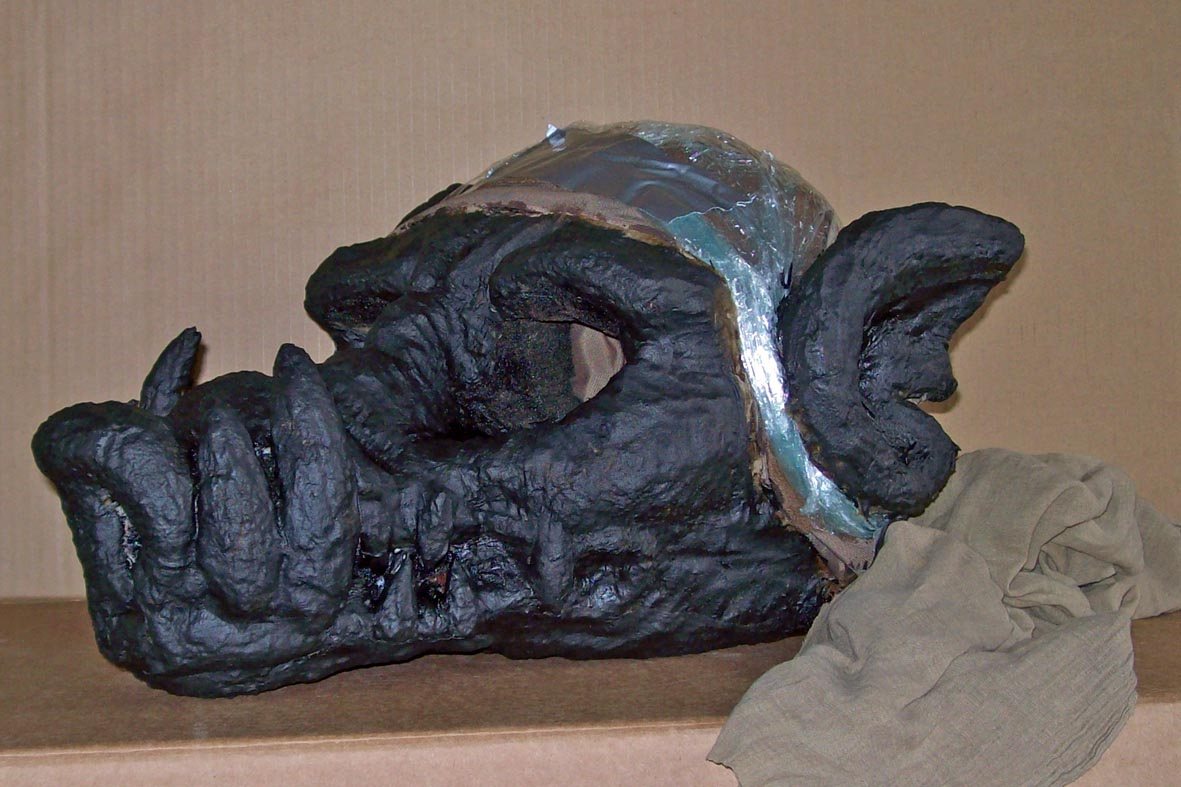
Above left: After drying the fabric´s brown colour reappeares as usable ground. The new surface is very thin but stable, flexible and smooth. Even delicate carving tracks stay visible (which I had hoped would vanish). Overlaps or fabric structures are not apparent. Above right: black ground (acrylics). See on the right beside the mask the clöth of the former scarf I used. |
 |
|||
 |
|||
|
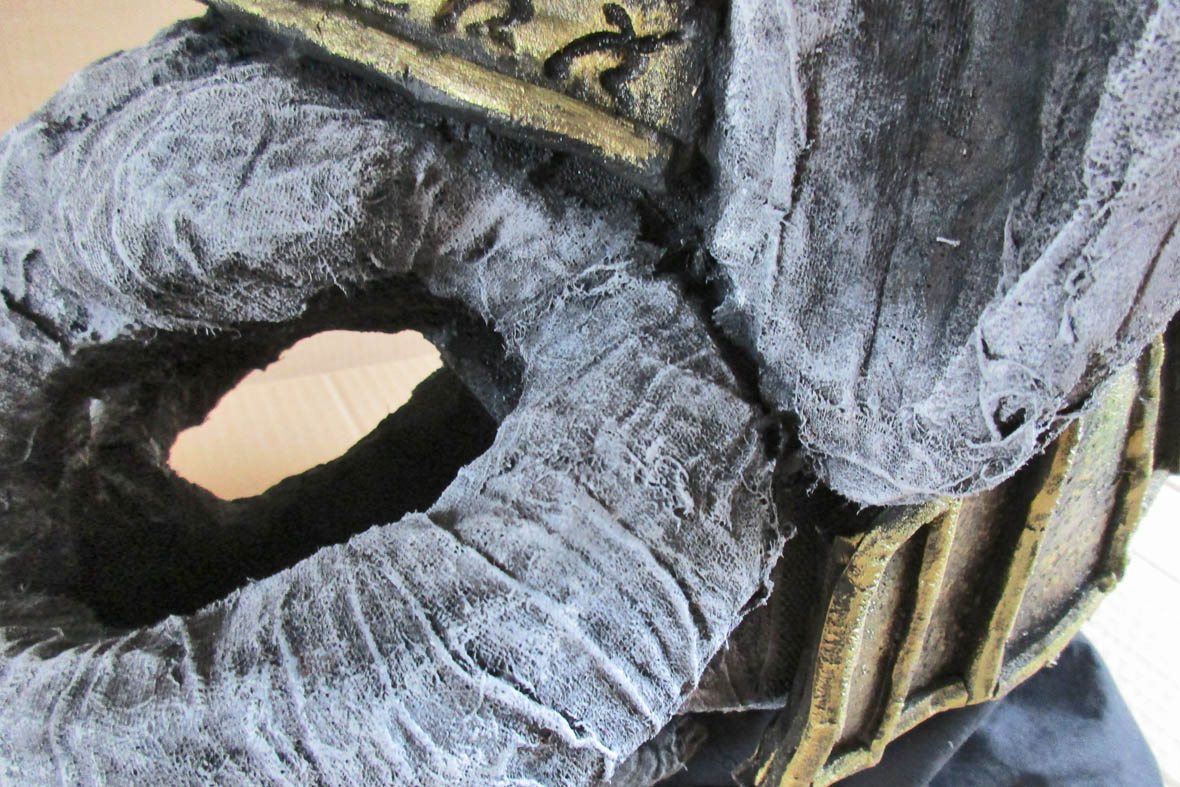
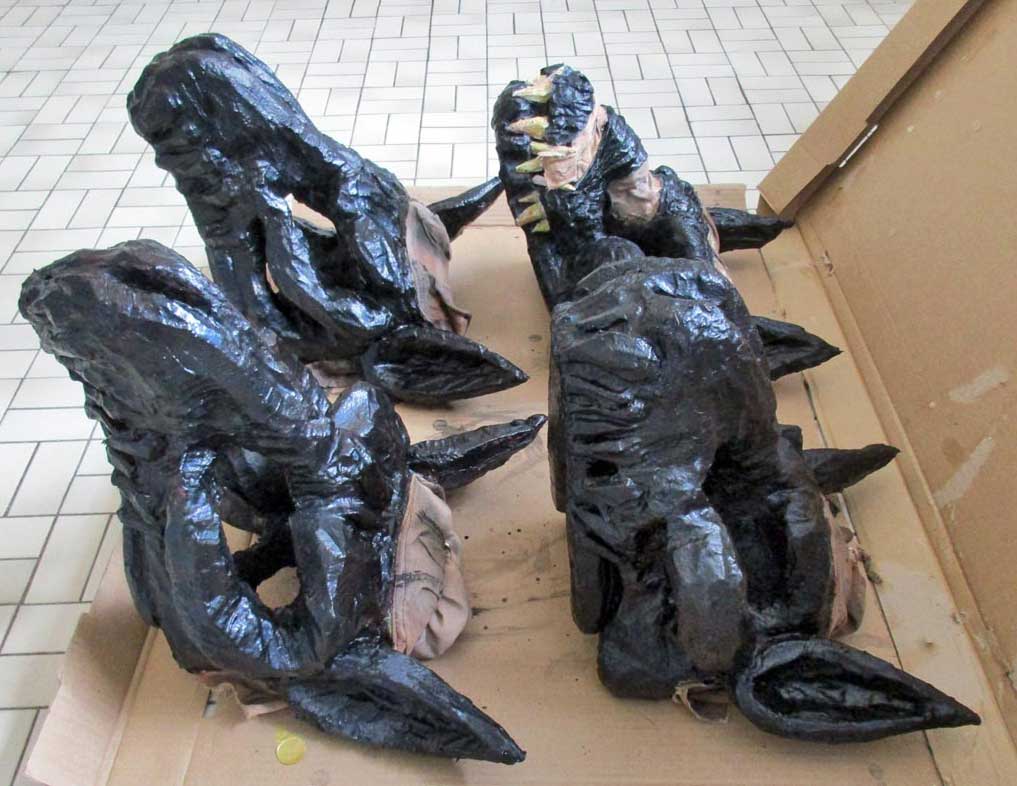
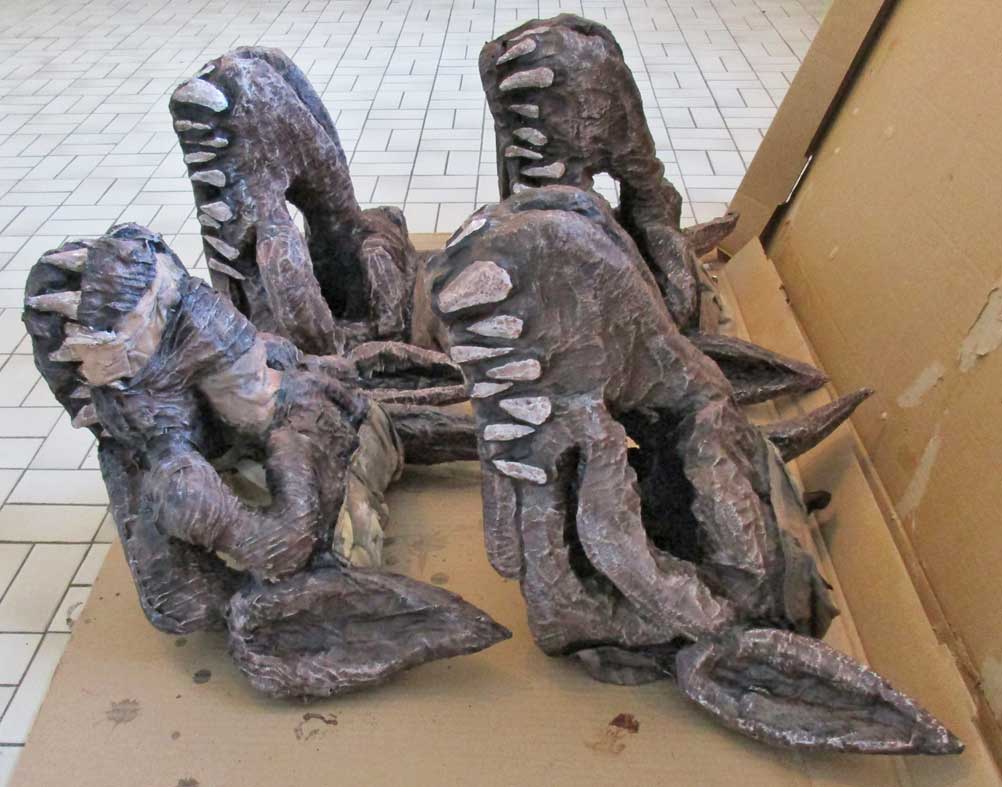
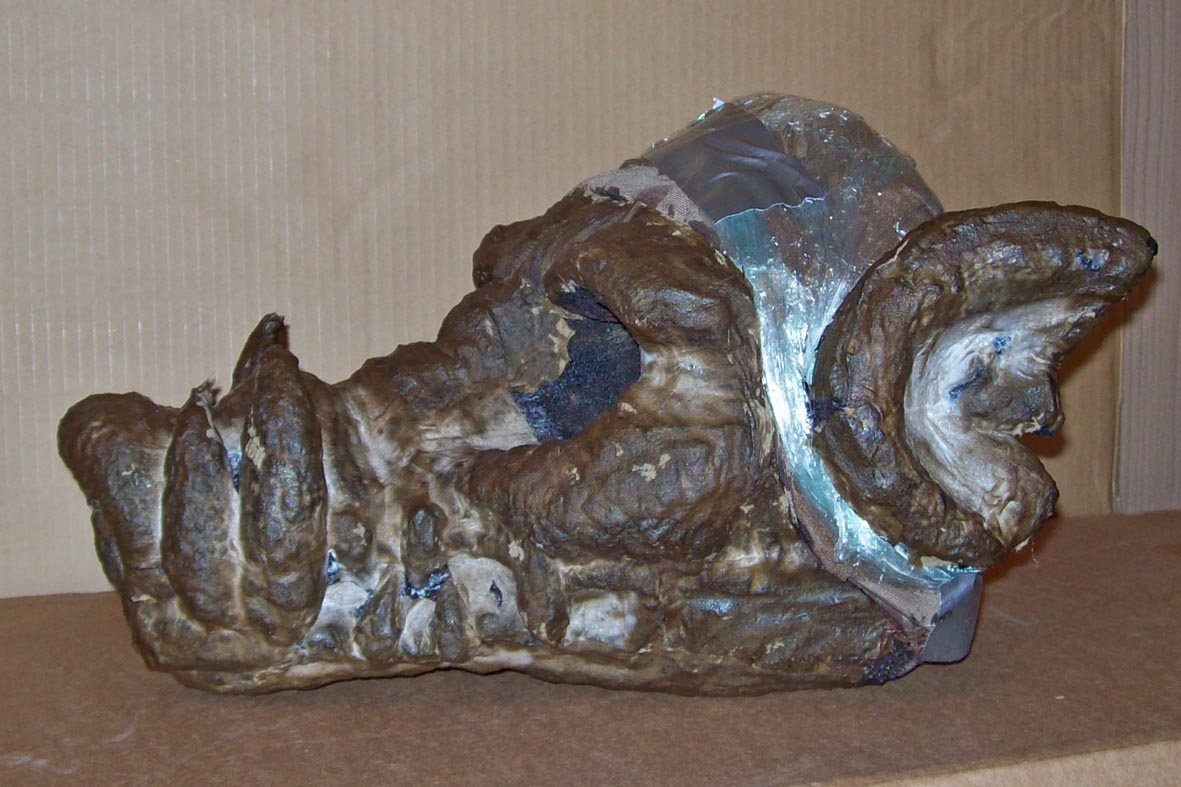
Above left: the new surface. If you zoom (rightclick “view graphic”) you can see the amount of detail that was preserved. The inner eyeholes are untreated and remain “foam”. Above right: Makeover is finished. Anew the horrible monster is ready to wreak havoc in the dungeons under the city- or at least tear off the cobweb- decoration. ;) So much for this time. Please ignore the mask´s sculpt- quality; as so often on this website a building principle is discussed which was tried out on an older workpiece, in this case the sealing of carved soft foam with cloth/ glue- composite as a way to render a “difficult” surface into a smooth, durable and paintable one. I am very content with the result and keep asking myself how the old jackal masks of the pharao´s minions might fare ... 2016 was the time for a variation of the technique: |
|
|
||||||||||||||||||||||||||||||||||||||||||||||||||||||
|
|
 |
|||
 |
|||
|
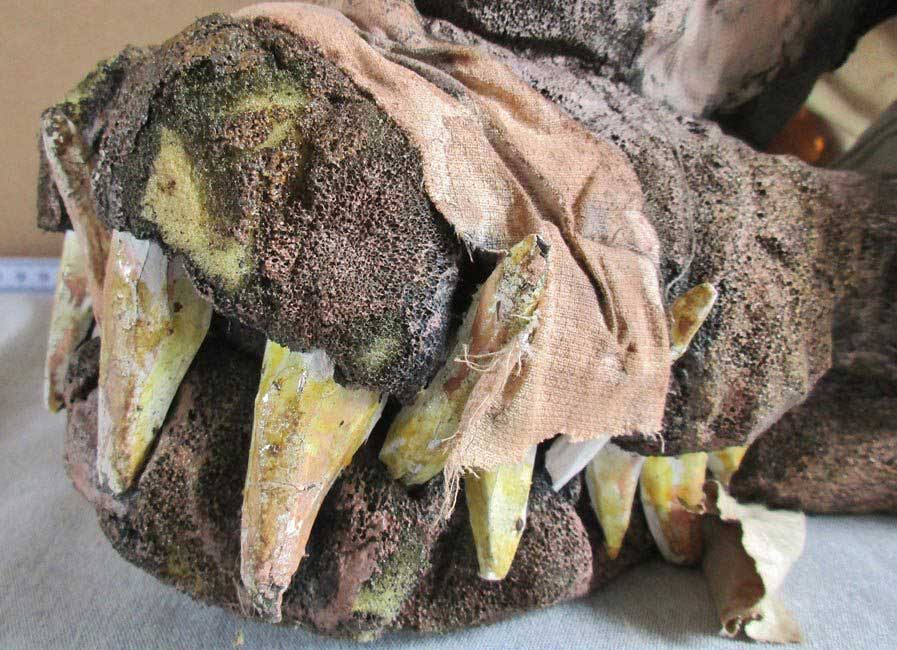
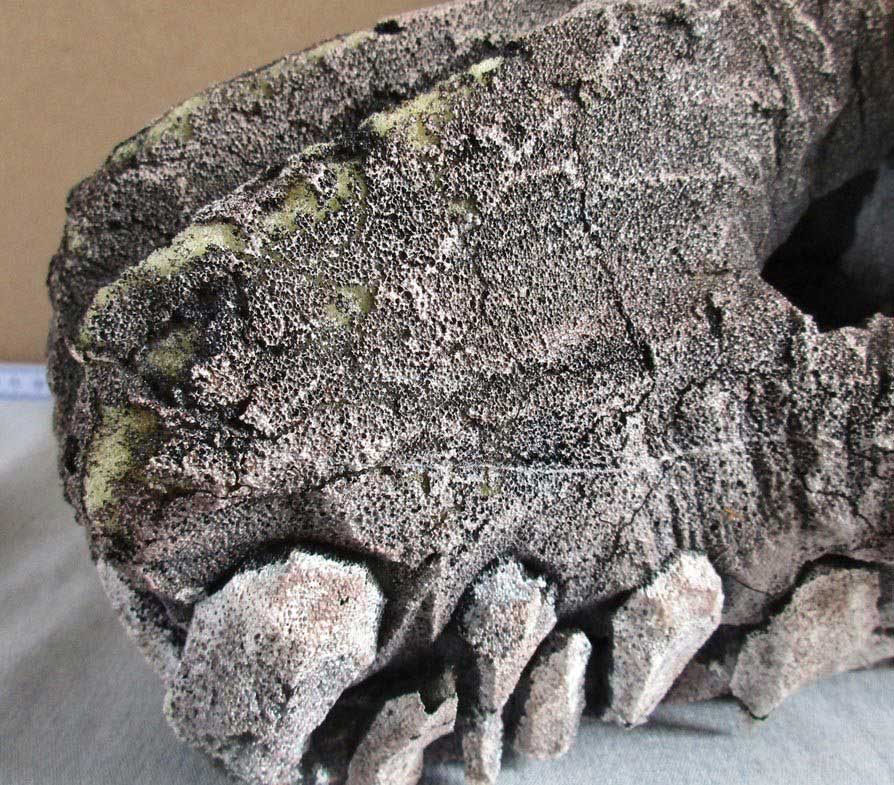
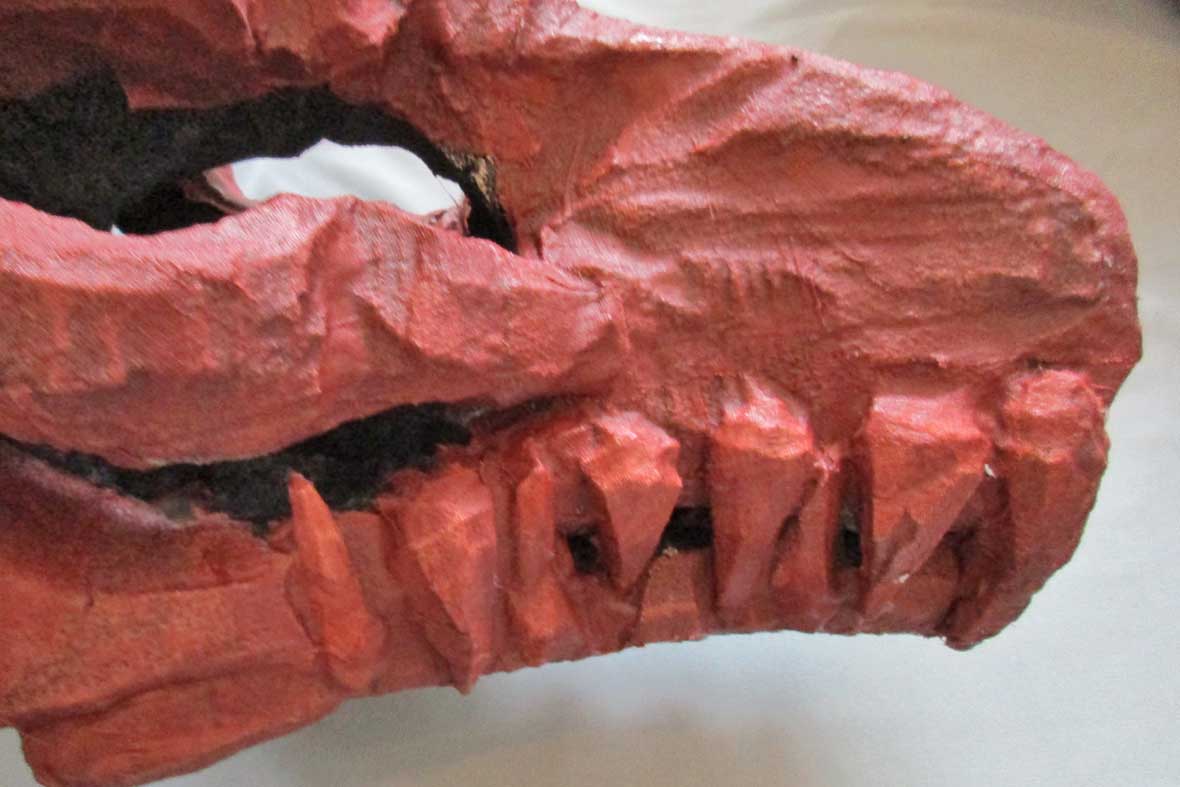
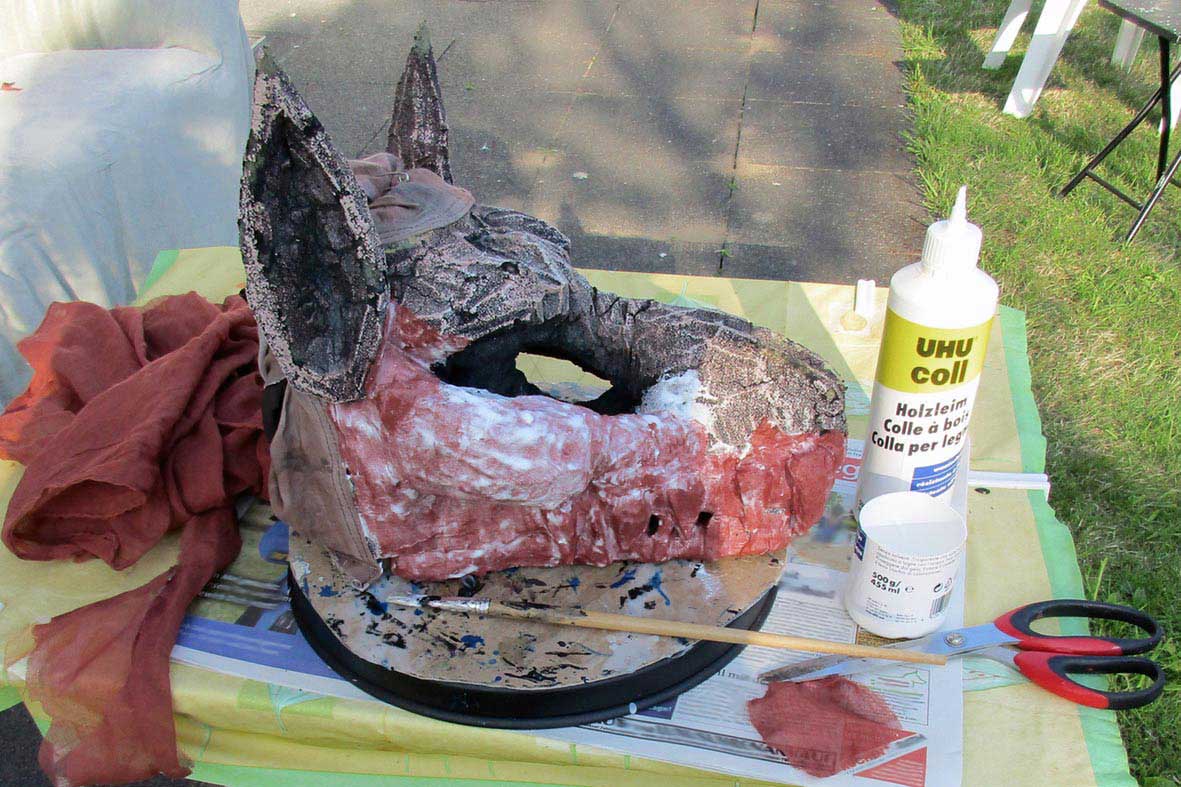
Above: First a layer of glue is applied (dabbing it on proved most suitable on the brittle surface), then a piece of cloth is put in place and snuggled into the rececces with a brush and more glue (above left). The delicate fabric adjusts perfectly even to difficult areas like freestanding teeth. All details stay intact (like it or not) and overlaps are not or barely visible so it is possible to work almost without waste (above right). The cloth I used here is of redbrown colour, so when painting it black (I almost always ground black) thgoroughness is essential. For “mass production” I decided against mixing glue and paint because the mixture becomes more viscid which makes it harder to apply, taking more time. The bristle brush has to be small enough to reach into every recess af the workpiece. Clean your brushes with water after use. |
|
|
||||||||||||||||||||||||||||
|
|
|
Jan 2016, last edit Jul 2016, oct 2016, jun 17 |
| [Home] [Deutsch] [English] [about me] [what´s new] [Contents] [about monsters] [faqs] [other sites] |
