|
|
|
Scabbards made of cloth/ glue- composite (linothorax); Epic Empires 2015, 2018 This page belongs to the subject area “linothorax”. The beginning would be here: composite armour |
|||||
 |
|||||
|
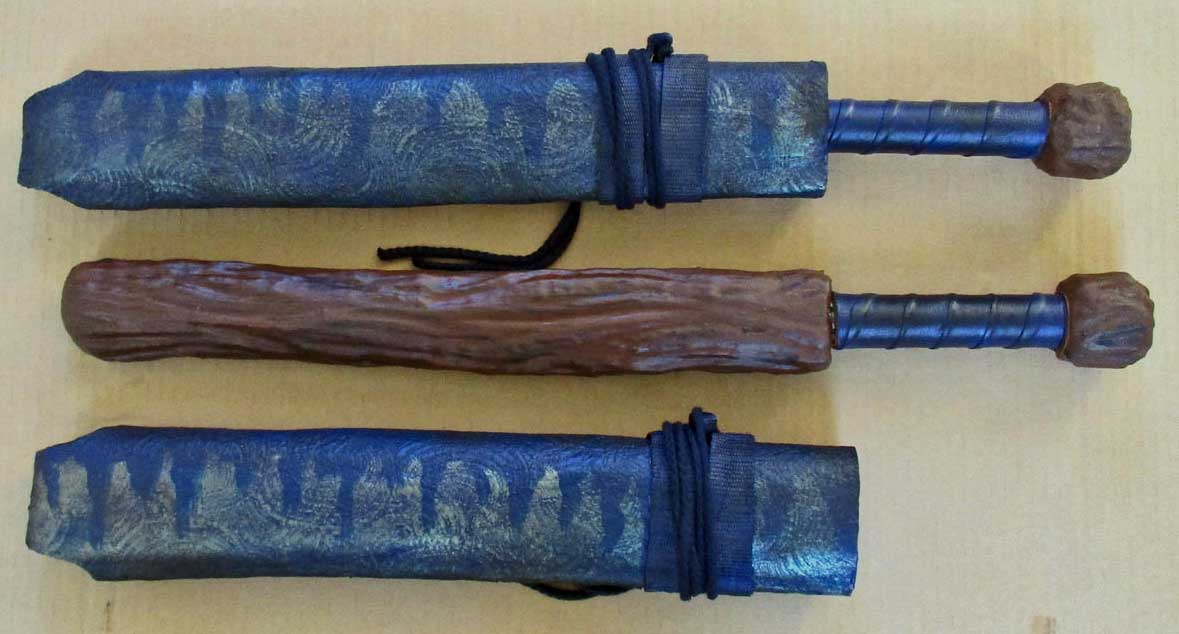
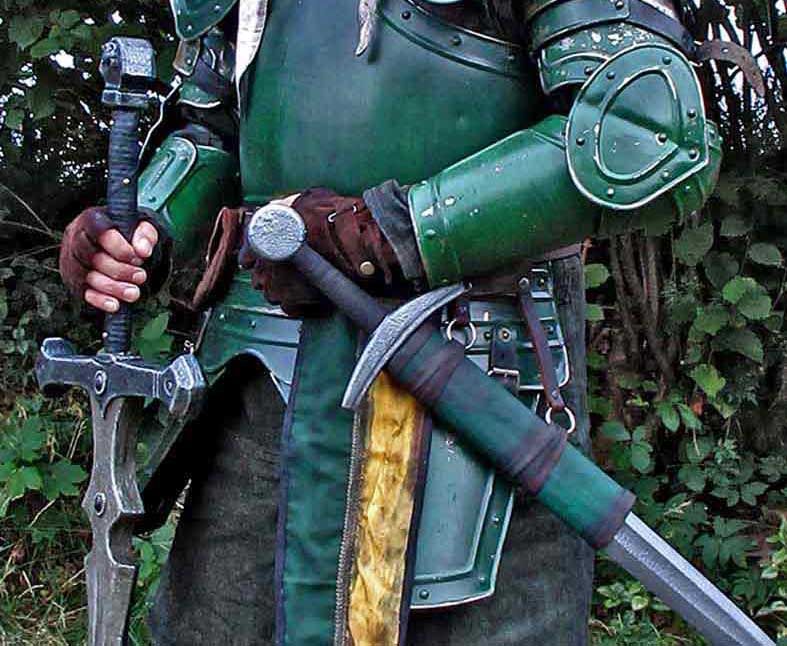
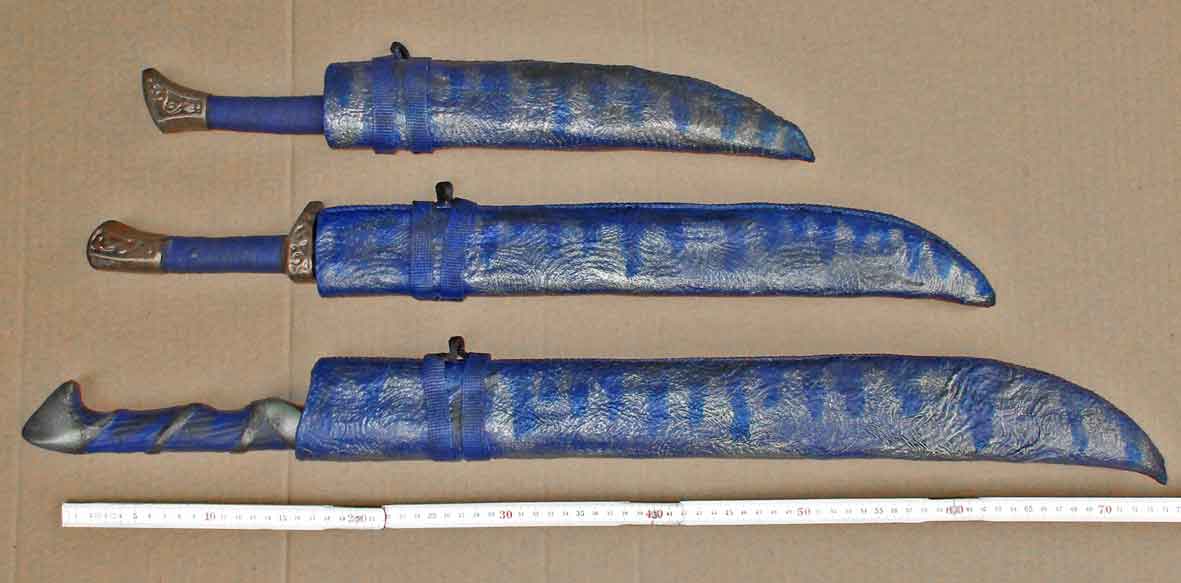
Swordsheath- building (below: so-called “half- scabbards”) is the most common use for lino; cloth- glue- composite is a cheap but worthwile alternative to leather or sewed cloth. |
 |
|||
 |
|||
|
Above: an off- the- rack- shortsword was recoloured with acrylics and thus changed into an individual piece of equipment. Short parenthesis: one can recolour (i.e. repaint) foam- weapons? Well, some of them. At least this here and its successor. It was not carved by hand and latexed but “foamed” into a form and then sealed with topcoat. All traces of french chalk or silicone spray must be removed from the surface before painting. The blade received a blue wash (= was painted with thinned acrylics that let the original metallic surface show through). The grip´s suede wrapping was first moistened with water, then painted with unthinned colour. Whereby I explicitly herewith allude to the danger of ruining an expensive foam sword by this treatment! “Modifying” foam- weapons can backfire and surely is no warranty case! And one more; credit where credit is due: I borrowed the idea to repaint swords from Mimin who described it in one of his blogs: https://miminsworkshop.blogspot.com/. “Zank ju” to Austria! And of course the treatise on scabbard- building in the Larp- Wiki shall be mentioned: |
 |
|
Above: the base material is a one- handed shortsword. The scabbard is built directly onto the weapon and stays there while drying. So the first step is to prevent glue getting onto the sword. |
 |
|
Above: clingflm in sufficient quantities separates the sword from the building process. |
 |
|
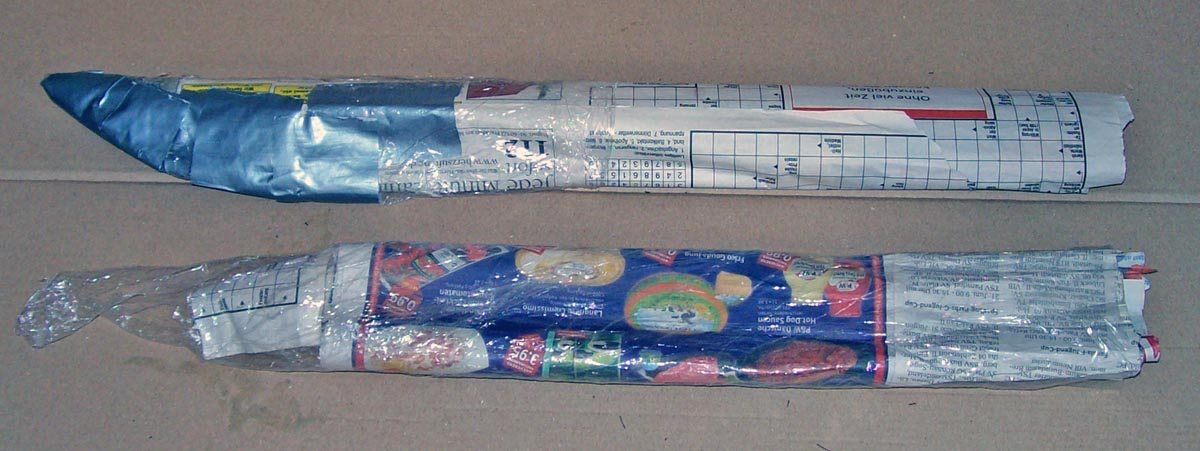
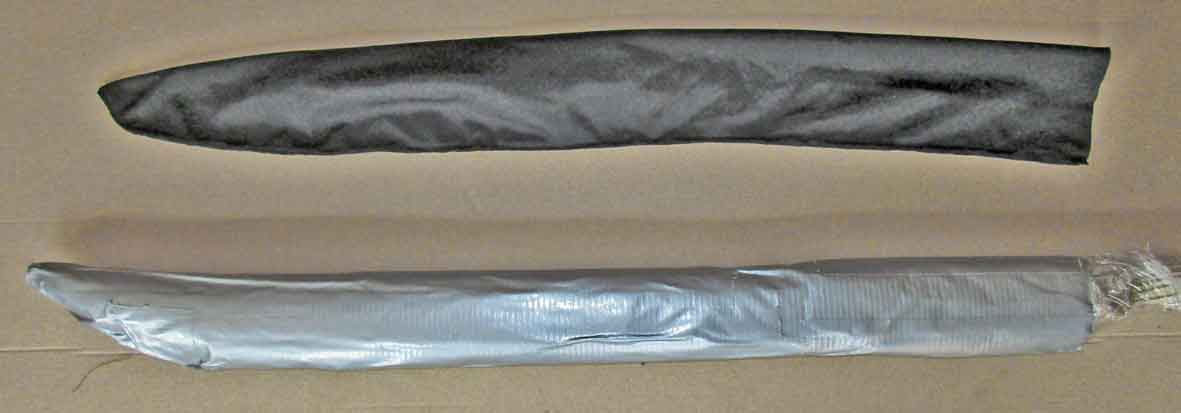
Above: the necessary volume is created by wrapping the sword into a few layers of newspaper. When a test shows that the sword can be drawn the shell is fixated. |
 |
|
Above: tape in uninterrupted strips is stuck lenghtwise onto the paper. This produces a robust surface the glue will not affix to (at least not very well which is why the tape has to be applied as described ...) My first try by the way ended in desaster: I had “protected” the newspaper surface only with clingfilm. During the building process some glue got onto the film and when pulling the sword out of the dried scabbard... |
|
|
|
And that´s why the substructure that gets glued should be resilient enough to sustain a strong pull without tearing. Tape is qualified for the job. |
 |
|||||
|
Above: the scabbard´s inner side will make intensive contact with the sword´s soft foam surface and should therefore be more on the soft side too. A suitable cloth would have a “fluffy” surface and wouldn´t well soak up glue because the adhesive shall stay on the outside (= the cloth´s underside). The cloth is fastened with needles and then sewn (take it off the scabbard for sewing). The sheath is built higher on the hilt of the sword than necessary because later it will be cut to the correct length to achieve a clean border. |
|||||
 |
|||||
 |
|||||
|
Above: last fitting. The cloth sleeve is trimmed close to the seam and gets fringed. The seam stays on the outside of the sheath and is glued over. |
|||||
 |
|||||
|
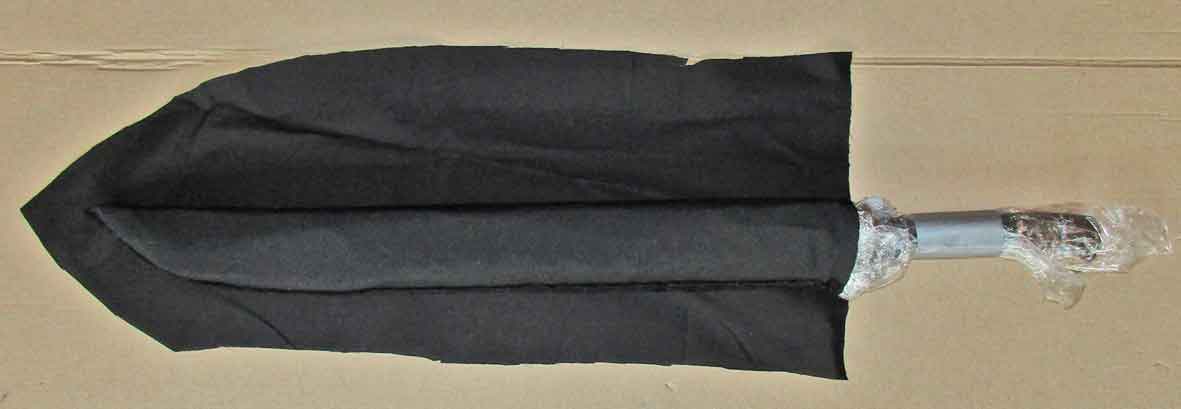
Above: the cloth sleeve is positioned on the substructure and then glued over with pieces of cloth shaped like the one shown. |
 |
||||||||||||||||||||||||||
|
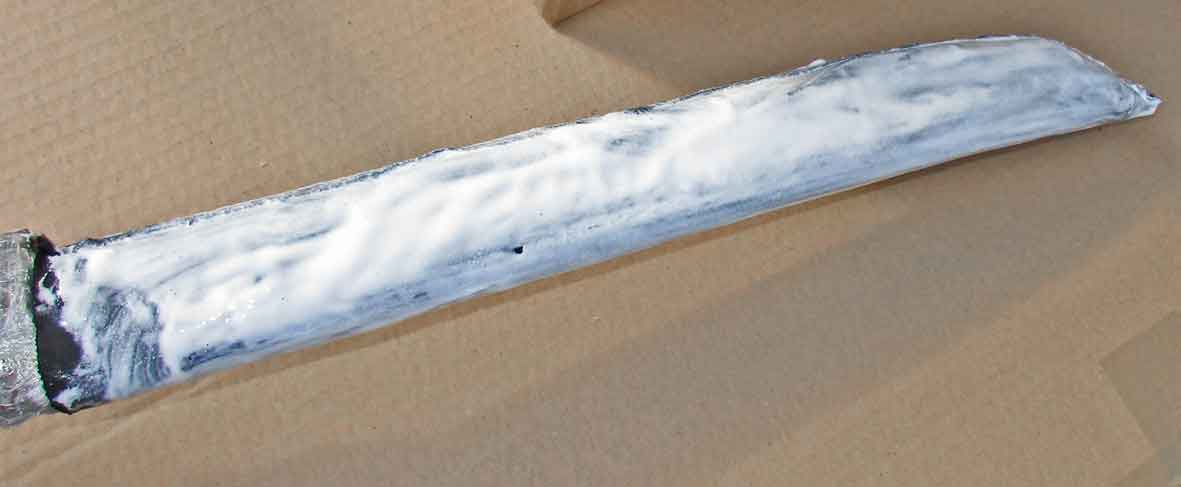
Above: the sewn cloth sheath is first covered with glue. I use D3 glue (water resistant, transparent drying) from a DIY-store. Applying this first layer of glue is no fun, but the next layers are a cakewalk. |
||||||||||||||||||||||||||
 |
||||||||||||||||||||||||||
|
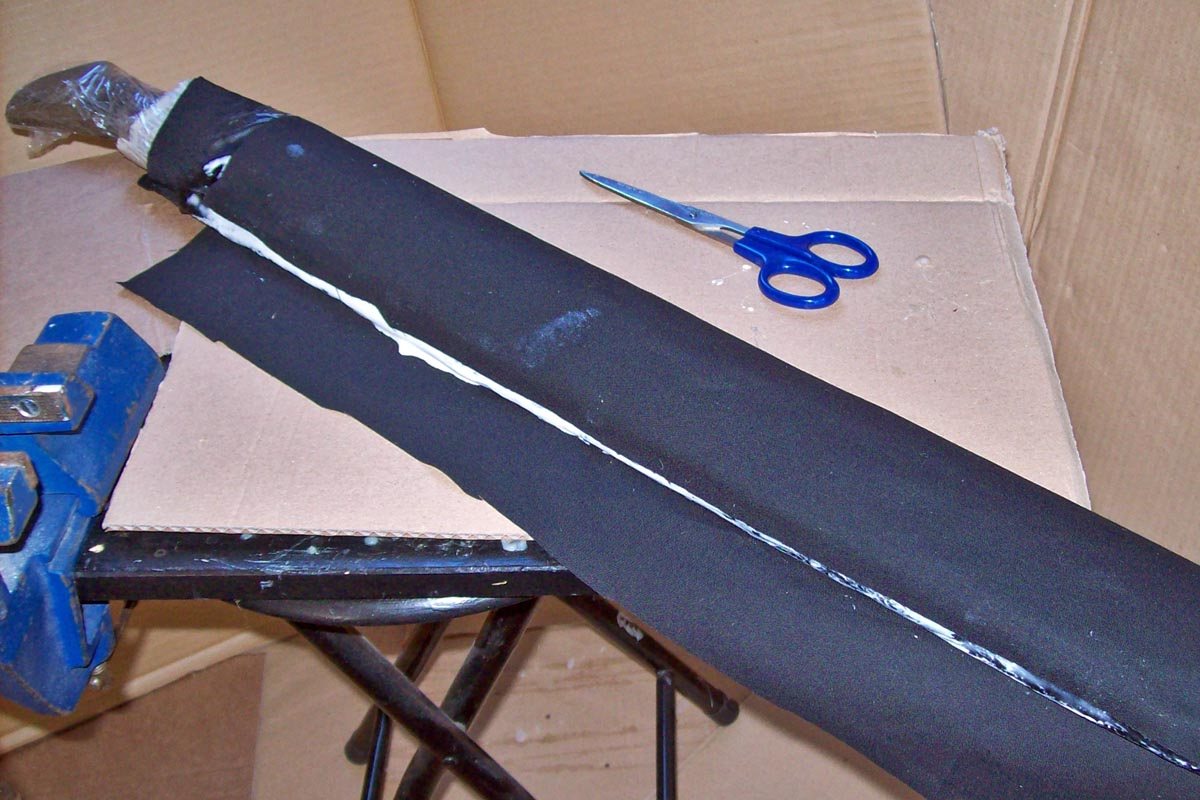
Above: where to put the “seam” of the layers of cloth? |
||||||||||||||||||||||||||
 |
||||||||||||||||||||||||||
|
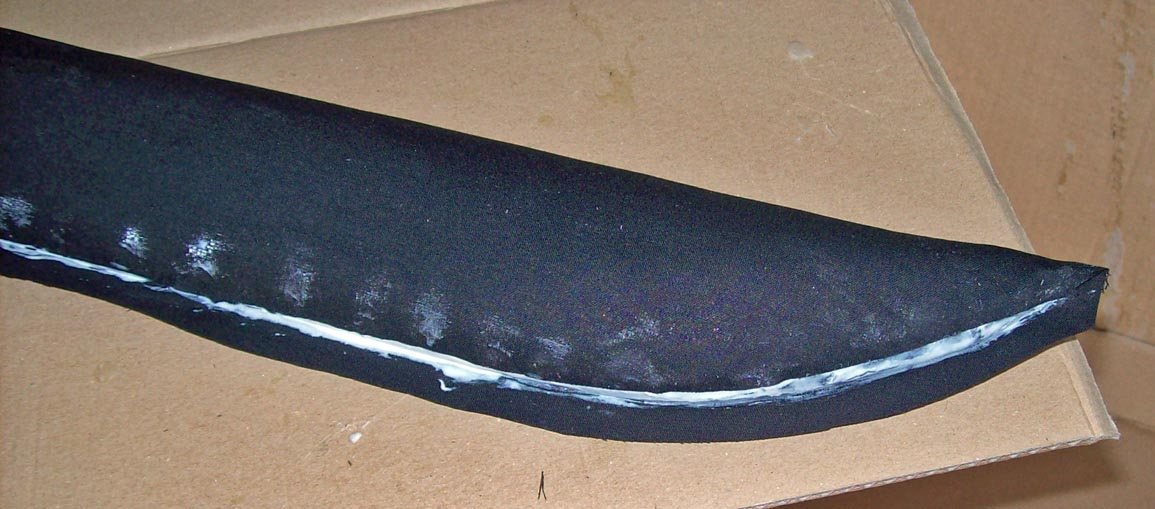
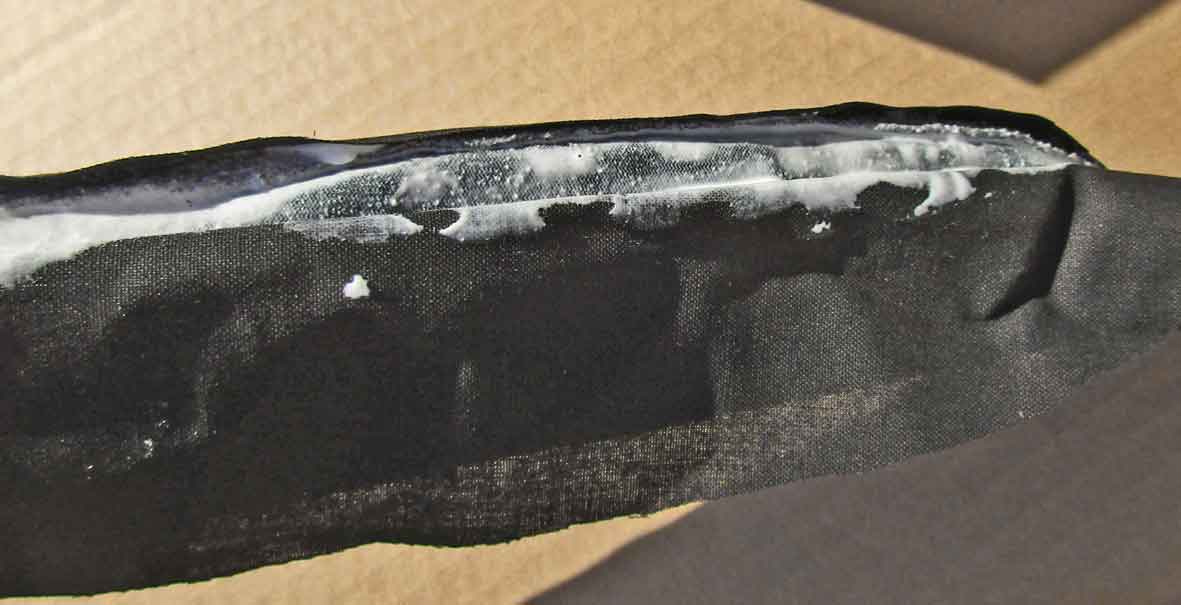
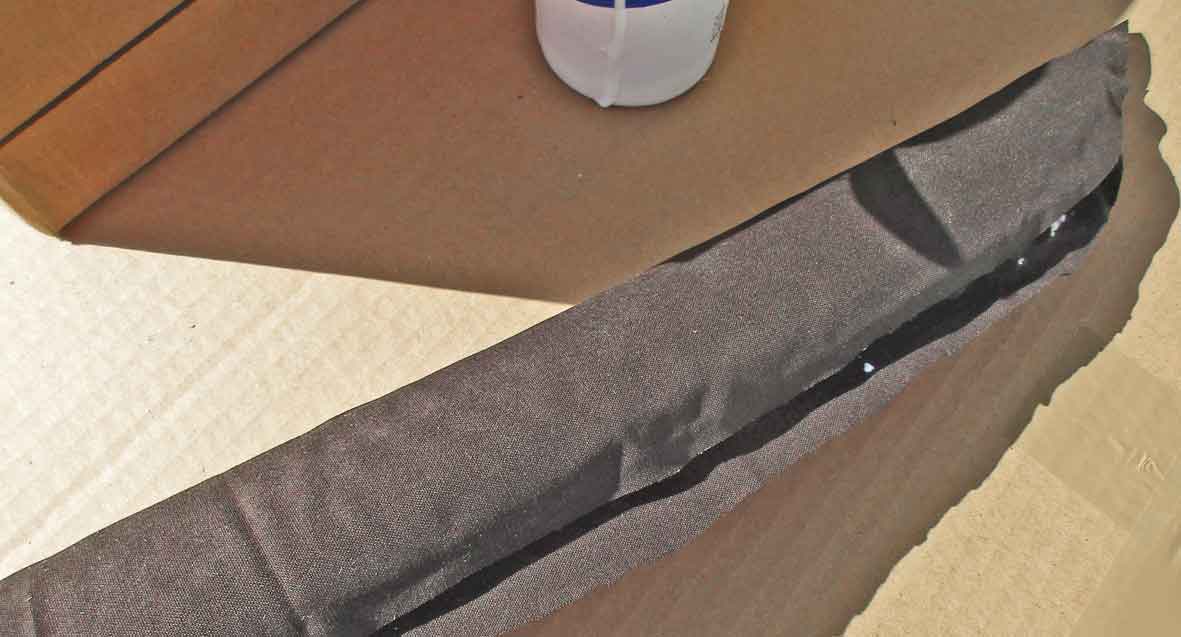
Above: the cloth on the other side is not cut on the narrow edge but with a little overhang which is just turned up and glued on. |
||||||||||||||||||||||||||
 |
 |
|||||||||||||||||||||||||
|
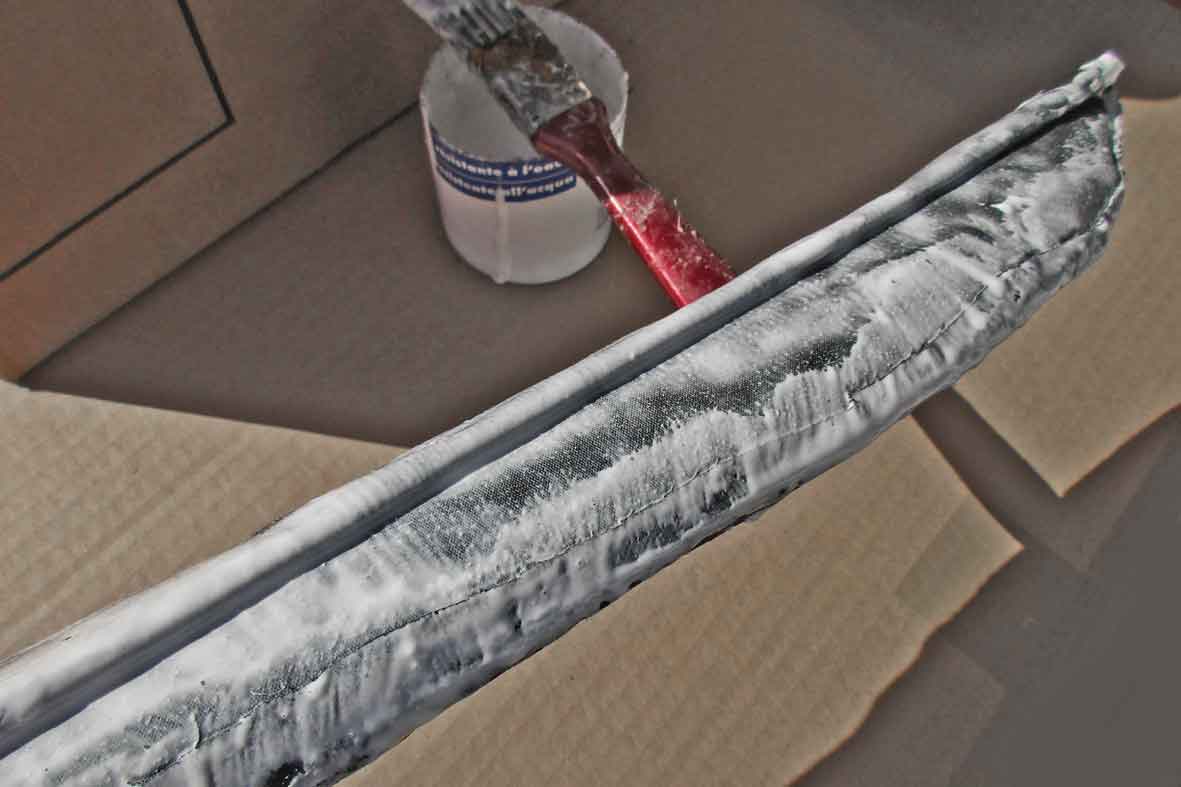
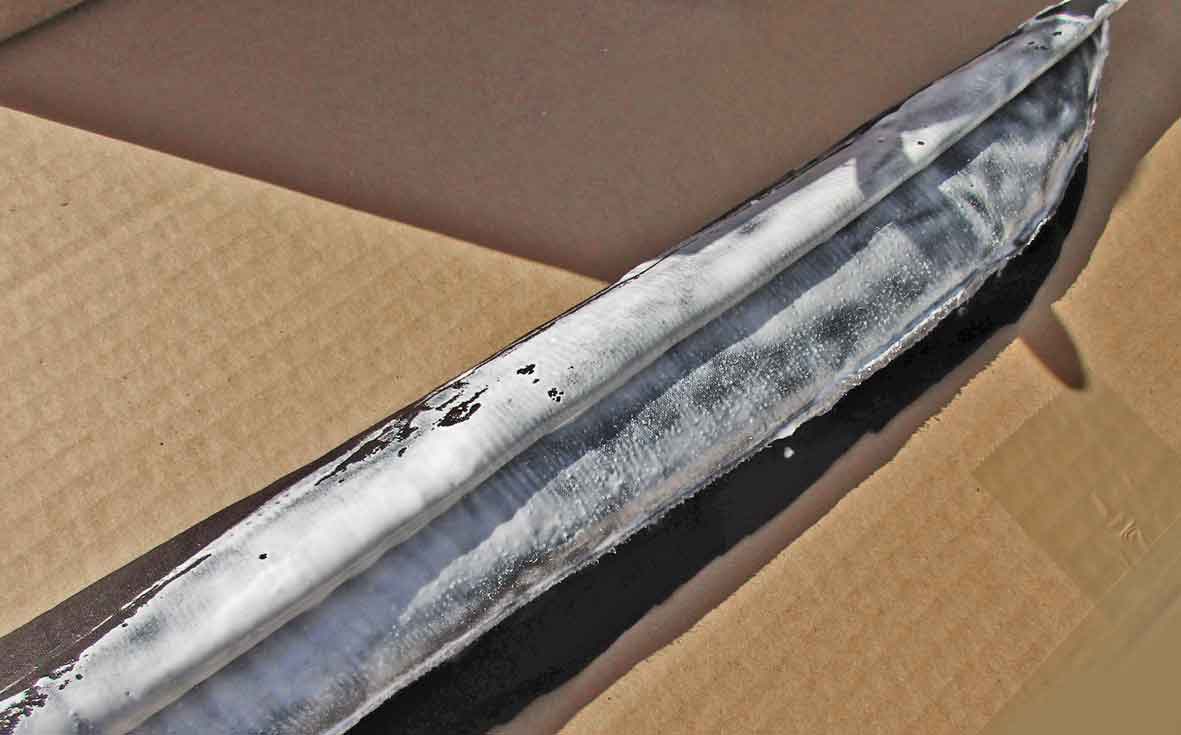
Above: another sword, second option: here the seam will be placed on the narrow edge. Left: again the cloth piece is placed upon the glue- covered sewn cloth sheath and cut precisely to fit onto the edge. Right: the other side is cut with a little overlap, but this time I don´t glue it on top but.... |
||||||||||||||||||||||||||
 |
||||||||||||||||||||||||||
 |
||||||||||||||||||||||||||
|
Above left: the precise-cut side is lifted off again and right: the overlap is glued on, then the precise-cut side is put on again. The glue is now allowed to dry, although I tend to hang around for a few minutes to terminate bubbles should they appear. When the surface is dry it´s time for the next layer: glue, cloth, glue. |
||||||||||||||||||||||||||
 |
||||||||||||||||||||||||||
 |
||||||||||||||||||||||||||
|
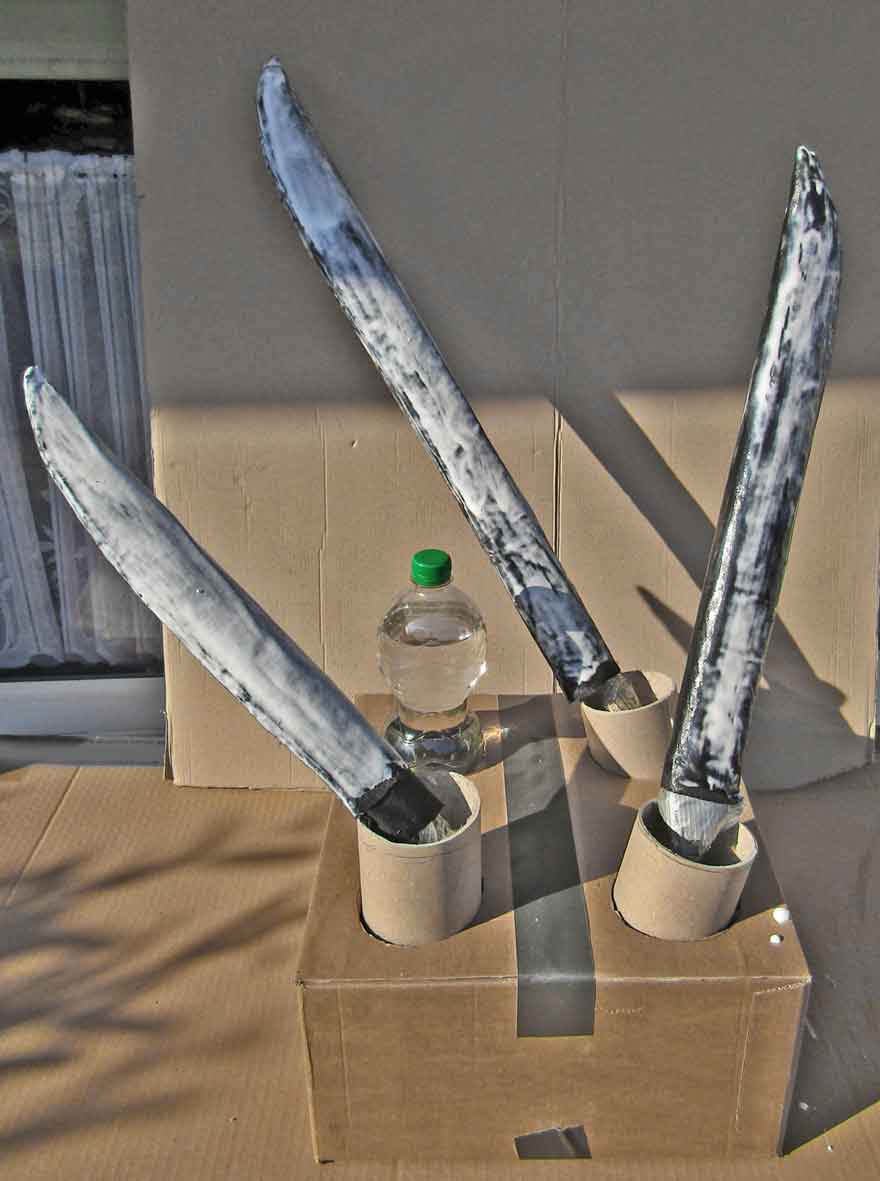
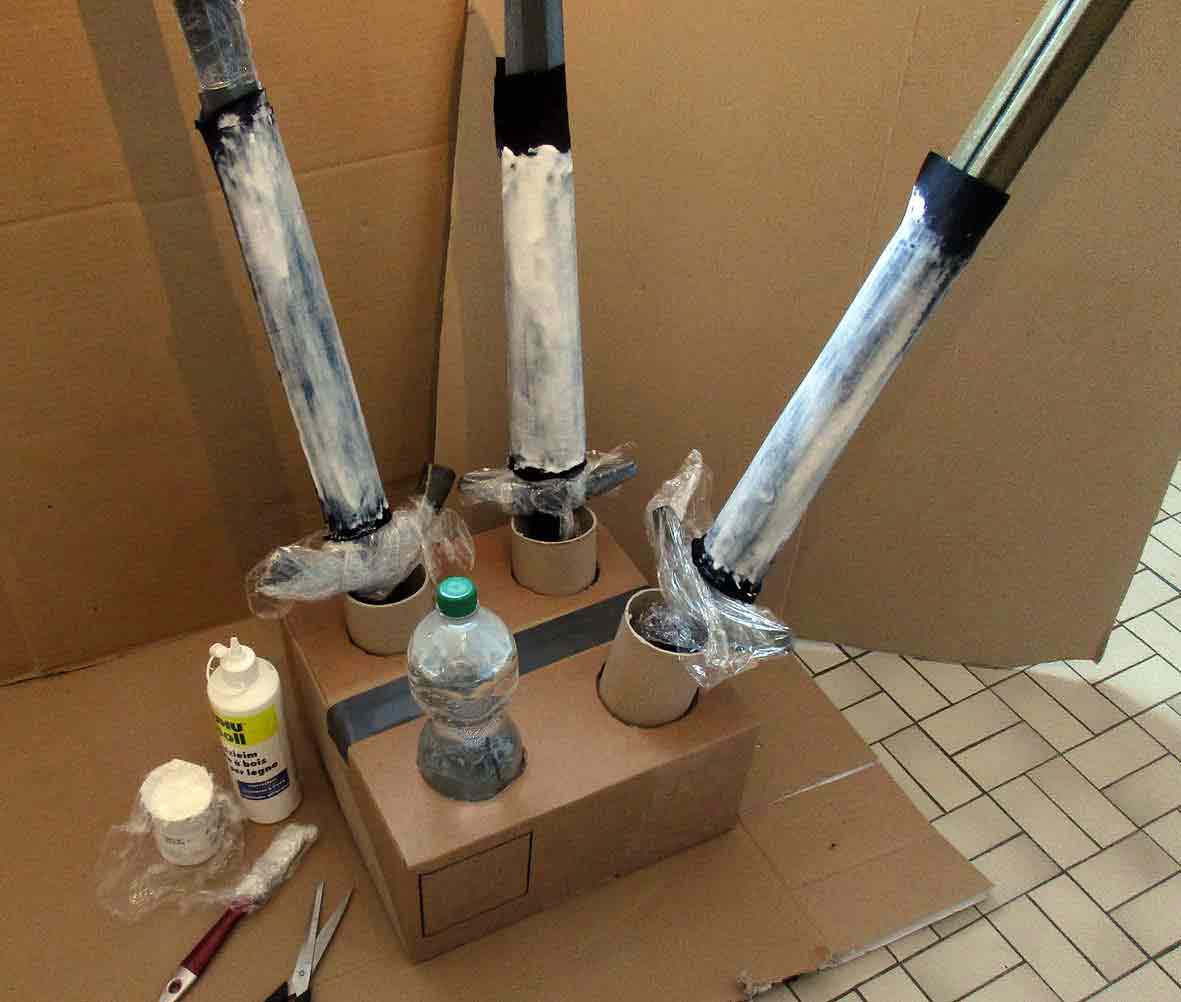
Above: each layer is let to dry before the next one is put on (glue/ cloth/ glue/ dry/ repeat). Above right: the lino- sleeves that later become scabbards are built a little longer than necessary because they´ll only get trimmed to correct length when all layers are dry. For drying I don´t hang the sword from the hilt (scabbard down) in order to prevent the sheaths following gravity and coming off. How many layers make sense? My official recommendation is: sewed lining (= the “fluffy” inner side), two layers of glued cotton- linen and the surface; either a third layer of cloth or leather or a special cover material as shown below. Makes 4 layers. More is not necessary. |
||||||||||||||||||||||||||
 |
||||||||||||||||||||||||||
|
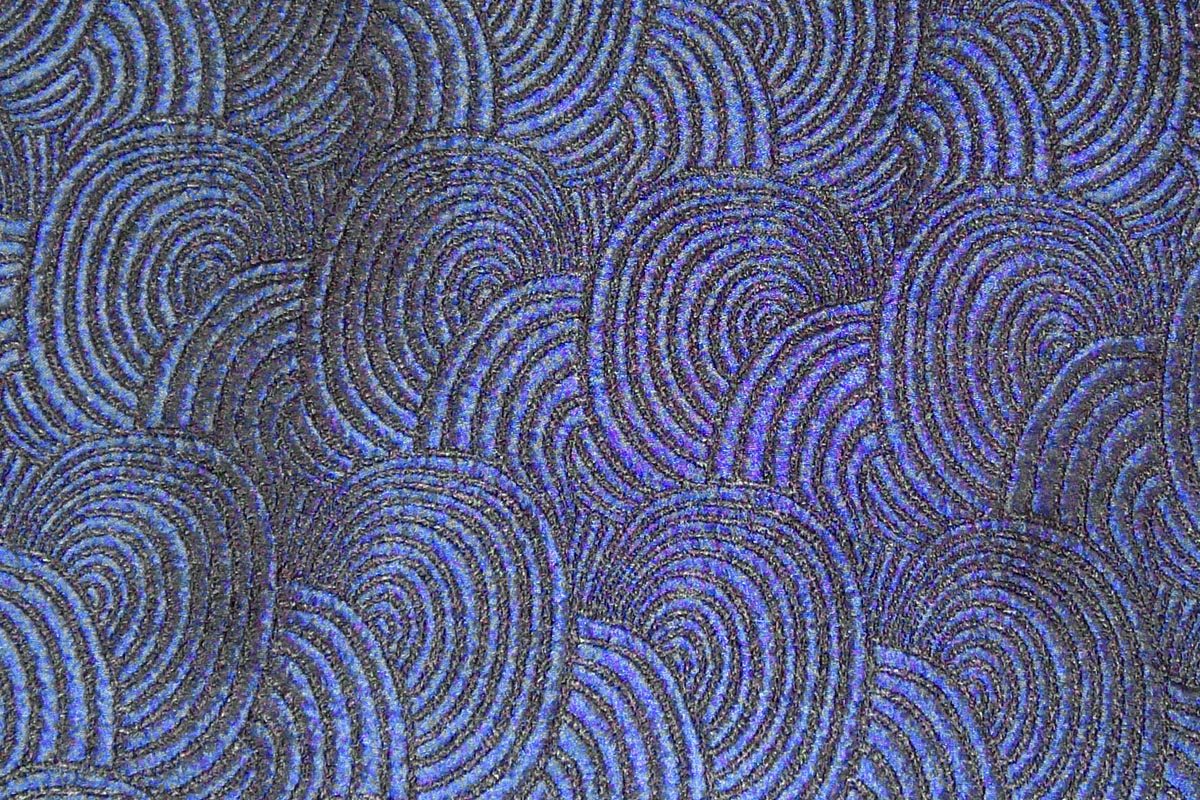
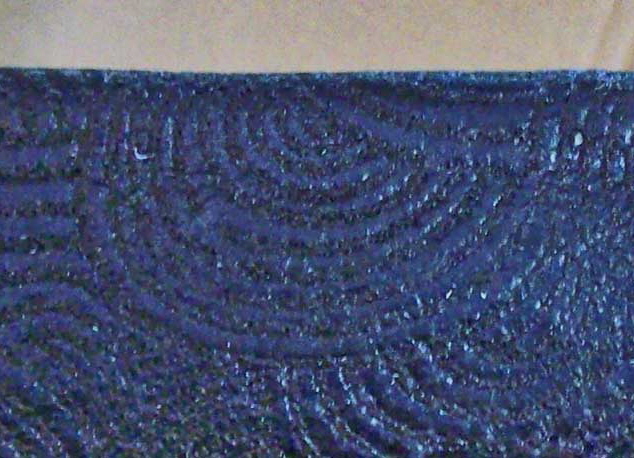
Above: inner lining with 2 layers glued cotton- linen are dry. For the surface layer I want a strctured cloth, namely this here: |
||||||||||||||||||||||||||
 |
 |
|||||||||||||||||||||||||
|
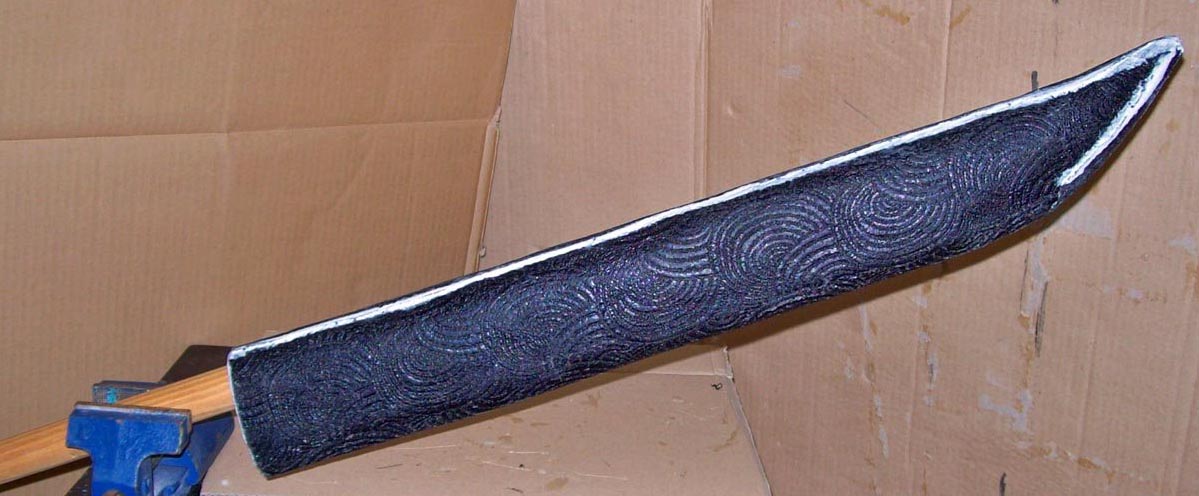
Above left: blue jaquard- cloth with chaos- clouds! How could I resist? “Jaquard” just means “embroidered”, and this fancywork is what I want. |
 |
|||||||
|
Above: The overlap received some extra glue to achieve a good blending because the cloth is quite thick. The seam´s position is located such that it´ll be invisible on the inner underside when the sword is word edge-up on the left side. |
|||||||
 |
|||||||
 |
|||||||
|
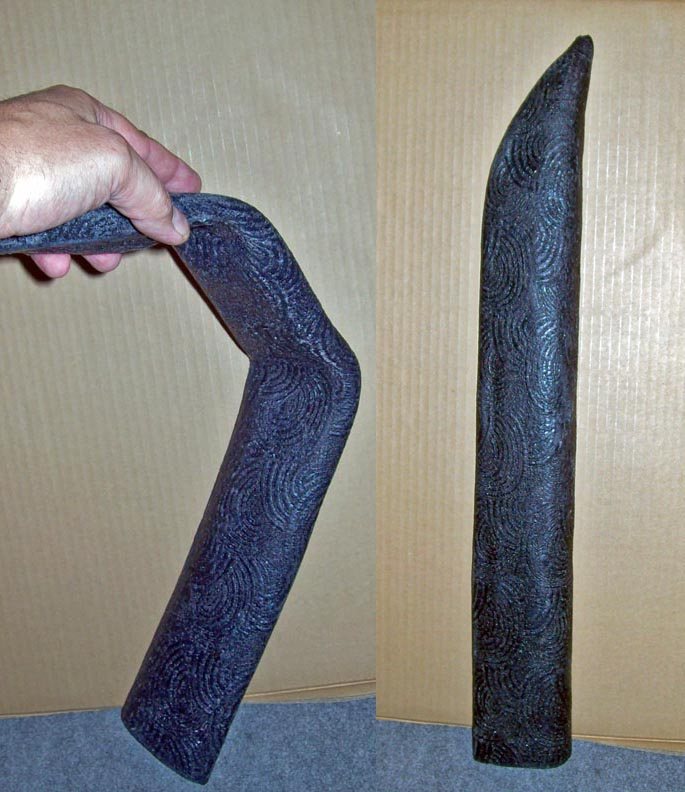
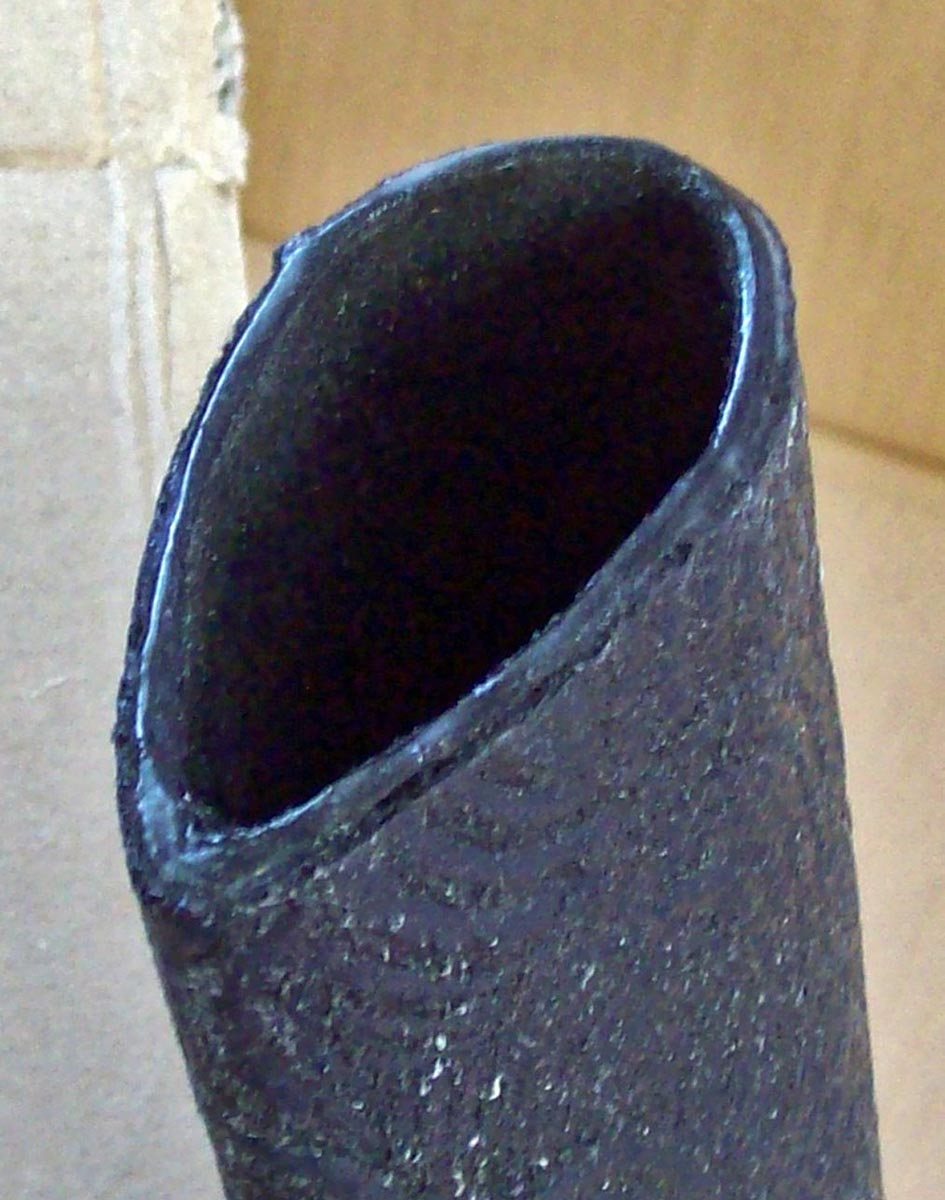
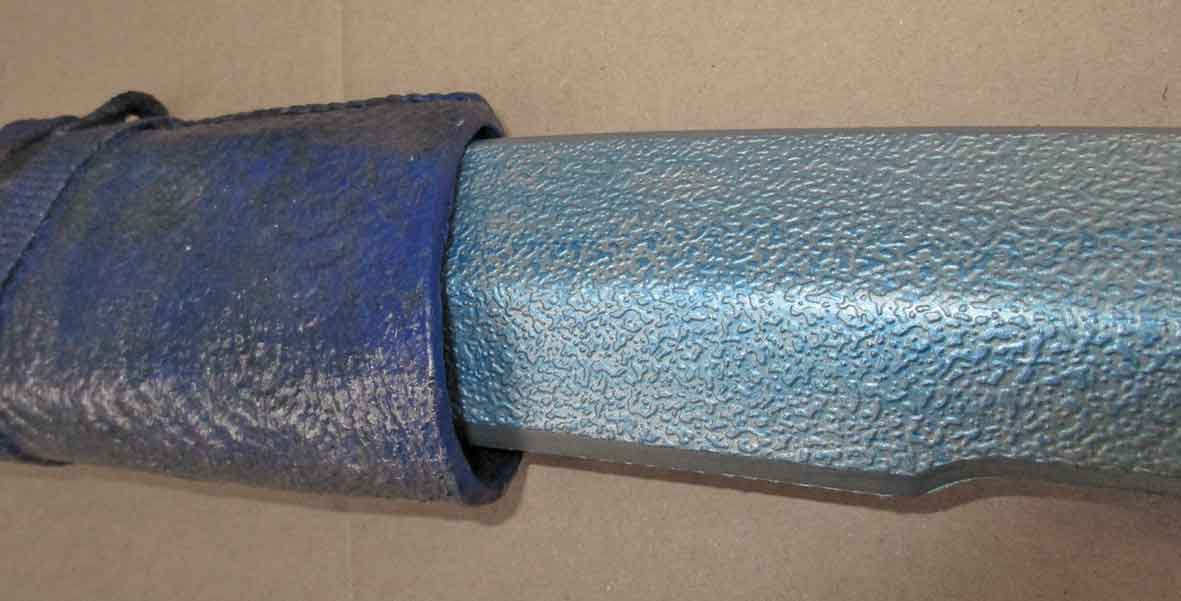
Above: the opening “koiguchi” (= “carp´s mouth”). The edge is trimmed, then glued over. All layers are inseparably bonded and I´m glad that I used black cloth for the inside and not some leftovers with patchwork print. With a japanese sword a metal “collar” (habaki) in front of the hilt would wedge the sword in the sheath to prevent it falling out, but this is not possible with foam weapons. My first try was to stick the sheath into a cloth belt as with the real things and the belt would compress the scabbard, thus holding the blade. |
|
|
||||||||||||||||||||||||||||||||
 |
|
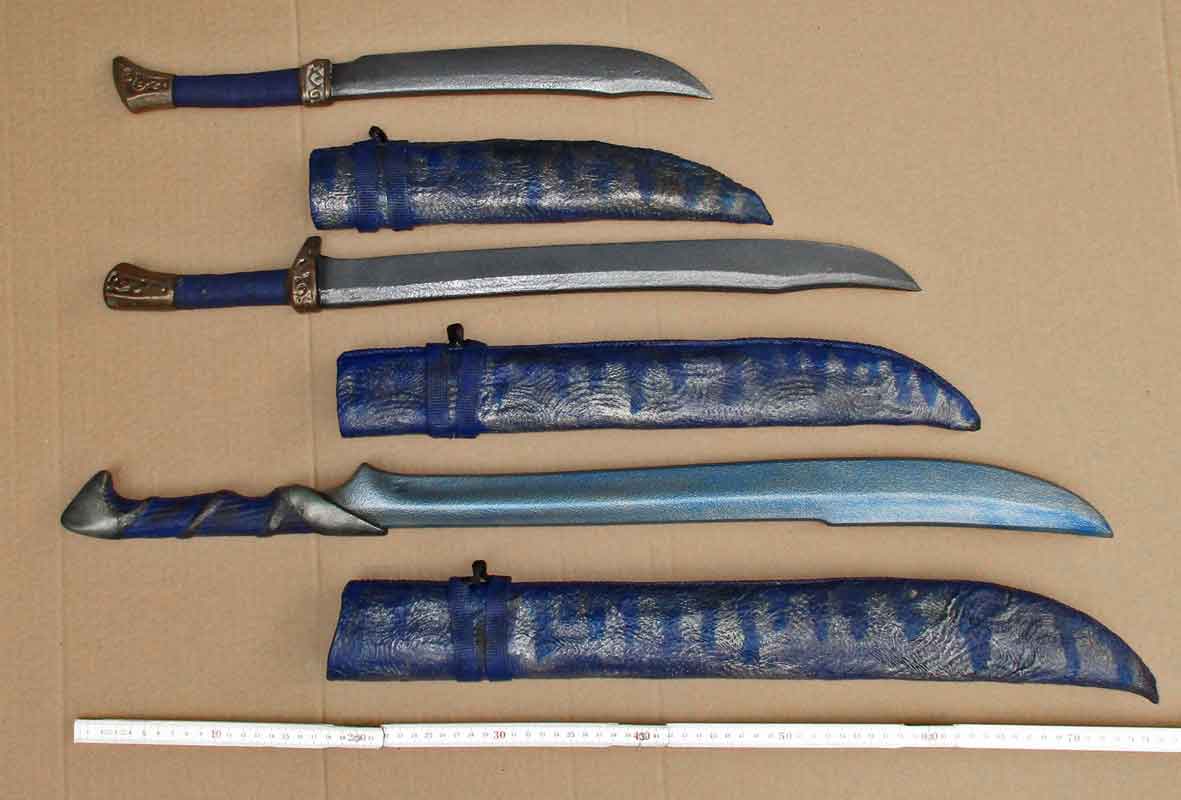
Above: the next generation (2018) after the untimely demise of the first sword. Normally the page “scabbard- building” would be finished here, but I´d like to say a few words about “how to carry a sword”, because I´ve ruined a foam weapon... |
 |
|||
 |
|||
|
Above: The first sword was worn “asian way” very much like the real thing: edge up on the left side with the scabbard tucked into a cloth belt and fastened with a swordband. But in the course of this the belt compressed the scabbard´s sides. And although the sword was thus kept safely in place, every time it was drawn led to abrasion on both sides of the blade. What I hadn´t considered was the fact that the soft blade might not like this... And it didn´t. At all. The abrasion injured the weapon´s outer sealing on both sides of the blade: |
 |
|
Above: after only 9 con- days (which extended over 3 years, so it wasn´a total loss) large parts of the sealing on both sides were missing, and in this summer´s continuous rain (2017) the sword downright stuck to the inside of the scabbard- which sealed its fate: under these working conditions I cannot sufficiently implement the will of the dark gods. At this point I want to stress that the sword´s manufacturer is not responsible for anything that happened- it was my improper treatment of the weapon that lead to the damage. And I could (should) even have known! My fault. And if this type of sword would still have been available in 2018, I´d have bought one again. |
 |
 |
|||
|
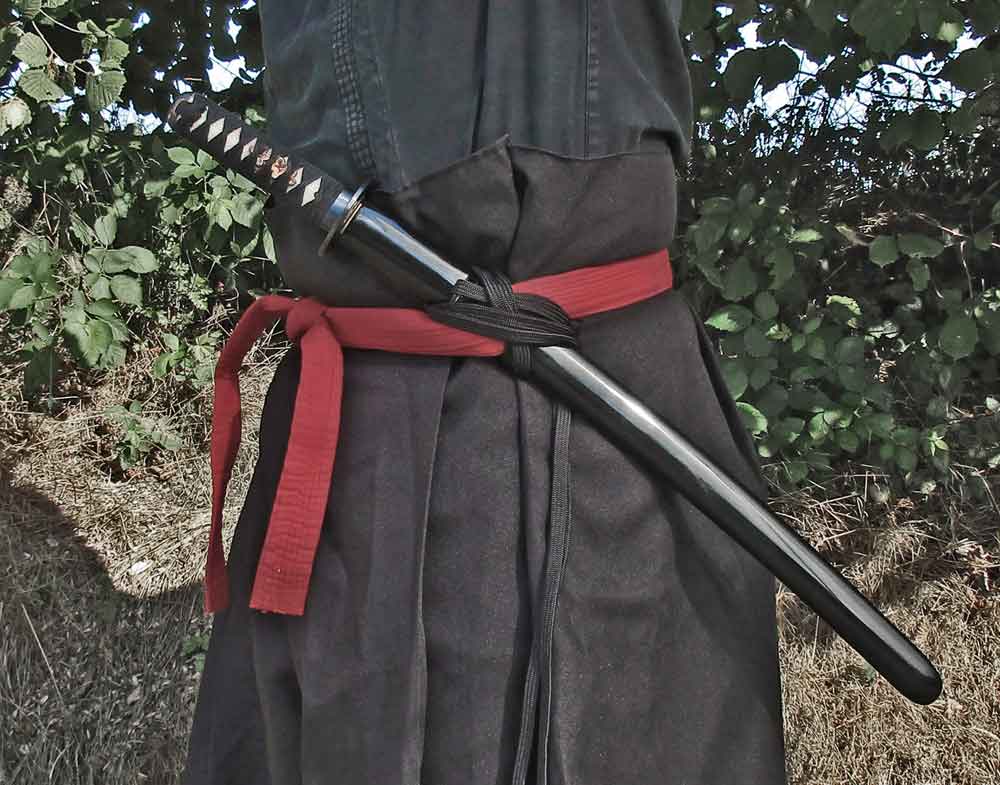
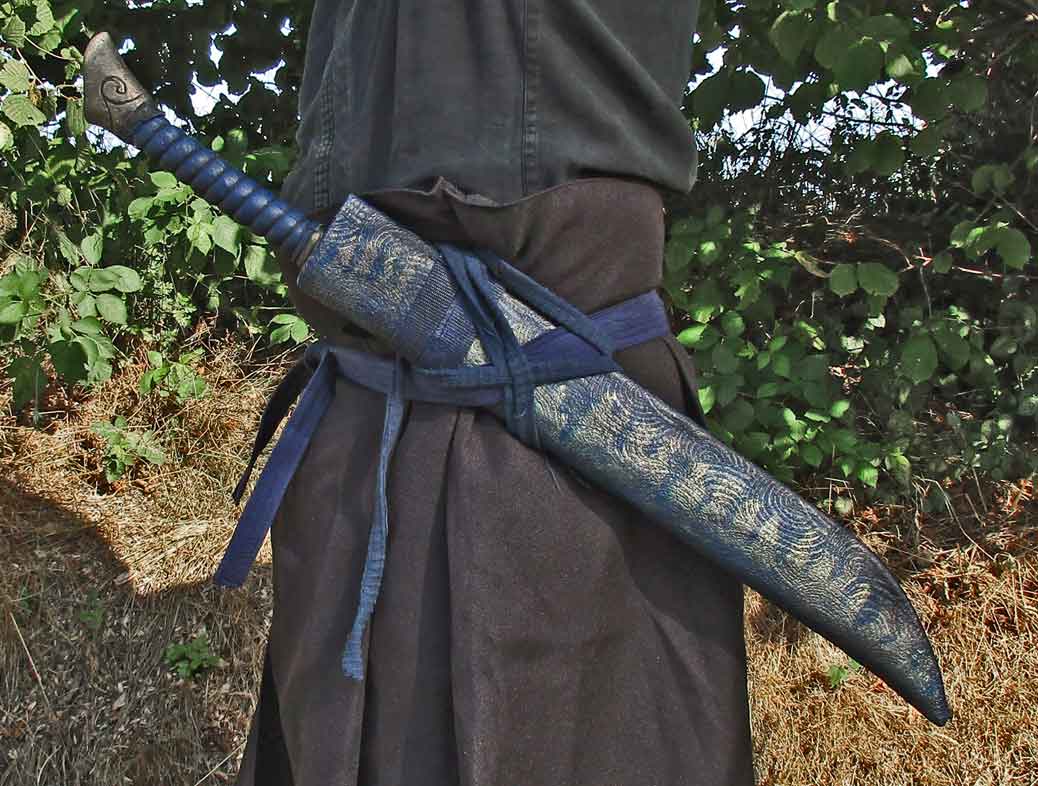
Above left: a real sword (a “wakizashi”, the shorter one of a japanese pair). The scabbard “saya” is mounted on the left side inside a cloth belt “obi” and fastened with a sword band “sageo”. The swordband can be employed in a number of ways; I prefer the one shown. The sword is worn edge up. Above right: but the principle cannot offhandedly be transferred to larp- equipment because larp- scabbards have much more volume than the real thing- and we see the belt compressing the sheath. |
||||
 |
|
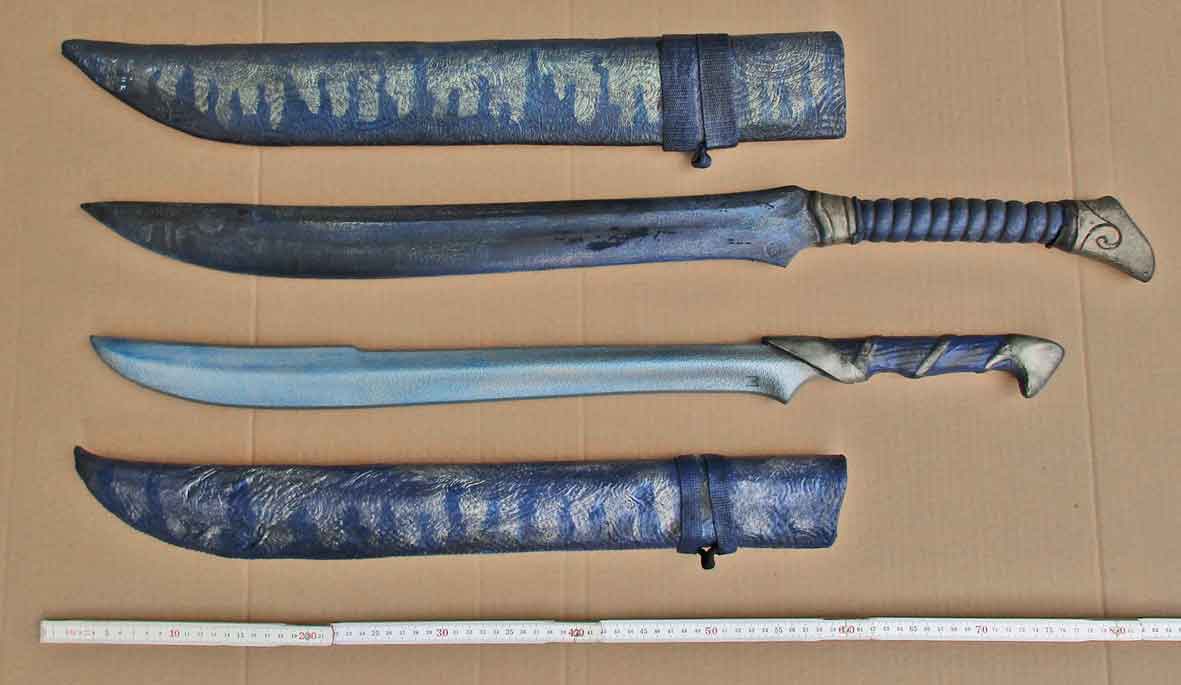
Above: the new sword. On top the original, beneath with new colours (acrylics): wash for the blade and normal paint for the handle (which was first covered with a layer of thin cloth). The ferrules hold the colour well. The pic below is from “after the con”. I chose this sword because of its slender blade (meaning less volume for the scabbard) and because the manufacturer declared it as “maintenance- free” which encouraged me to paint it. Until now everything went very well- I like the weapon. But again: if one modifies foam weapons or treats them improper one is not entitled to whine when something goes awry! |
 |
|||
 |
|||
|
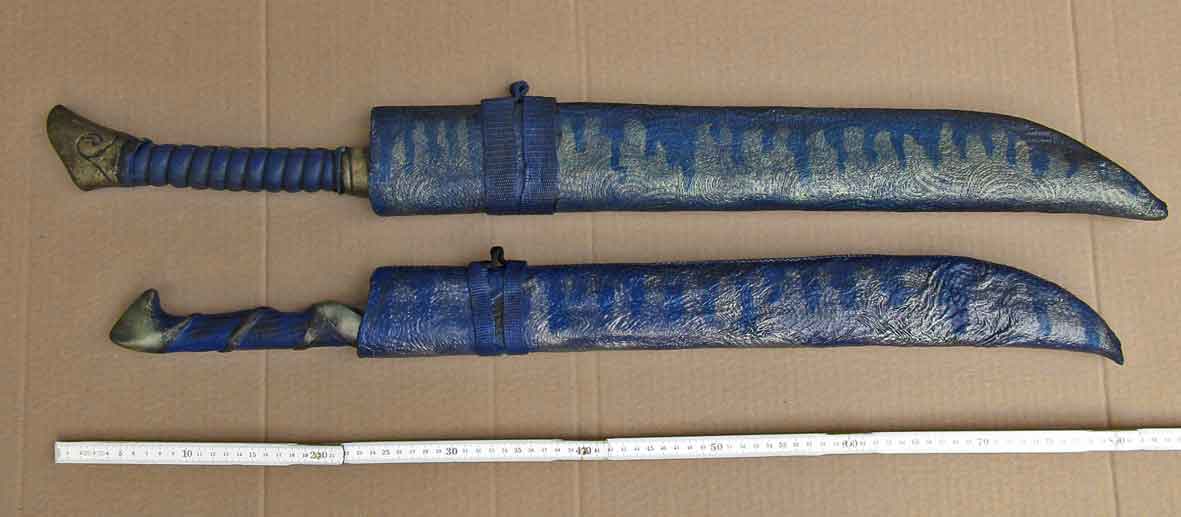
Above: comparison of the old and the new weapons. The new scabbard turned out way less bulky than the first which allows for wearing a second one on the same side of the belt. |
|
|
 |
|||
 |
|||
|
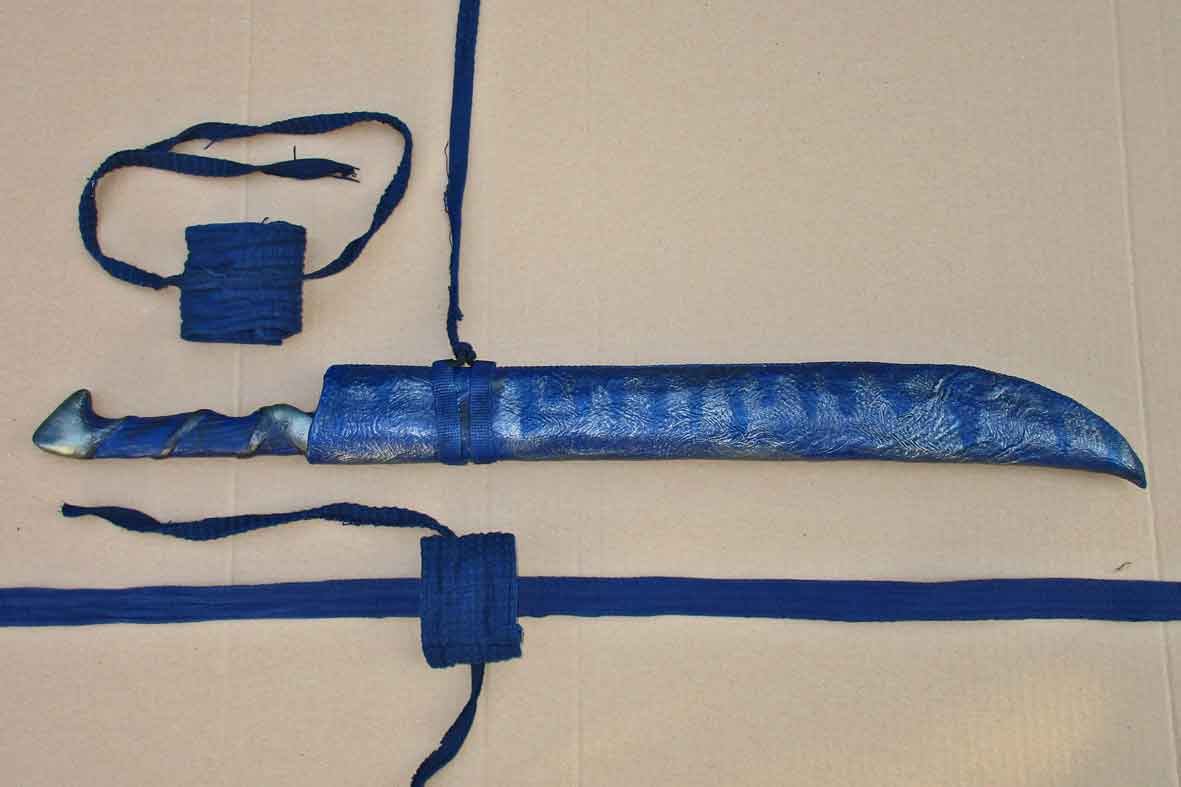
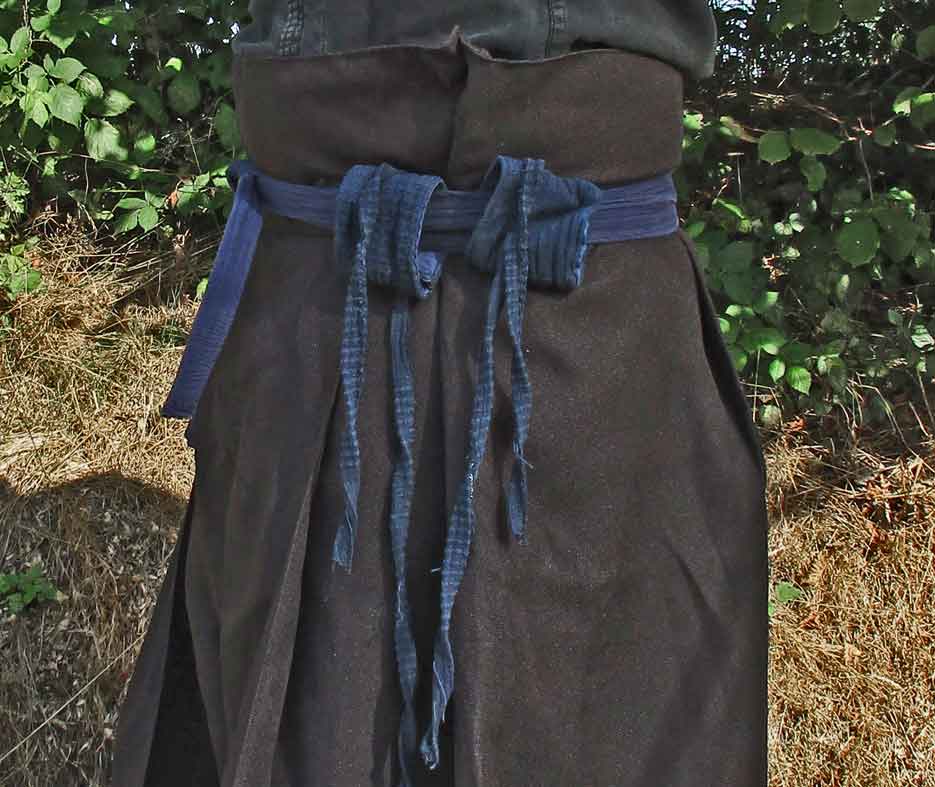
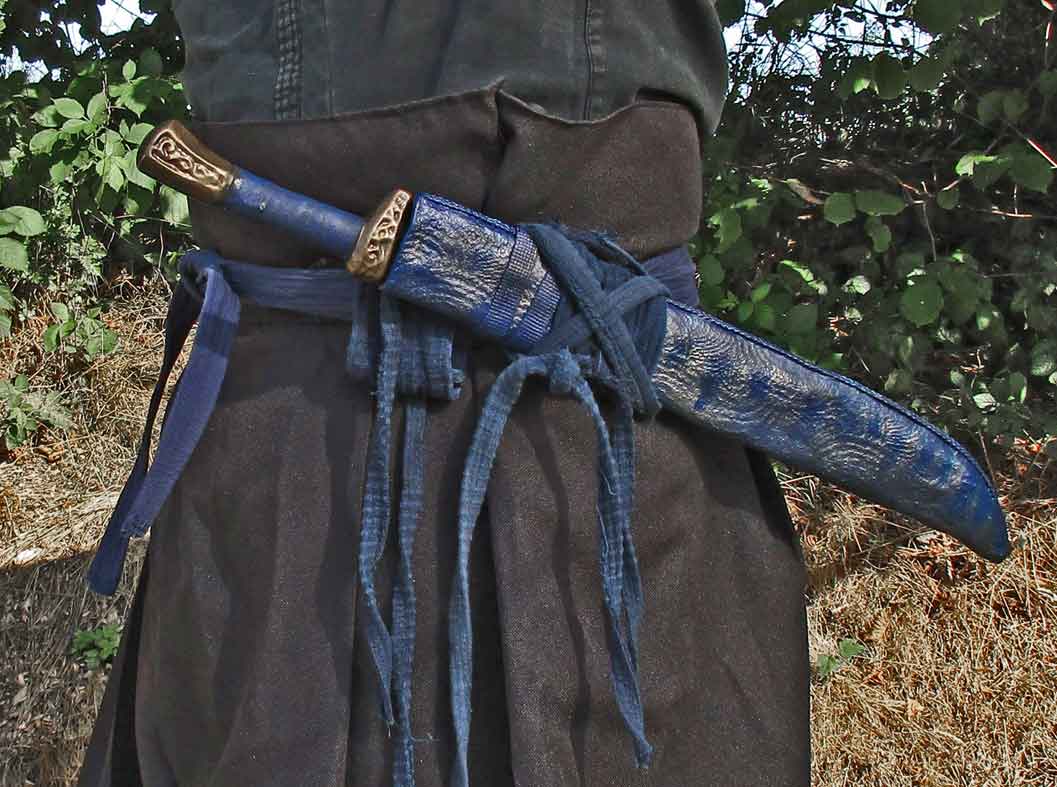
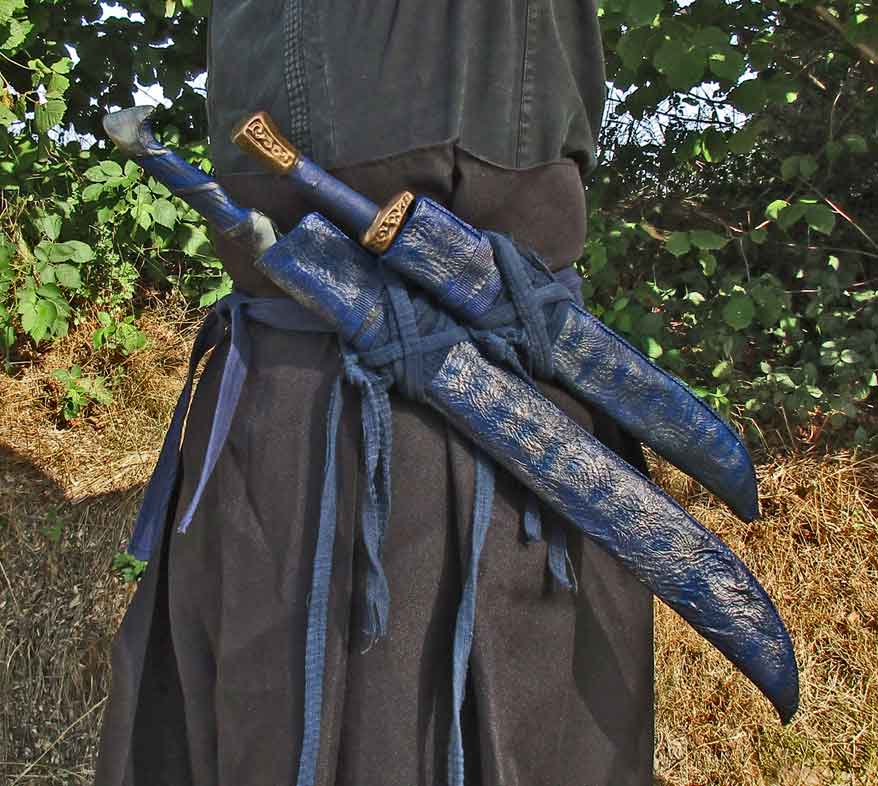
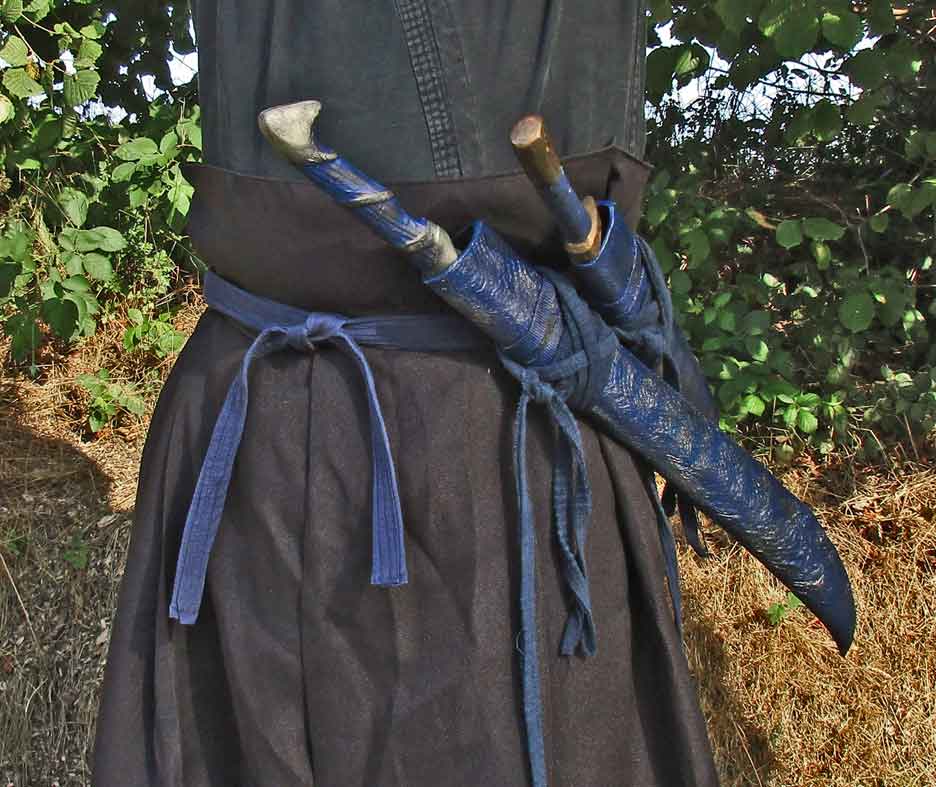
Above left: the belt with attached cloth tubes. The ribbons are tied only after the scabbards are in place. Above right: first the smaller sword to the rear. The swordband is knotted to the tube´s ribbon and provides secure hold. The free long end of the swordband can be used to secure the sword´s handle against the weapon slipping out of the scabbard (now that the sheath is not compressed and the sword is worn almost horizontally this could happen; use a fast loosening knot). |
 |
|||
 |
|||
|
Above: the longer sword up front. As with the original the scabbards can be moved a little along the belt which allows traditional drawing techniques that quite well reflect the murderous elegance of the real thing. The bigger volume of the sheaths is something everybody has to live with somehow. As with a genuine japanese saber the left hand normally rests on the sword hilts (always when I´m in motion) to stop the blades slipping out of the scabbards. I´m contend with this solution but would like to have a simple “dropout- safety- mechanism” (perhaps a sort of removable wedge...). We´ll see. |
 |
|
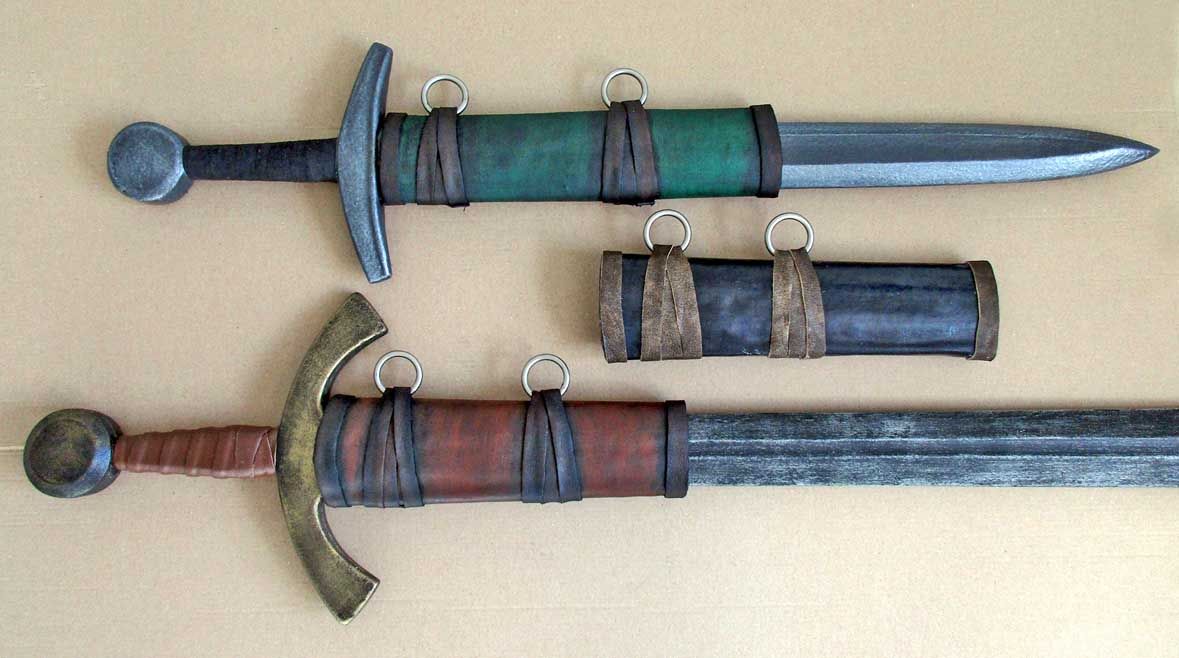
Above: once again the half- scabbards (which really seem to have existed and imo make a lot of sense). How to mount them? (i.e. how do you fasten them to a sword belt). Recherche yields countless possibillities- here´s a simple one: 2 rings (in this case cheap metal curtain rings). The unpainted one in the middle proved unusable and had to be redone, because the rear ring coincidentally is positioned exactly in the system´s mass centre which means the anterior ring doesn´t carry any weight and the sword will “dance” on the belt. To avoid this daft mistake and save a working step one should determine the sword- in- sheath´s centre of gravity and position the rings well before and behind it. In this case it just meant: pry off the rear ring and refasten it a liitle more to the rear (with the same glue also used for the composite). No problem save one more day for drying. The other half- scabbards have already proven themselves in battle (see below). |
|
|
|
Jan 2016, last edit oct 2016, may 2018, oct 2018 |
| [Home] [Deutsch] [English] [about me] [what´s new] [Contents] [about monsters] [faqs] [other sites] |
