|
|
|
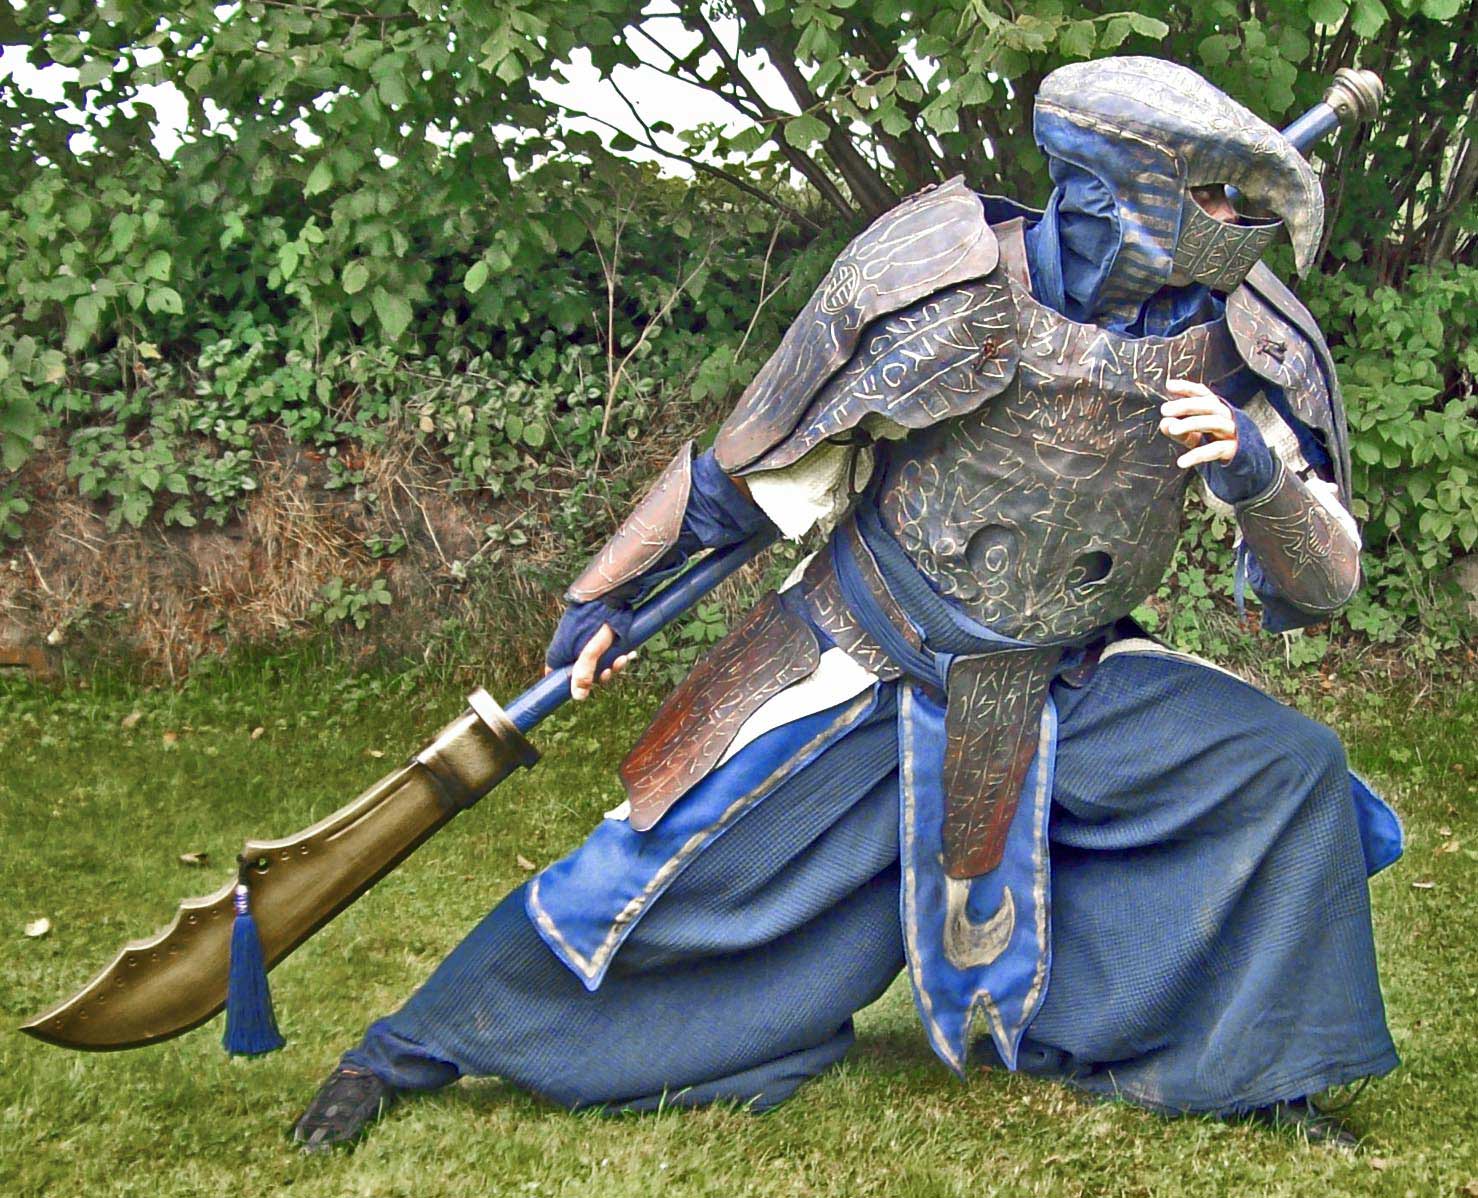
The armour consists of 30+ composite parts that wrap up in 8 component groups. Together with helmet and harness these are the add- ons: This page is part of the documentation of my armour; the beginning would be here: linothorax armour In the picture below the arm- plates are metal parts that only have been covered with one layer of cloth for the look of it (2014). The side plates were one- layered only and there were no leg- plates. Also in 2016 all white cloth- parts have been replaced with blue ones and the painting was improved. In 2017 a third breastplate was added (see lino harness). |
 |
||||||||||||
|
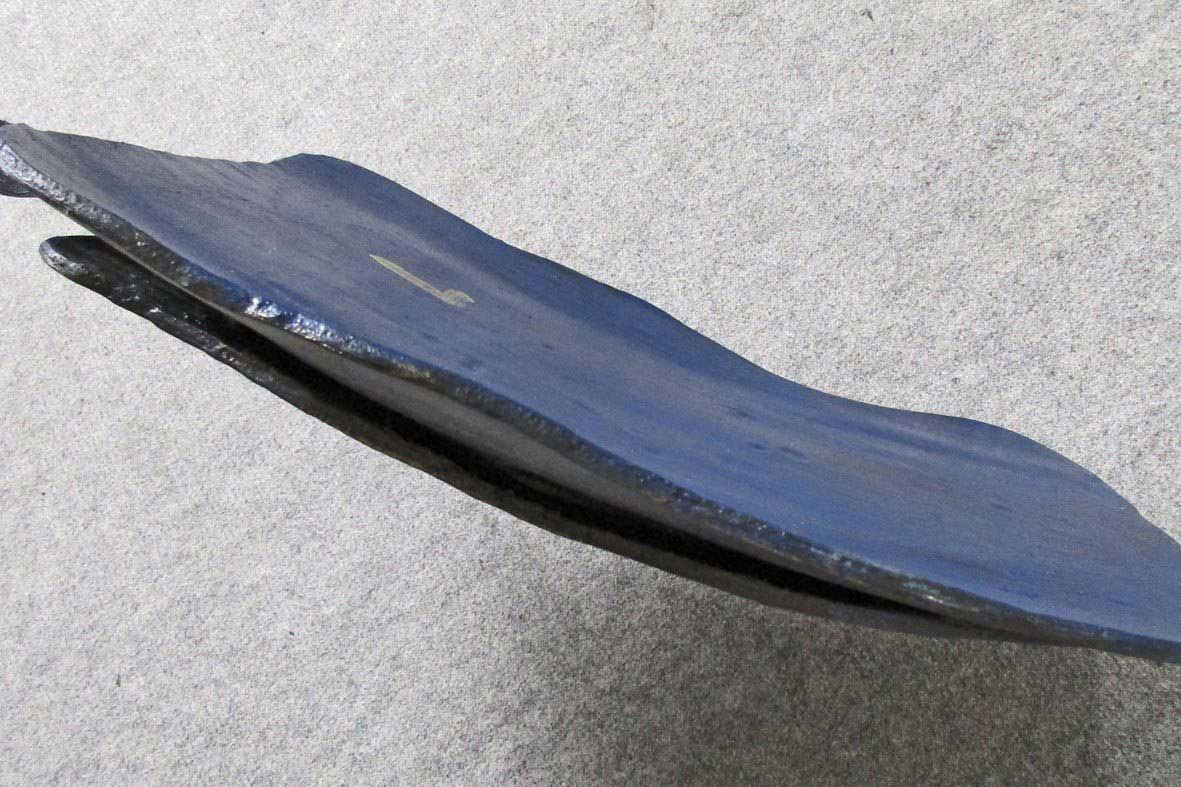
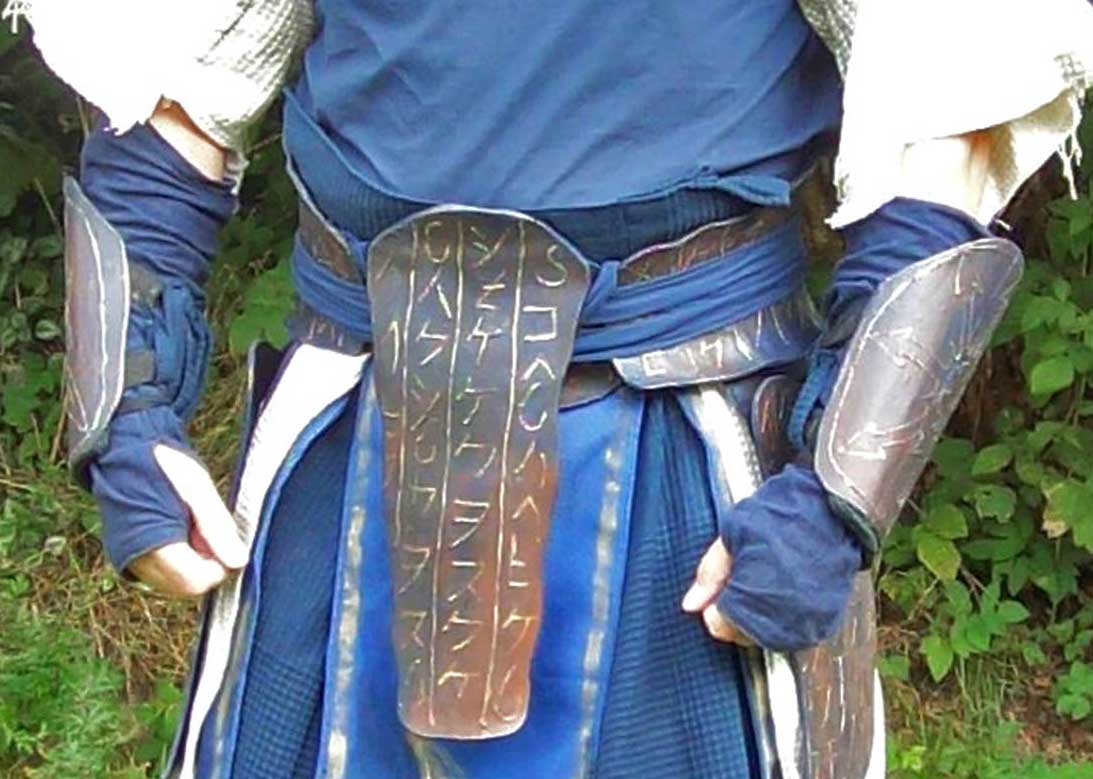
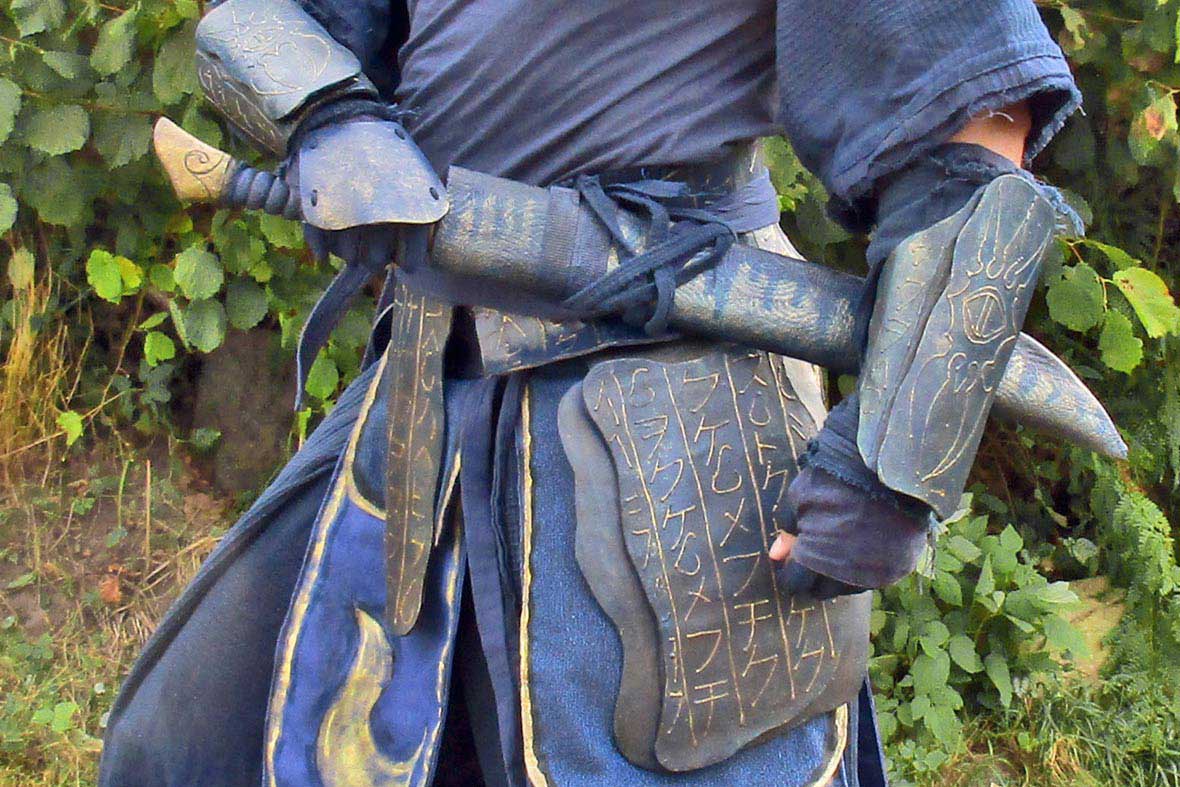
armoured belt with side plates and front-plate with protector |
||||||||||||
 |
 |
|||||||||||
|
Above: on the left (2014) the old, on the right the new parts (2015/ 16) |
||||||||||||
 |
||||||||||||
 |
||||||||||||
|
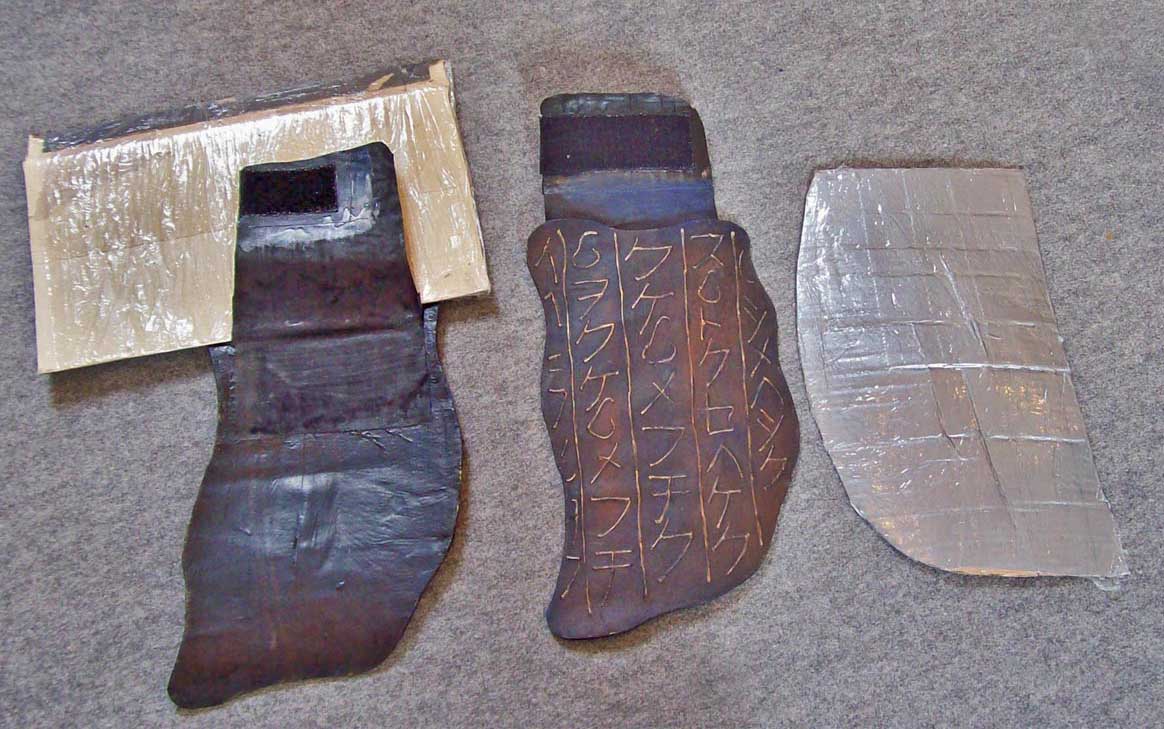
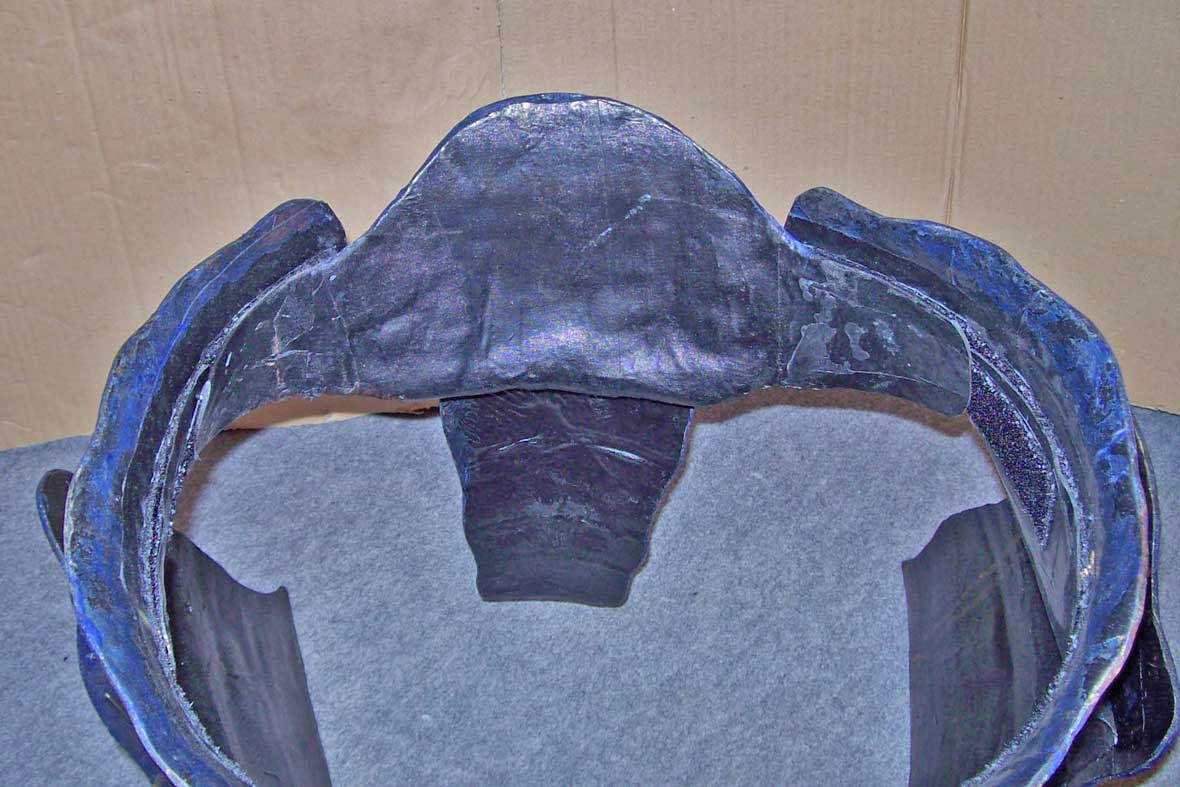
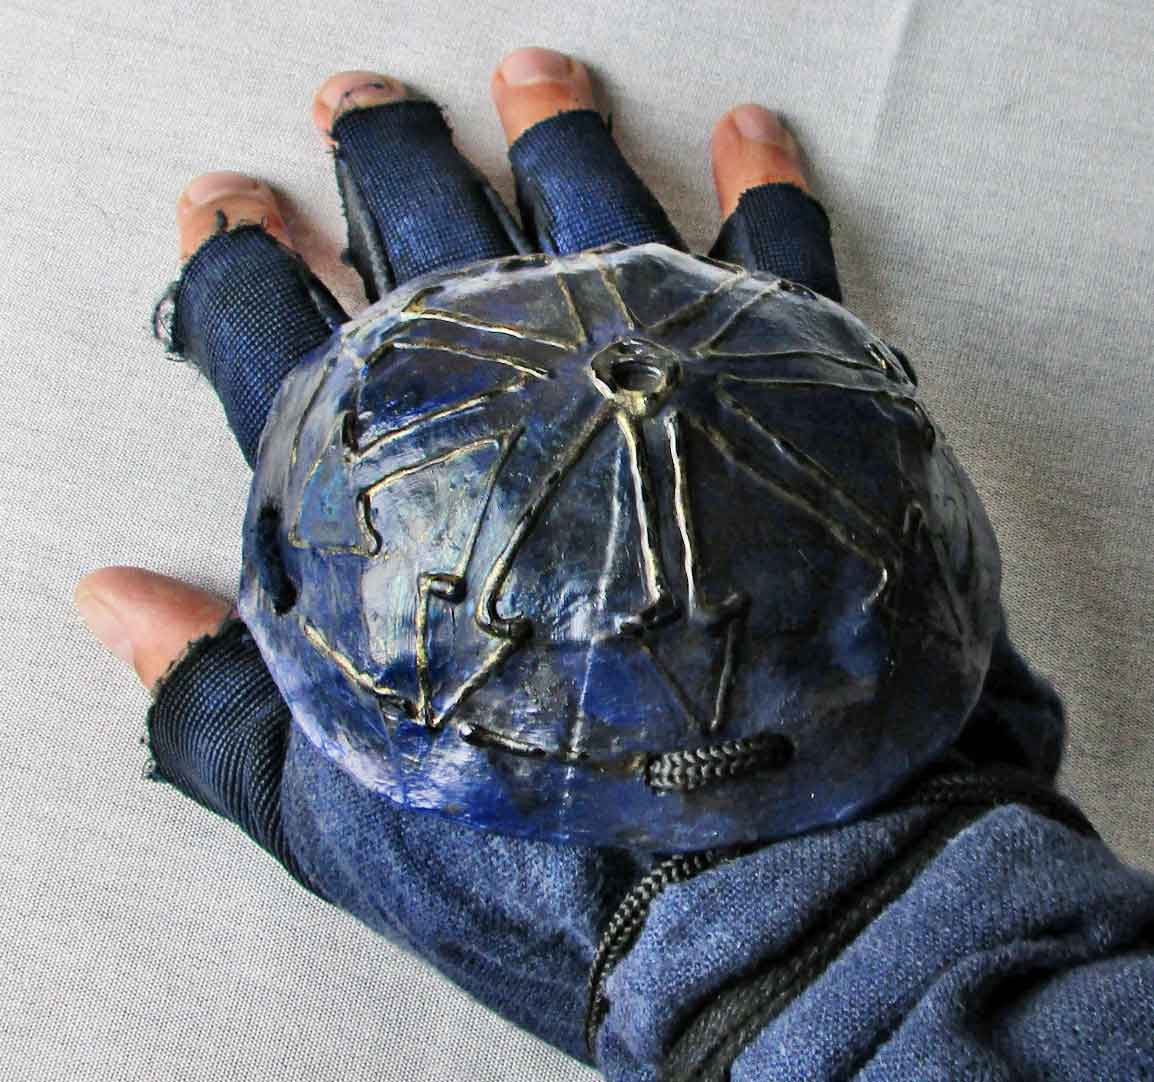
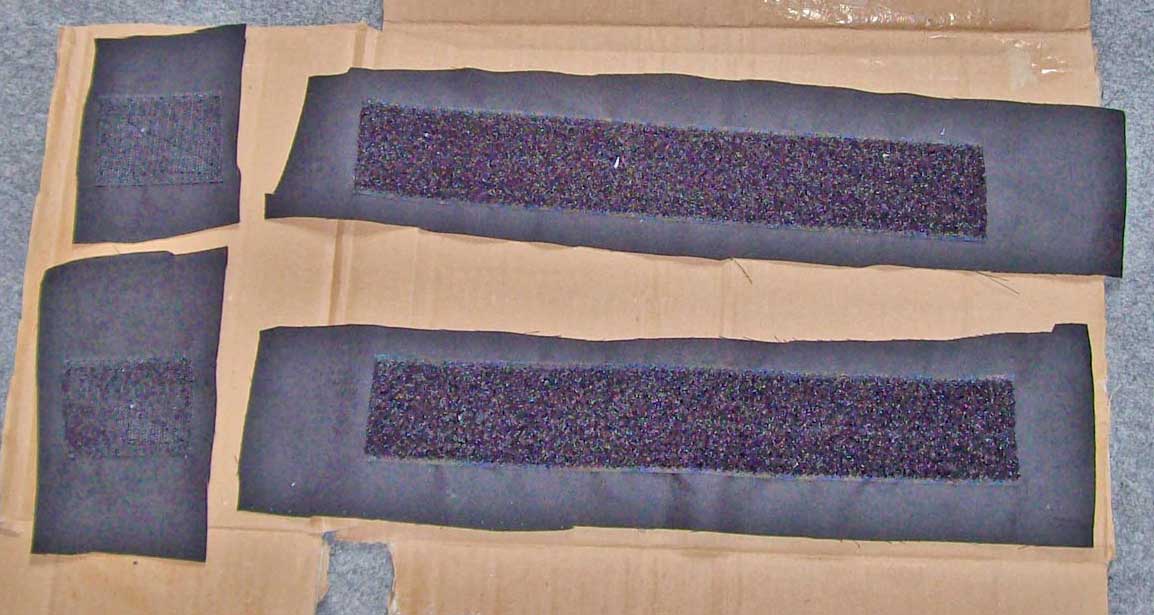
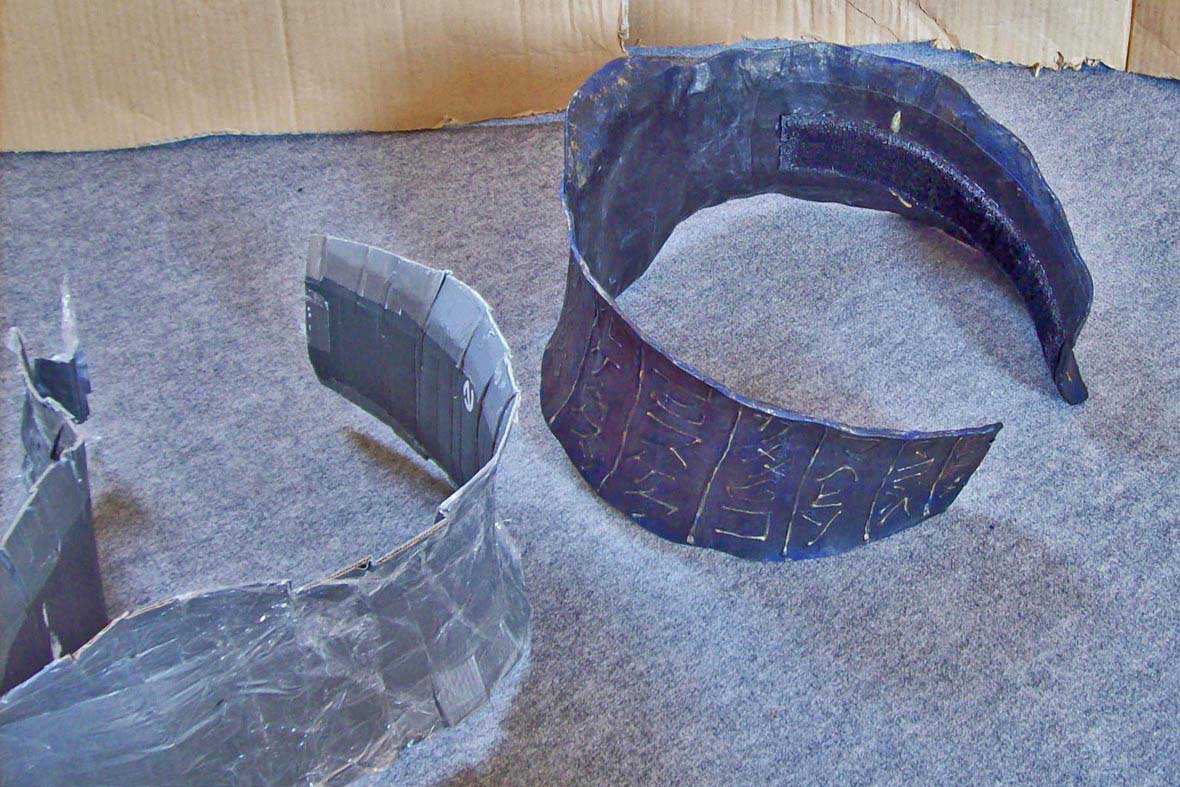
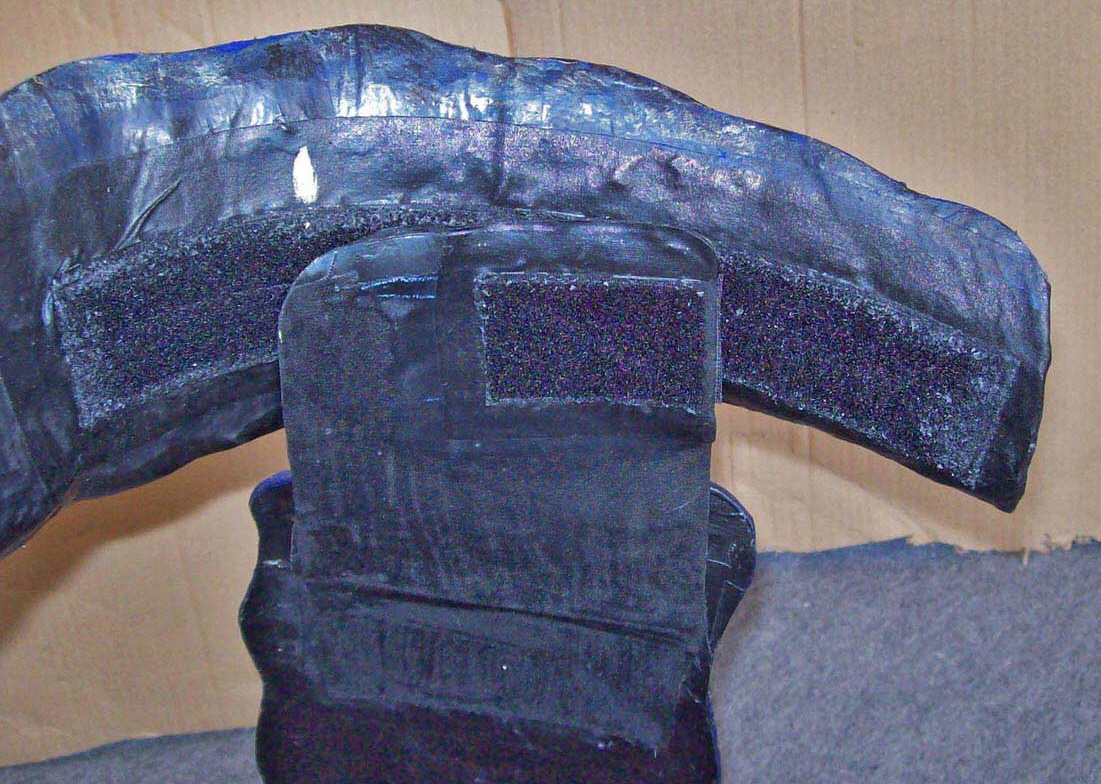
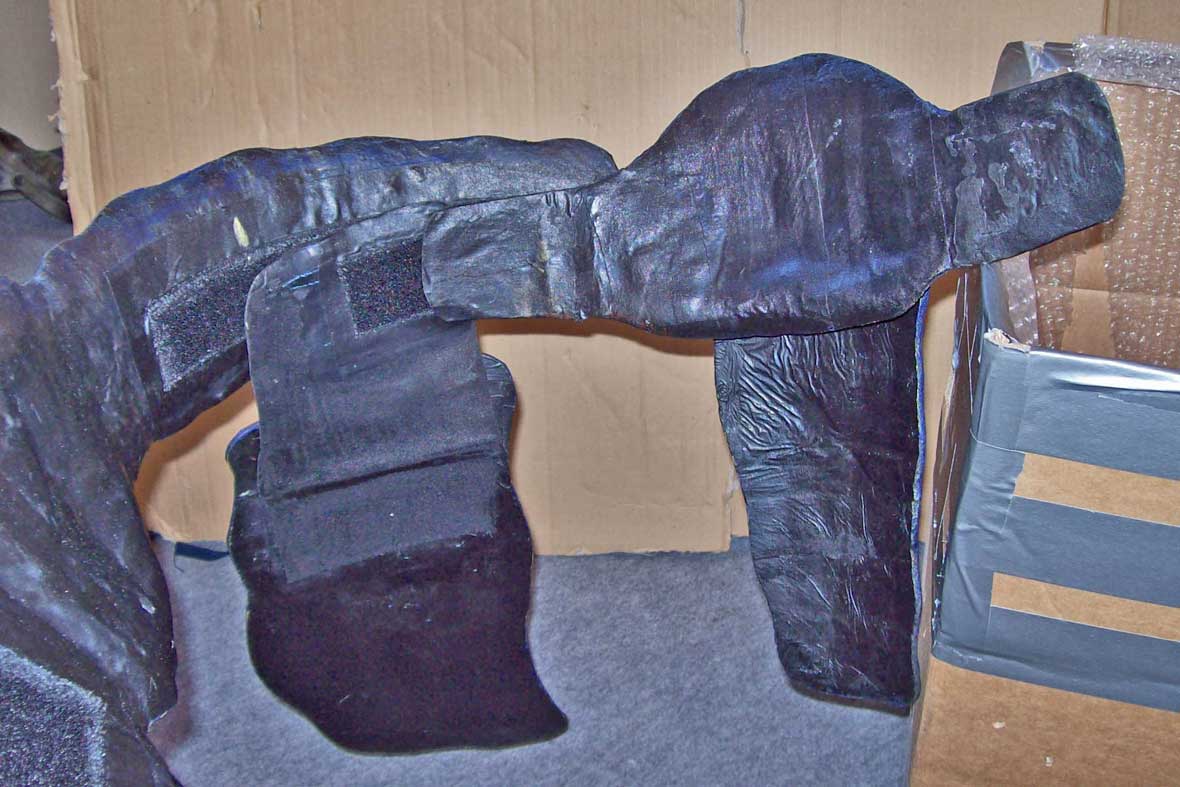
Above left: The armoured belt is hit- and cutproof although not as stab- resistant as the two- tiered parts of the armour. It has a concave shape like the inside of a lifebelt but is arched less strongly. On the left side of the picture you can see the taped cardboard- form upon it was built. The construction is closed and at the front with velcro elements on both sides of the combined belly-plate with the loincloth- like protector. An asian cloth-belt “obi” secures the belt from the outside and serves as additional padding. On the beltīs inside runs a broad velcro-strap (the fleece- side) on which the side- plates are attached. The velcro- parts also permit to adjust the waist- size. Above right: broad Velcro- straps are sewed onto pieces of cloth that are as broad as the belt permits. This enlarged contact surface can be securely glued onto the beltīs inside. |
||||||||||||
 |
||||||||||||
 |
||||||||||||
|
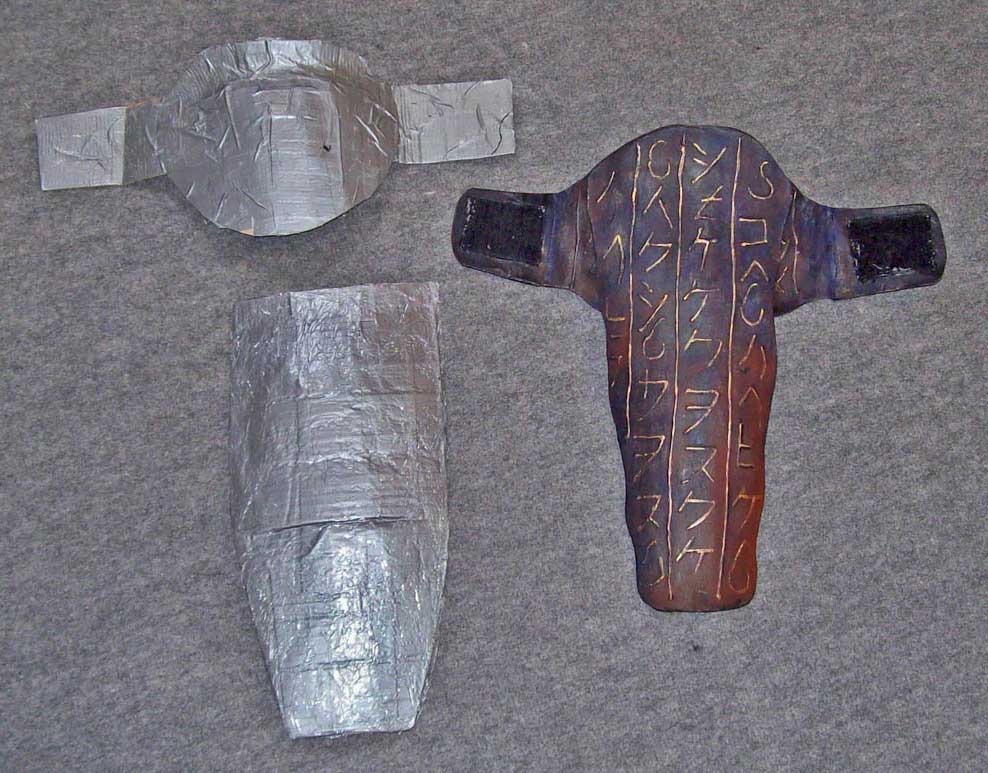
Above: The front plate Above left: the two forms which later make the front-plate. Both are arched for more stability. See below at “side plates” how the tho layer were built. |
 |
|
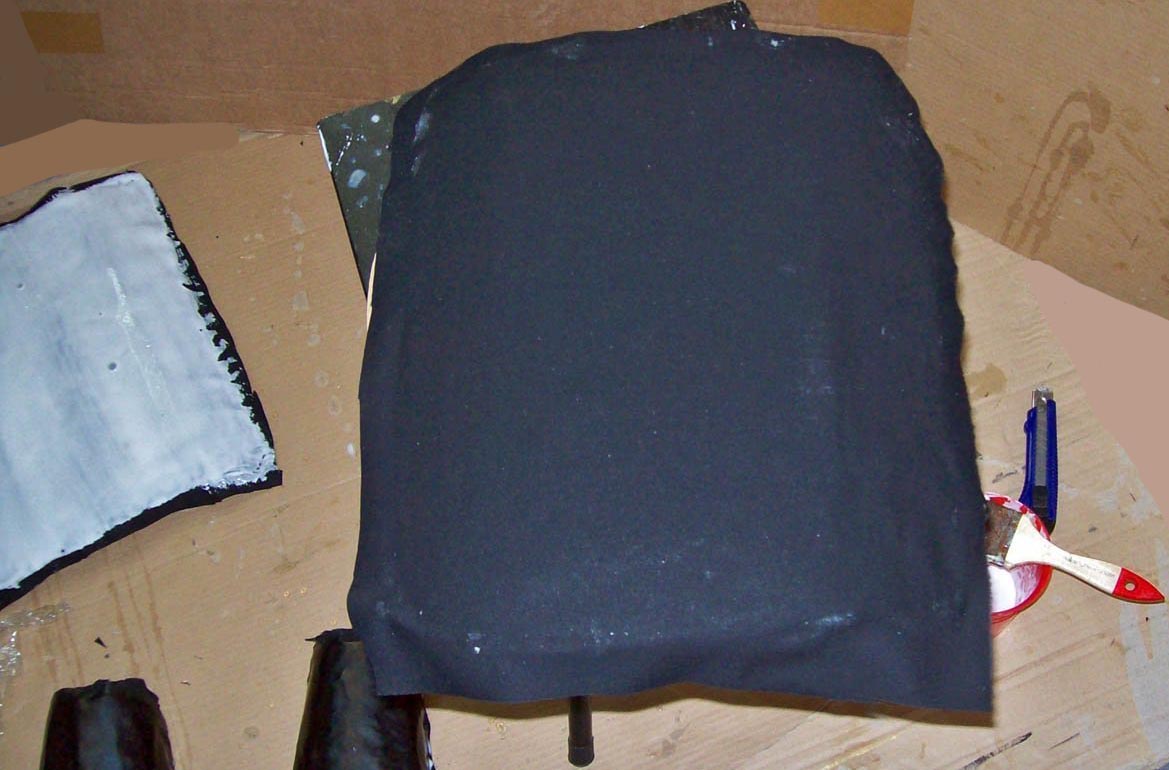
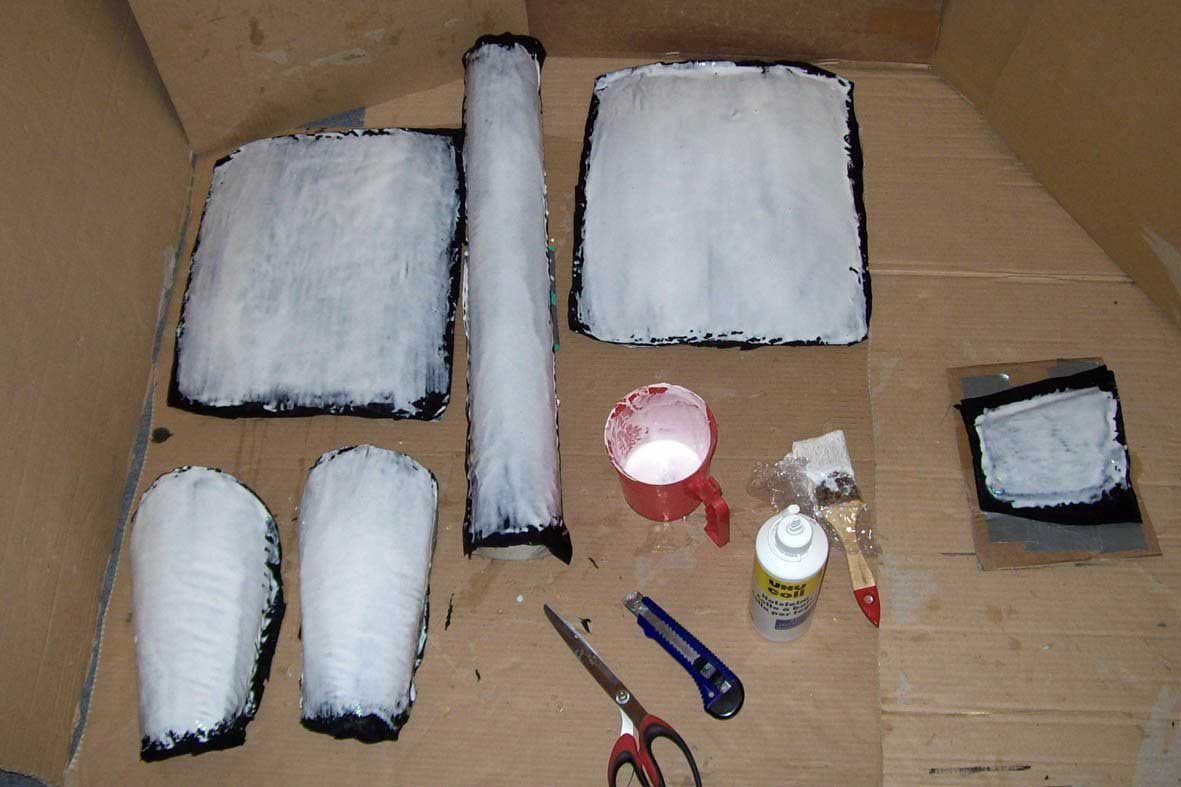
Above: Composite-parts in the work are drying on their respective forms. All are arched for more stability and to avoid me having to bend, glue or rigg straight plates. The cloth is black cotton linen, the glue D3 wood glue (waterproof, transparent drying). I build two layers of cloth per day: one in the morning before work, the other in the evening. Every 3 or 4 days I let the working piece dry for 1 or 2 extra days. To avoid running at idle just have enough parts in the work. Or just watch tv for an evening... When 3 or 4 layers are dry I detach the working-pieces from the form so that the undersides can dry too. Nevertheless they stay on the forms during the whole manufacturing process until completely dry. With plates like these one can afford to avoid overlappings. Parts that were built lying flat with each layer made of a single piece of cloth have the best surfaces. All pieces of cloth are a little too big for the forms, as are the forms in comparison tho the parts I want to build. That way you get perfect edges when trimming the parts. Every 4 to 5 layers I trim the parts with plate shears. The final material strenght will be 10 layers which can barely be cut with the tool but already provides real protection. Most parts of the armour sport two tiers of 10- layered plates separated or backed up by at least 1 layer of padding. |
 |
|
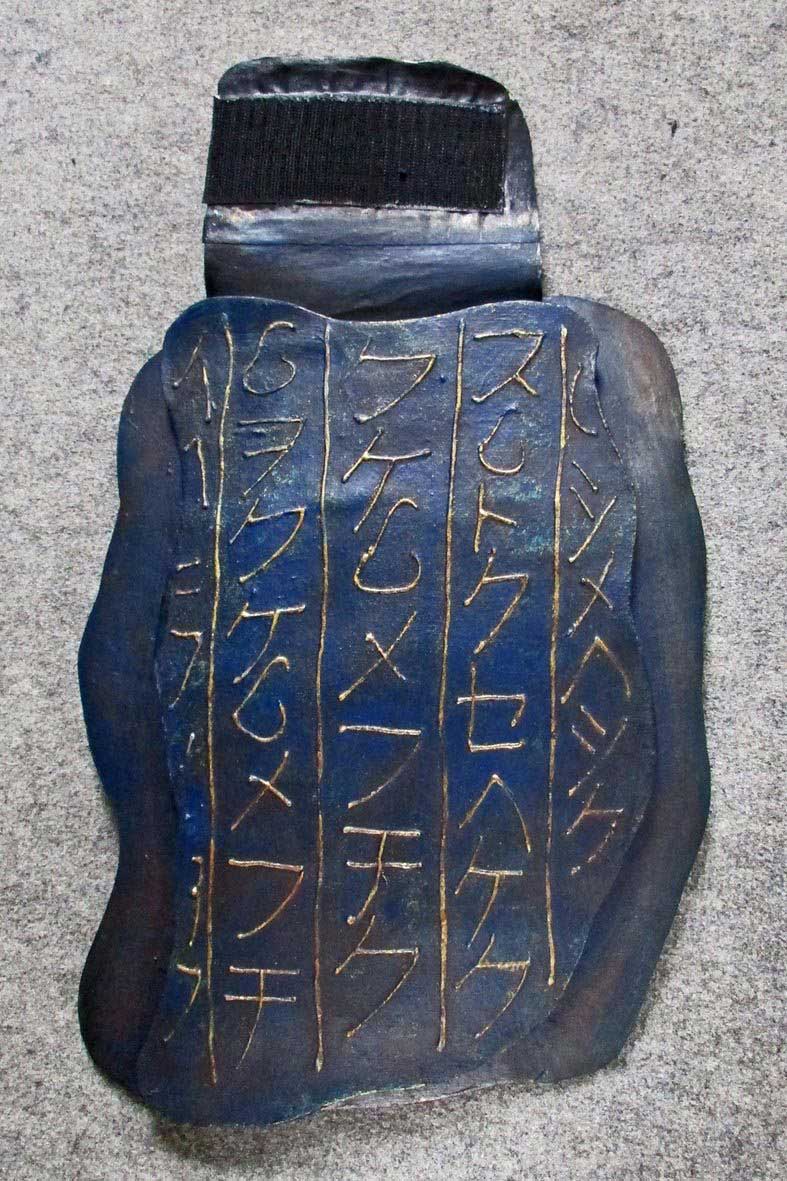
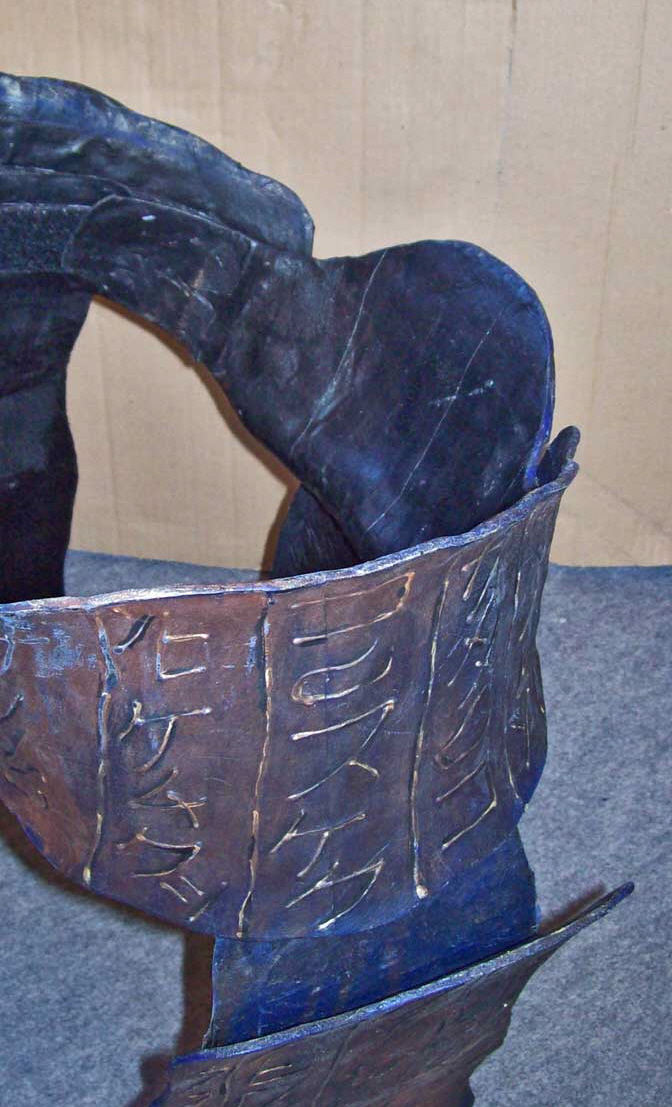
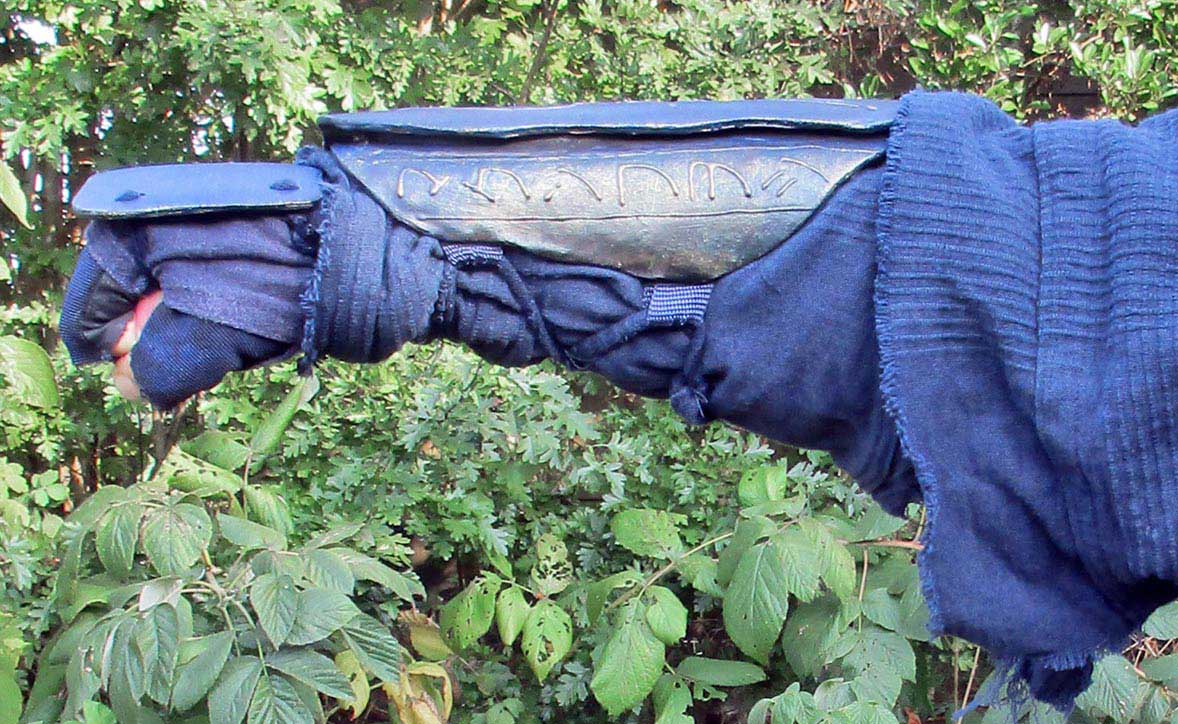
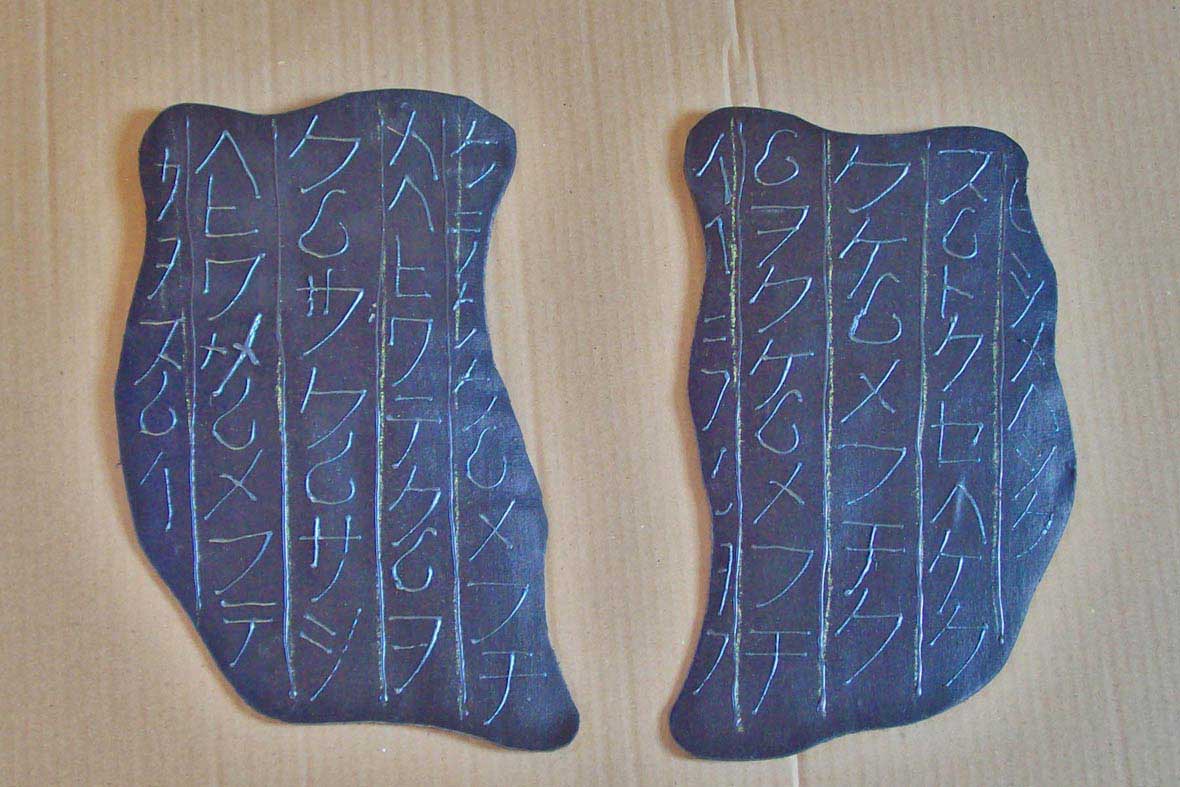
Above: the side-platesī immacculate surfaces These plates were built on forms lying down flat without overlappings of pieces of cloth. Although they are slightly arched, the surfaces are so pristine as I would like the rest of the armour to be. The picture was taken before the ornaments were fixated. The runes were sketched out with chalk and then executed with window-color-contour. Then the surface will be sealed with a mixture of 3 parts glue and 1 part acrylic paint which also serves as grounding, then painted. |
|
|
||||||||||||||||||||||||||||||||||
|
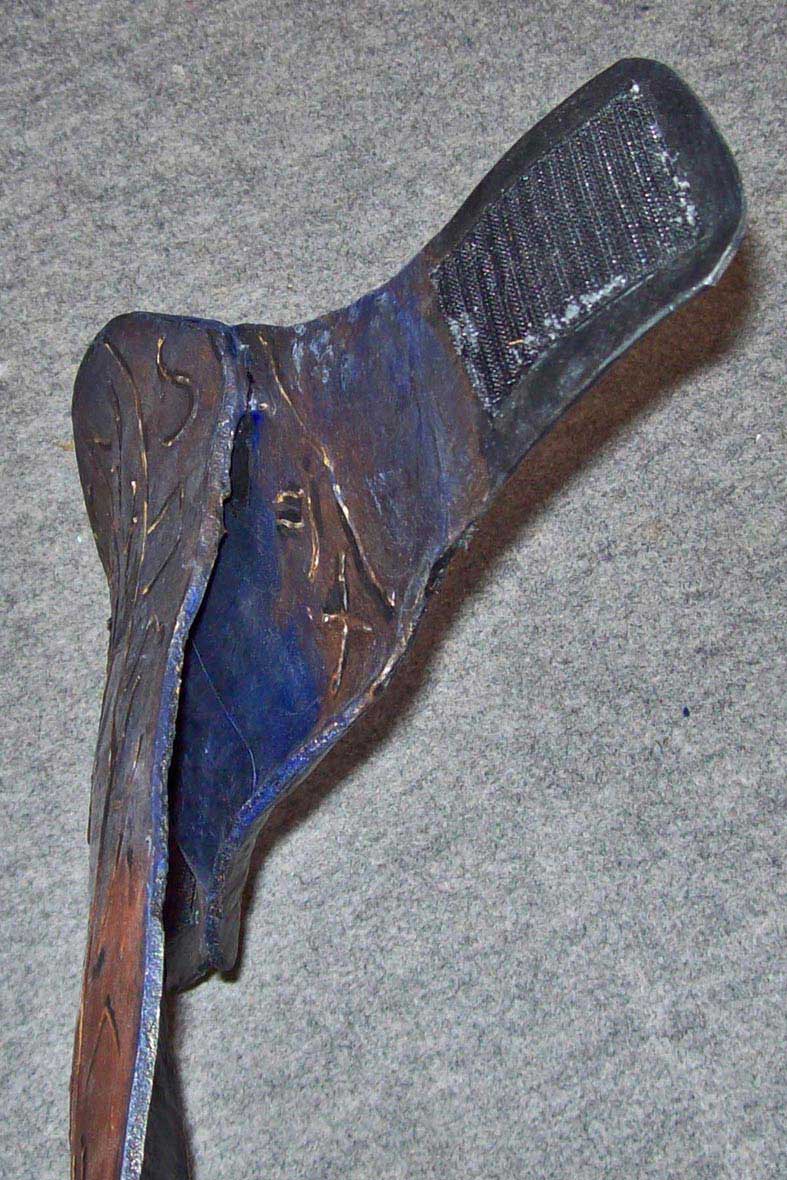
Above right: The attachments are made by placing a protected piece of cardboard (here itīs clingfiln, but taping would work better) onto the lower layer where you want the attchment to start and then glue the next layers of cloth on the lower plate (with enough overhang for secure bonding) as well as the cardboard- form. Meanwhile I donīt use clingfilm any more to prtect forms but tape them. That way the form gets more stable and the workpieces have much better surfaces. In do not glue two dried plates on another but always build “soft” new plates onto dried ones for maximum contact surface of the two tiers. |
|
|
||||||||||||||||||||
|
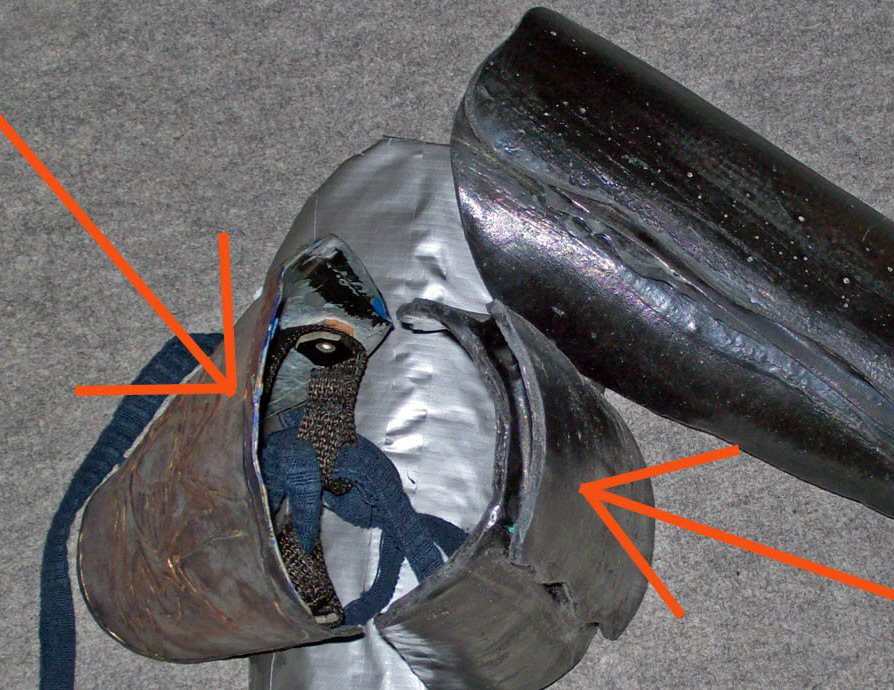
The foam- sandwich is a weak point of the construction because theoretically the plates could by force be separated there- the foam would tear under enough stress. Therefore the shadow gaps between the lino-plates are glued over with one layer of cloth that securely connects them. |
 |
 |
||
|
Assembly of the belt which is transported disassembled to save storage- space. Above left: mounting the side plates (the golden marker helps to establish the right position) Above right: mounting the front plate (in parts over the side-plateīs attachments that have velcro on both sides). |
|
|
||||||||||||||||||||
|
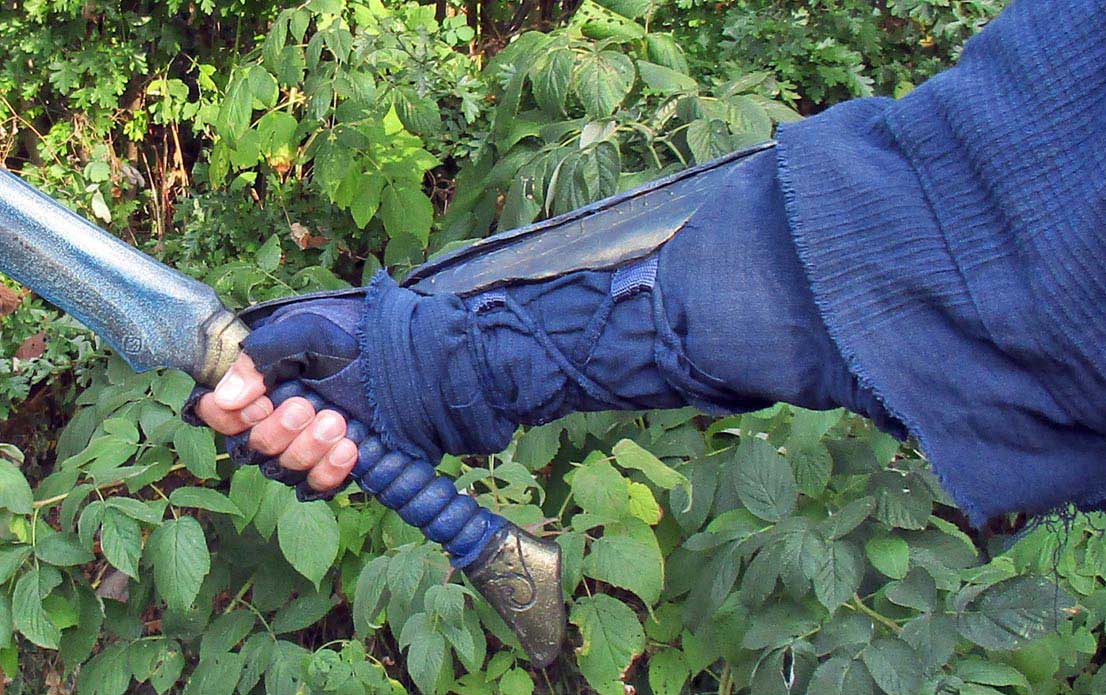
arm-plates (vambraces) |
 |
|||||||||||||
 |
|||||||||||||
 |
 |
||||||||||||
|
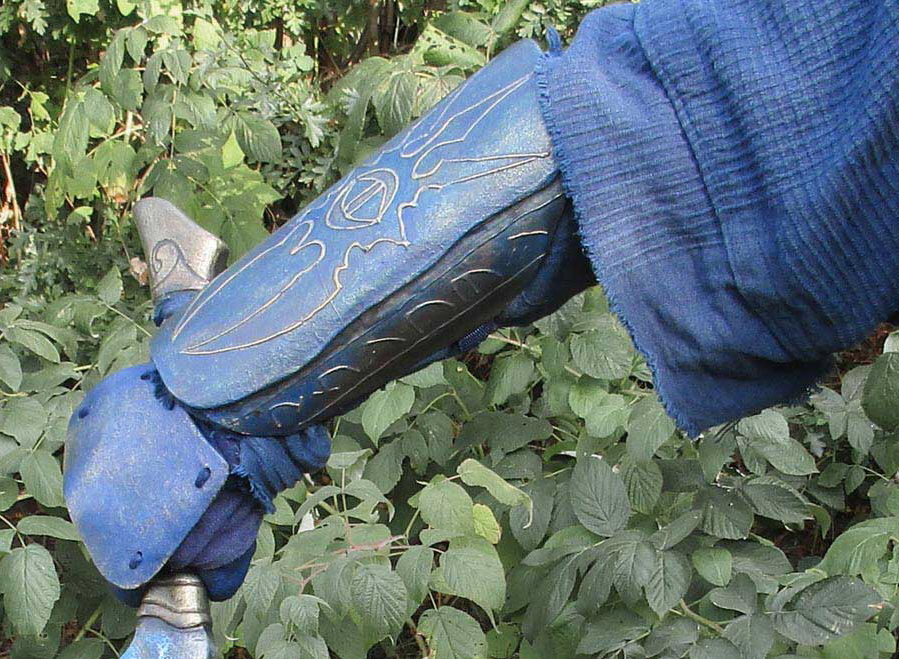
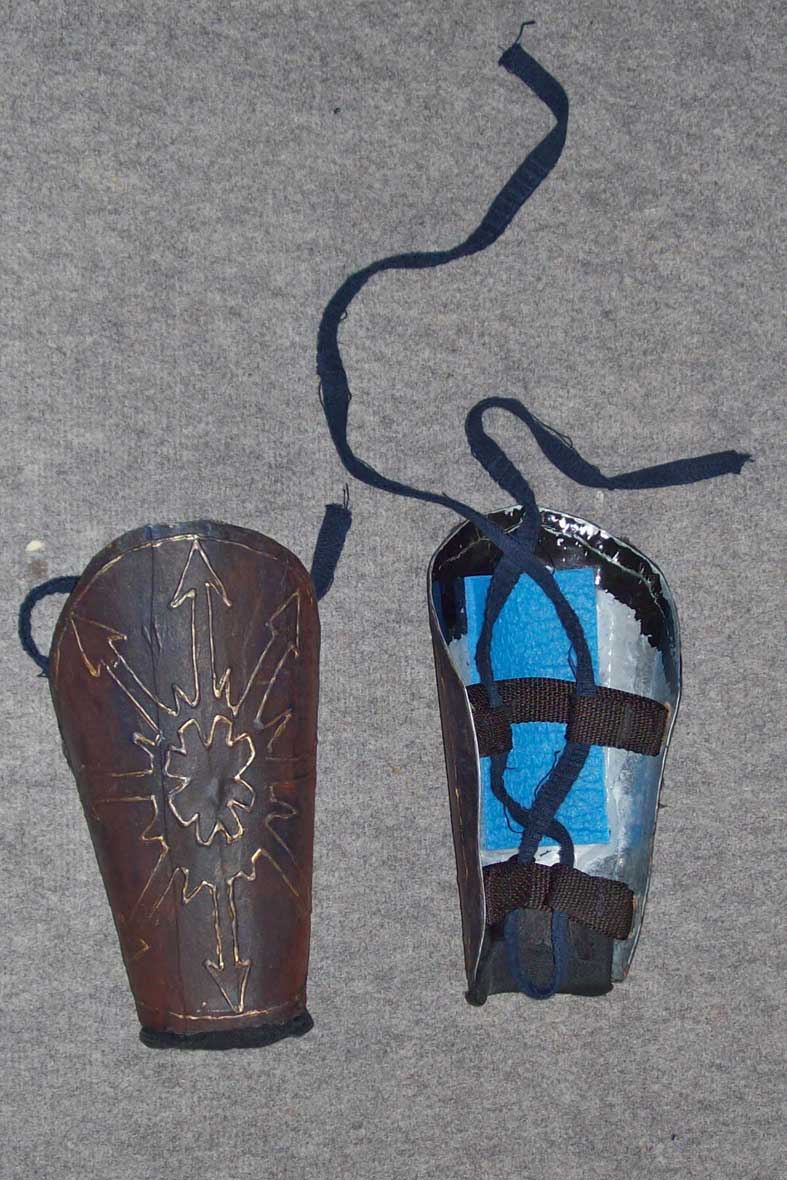
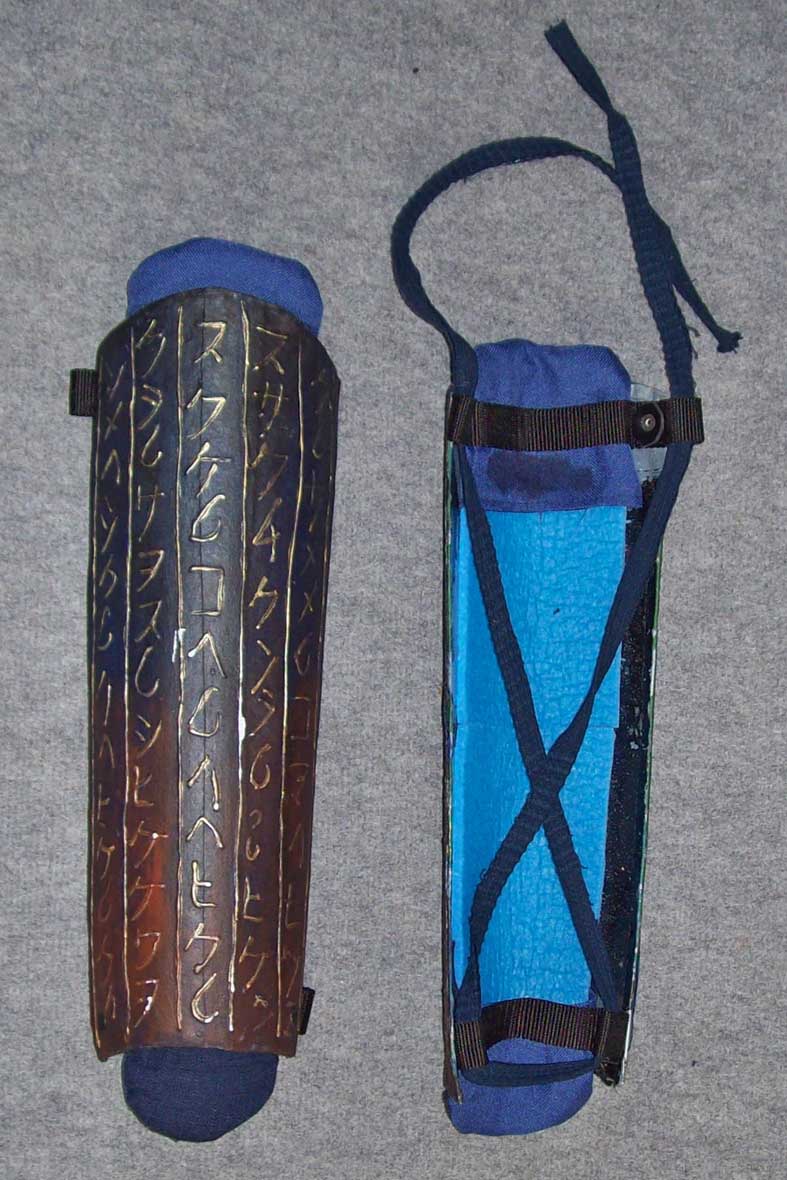
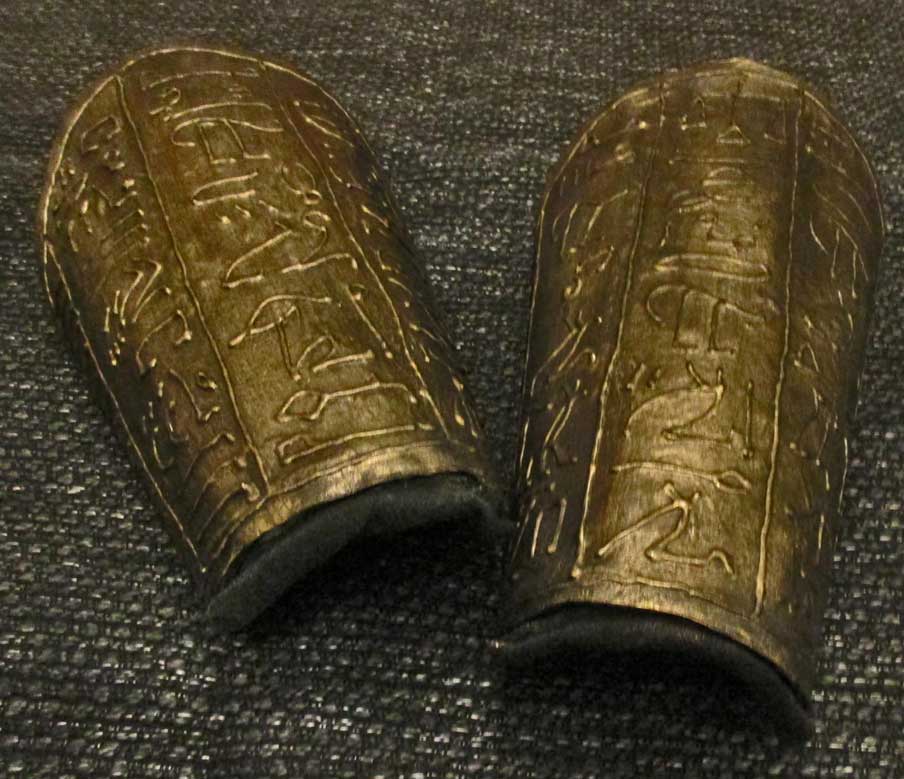
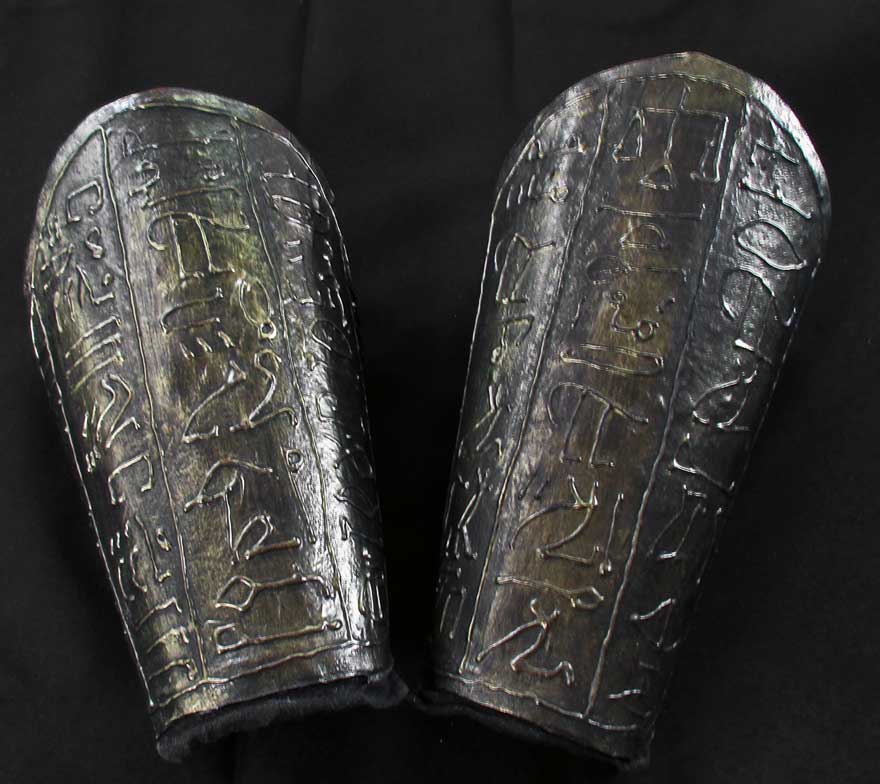
Above: The first set of the armourīs arm- and legplates from 204 was made of metal plates that were glued over with one layer of cloth and then embellished and painted to resemble the overall look. Paddings are pieces of cheap camping foam- mat whose visible parts have covers of cloth glued to the plateīs insides. They survived the convention without problems which makes the solution worth considering as a surface-mod for metal armour. Below: This year (2016) by the way Iīve recycled the old arm plates by scraping off the ornaments with a carpet- knife, then smoothing down the surfaces, glueing another layer of cloth on top, applying new ornaments and repainting them. Theyīre now part of an egyptian armour: |
|||||||||||||
 |
|||||||||||||
 |
|||||||||||||
|
The new plates were built using the old ones as forms: why construct new forms when you already have ones that fit? |
 |
||||||||||
|
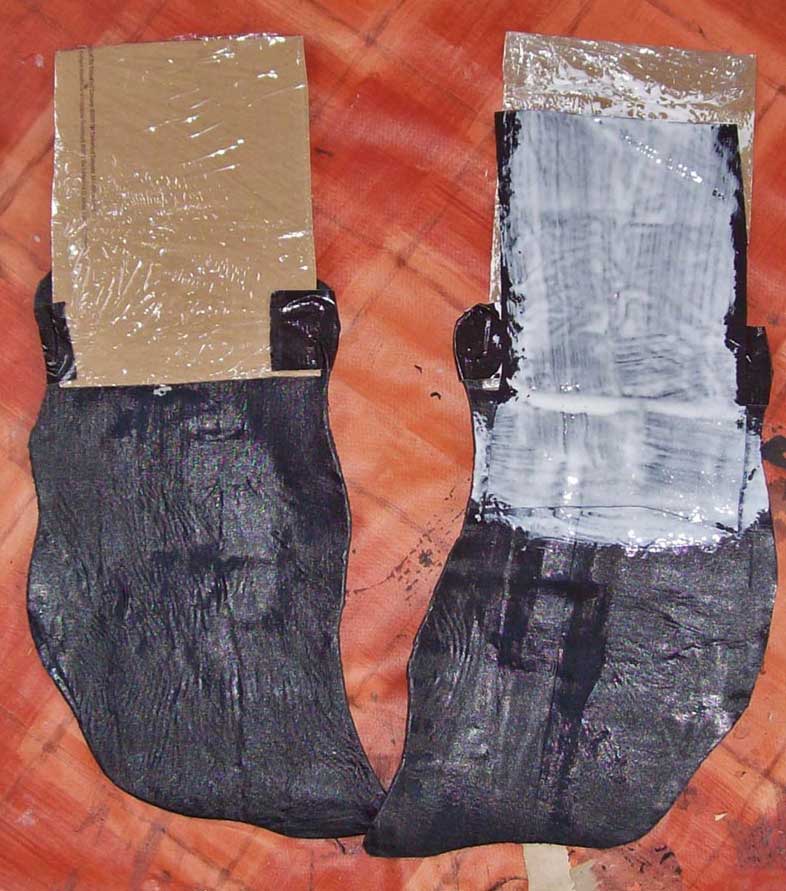
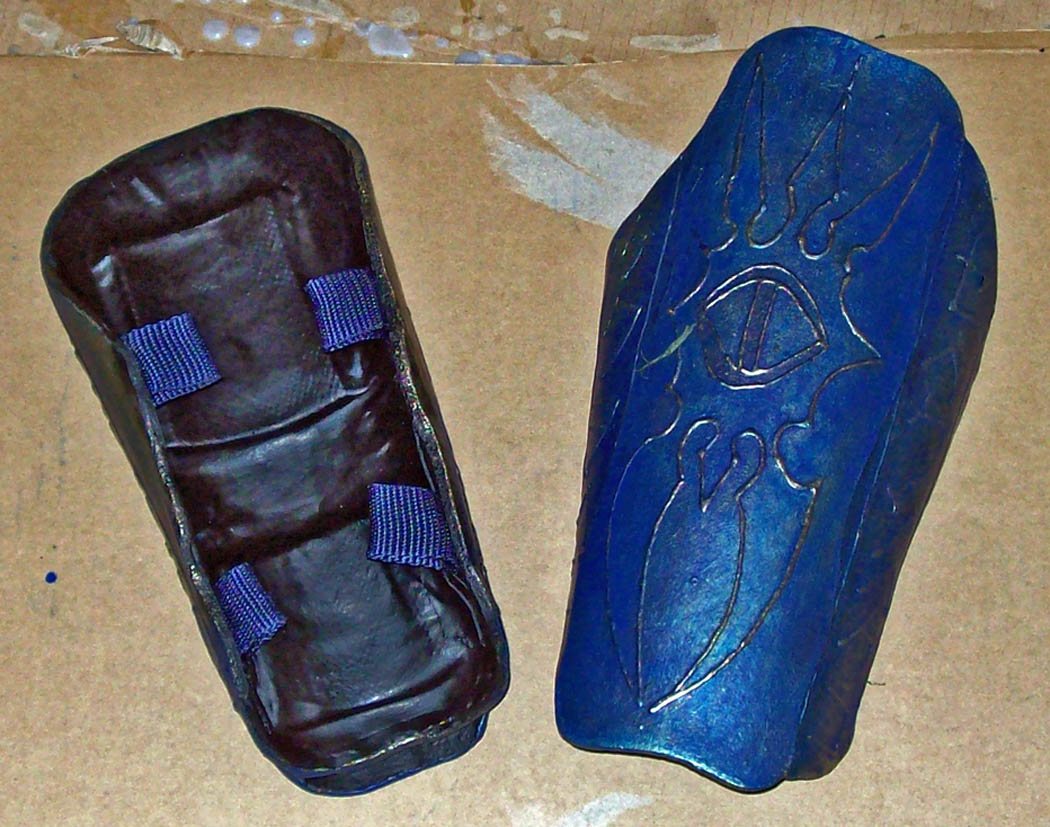
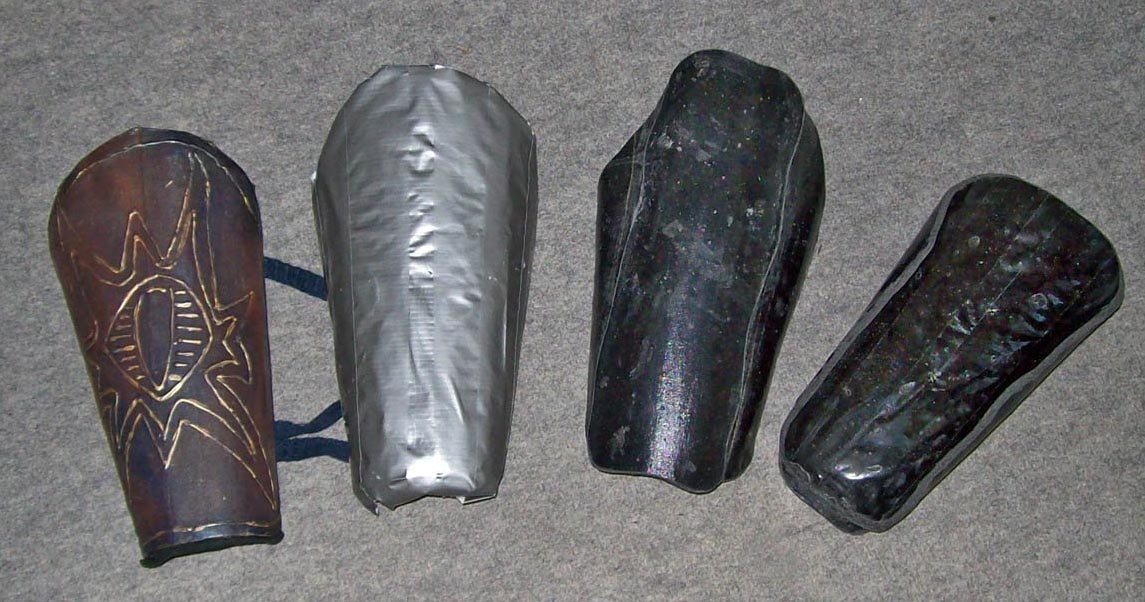
Above: construction of the linothorax- parts of the new arm-plates (vambraces); 2015 The original plate (above left) was covered with clingfilm and then taped; thus the tape can later be removed again without paint coming off. Then the form was covered with 10 layers of cloth. The working piece built that way is a little bigger than the original so the new plate will have clean egdes when being cut to shape and trimmed. The new plates (on the right one is shown from the upper side, the other from the inside) are formed “anatomically”- there is a left and a right one. |
||||||||||
 |
||||||||||
|
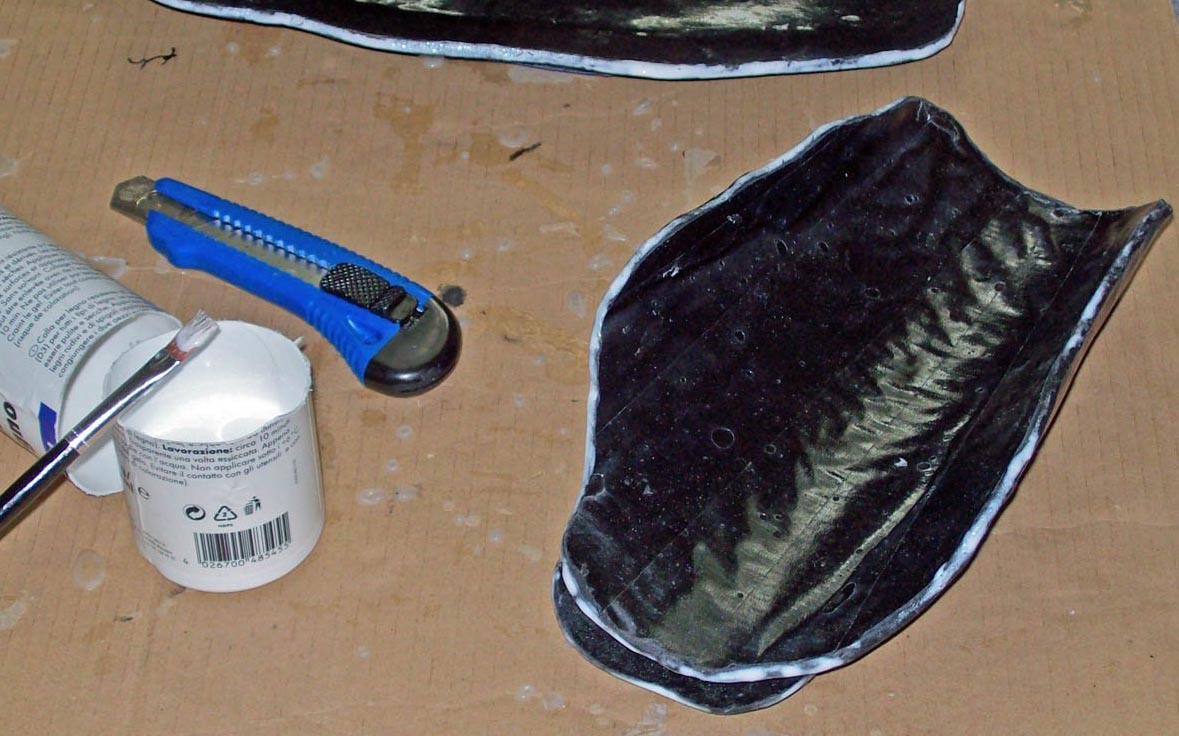
Above: The edges were cut slightly wavy (as are all other edges of the armour) and are sealed with glue. The plate on the picture is the one for the left forearm. |
||||||||||
 |
||||||||||
 |
||||||||||
|
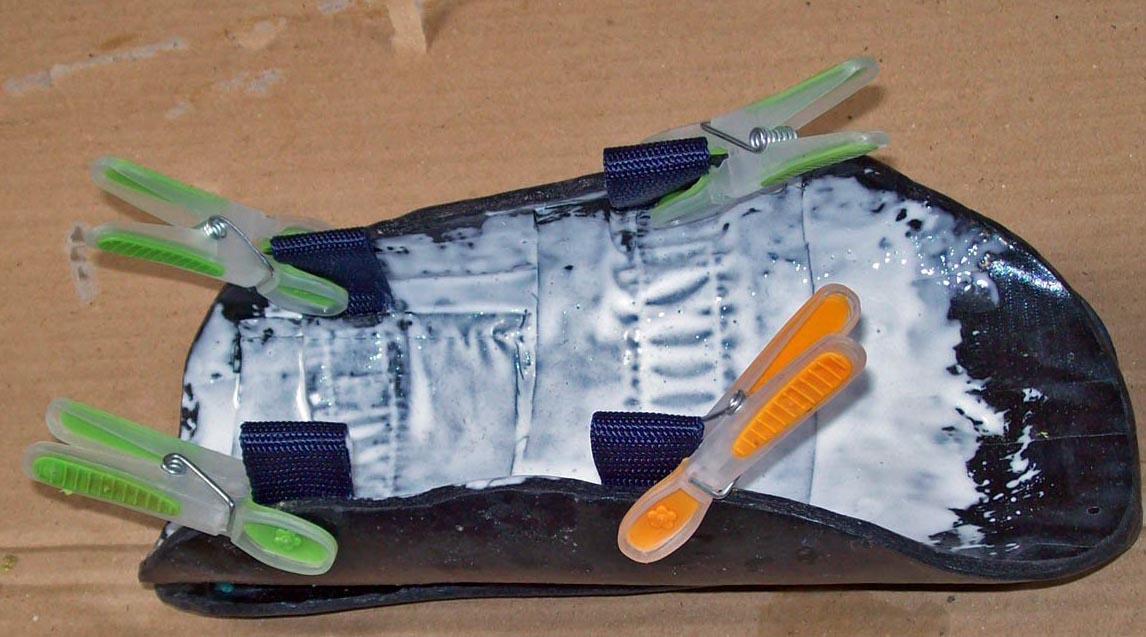
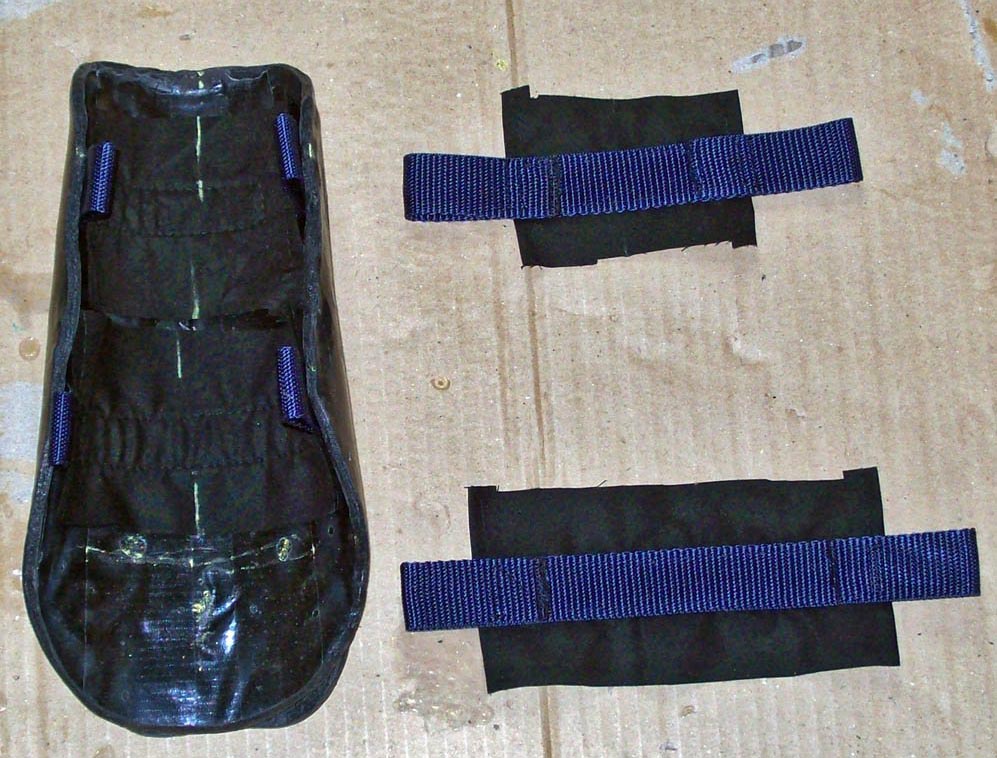
Above left: The lugs for the attachment of the cords are made of webbing. The starps canīt be glued so theyīre sewed onto pieces of cloth which can. The cloth also increases the contact surface that is glued. That way the bonding is strong enough. Oben Rechts: to be sure the cloth lies flat on the inner edge of the plate while drying a few clothespins are employed. |
 |
|||
 |
|||
|
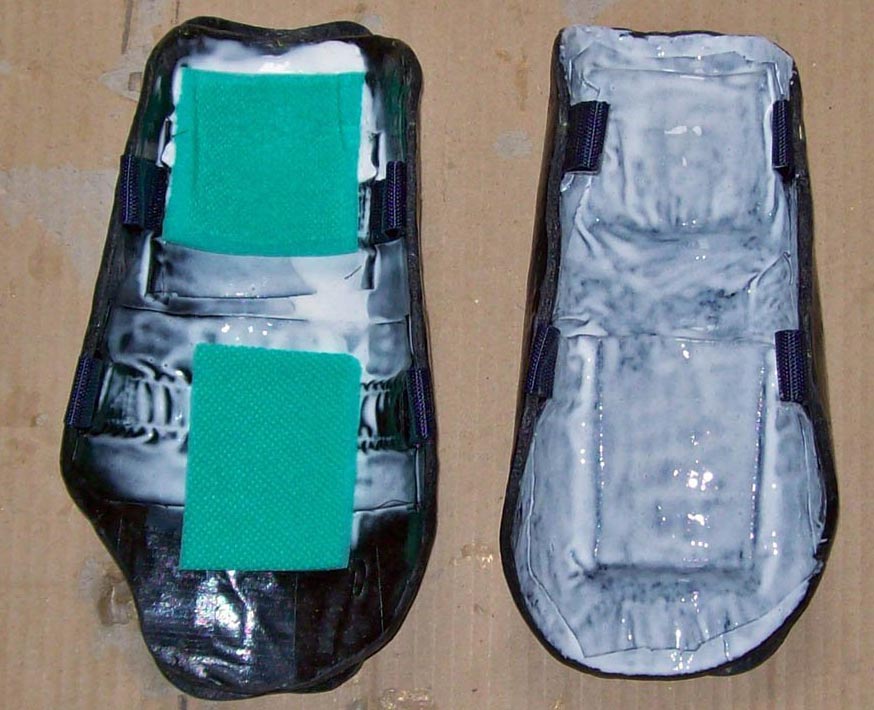
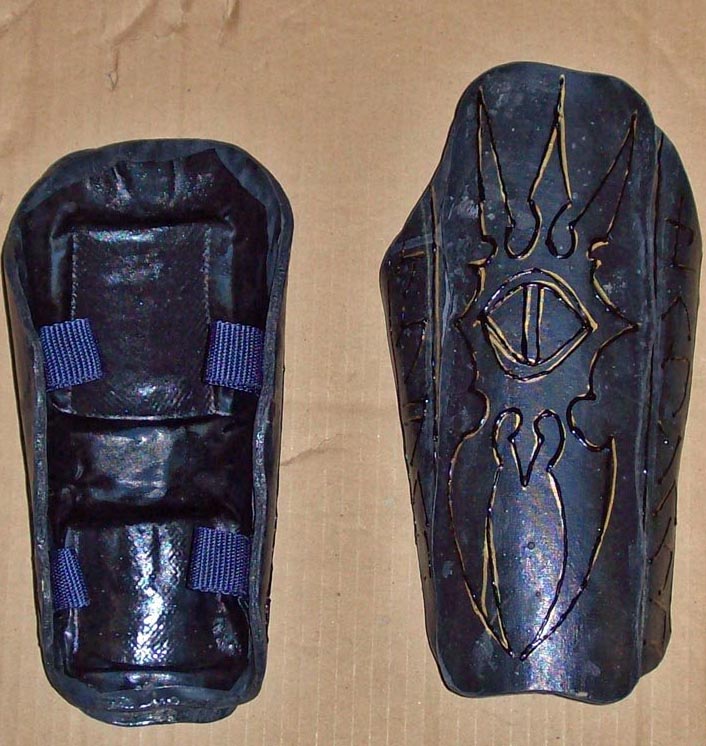
Above left: I want intergated padding insted of padded undergarments. Both foam plates (cut from an cheap camping mat) are glued under pieces of cloth onto the plateīs underside. Above right: The underside with lugs and padding is dry, beside it see the upper surface. Onto the second layer of armour in the middle of the plate the ornaments have been scetched out with a golden “paint-it-all”-marker which works better than using chalk. Then all embellishments were done with black window-colr-contour which in turn in the next step gets fixated with a mixture of 3 parts glue and one part black acrylic paint. |
|
|
|
|
|
|
|
|
||||||||||||||||||||||||
|
leg- plates (greaves) |
|
|
||||||||||||||||||||||||||||
|
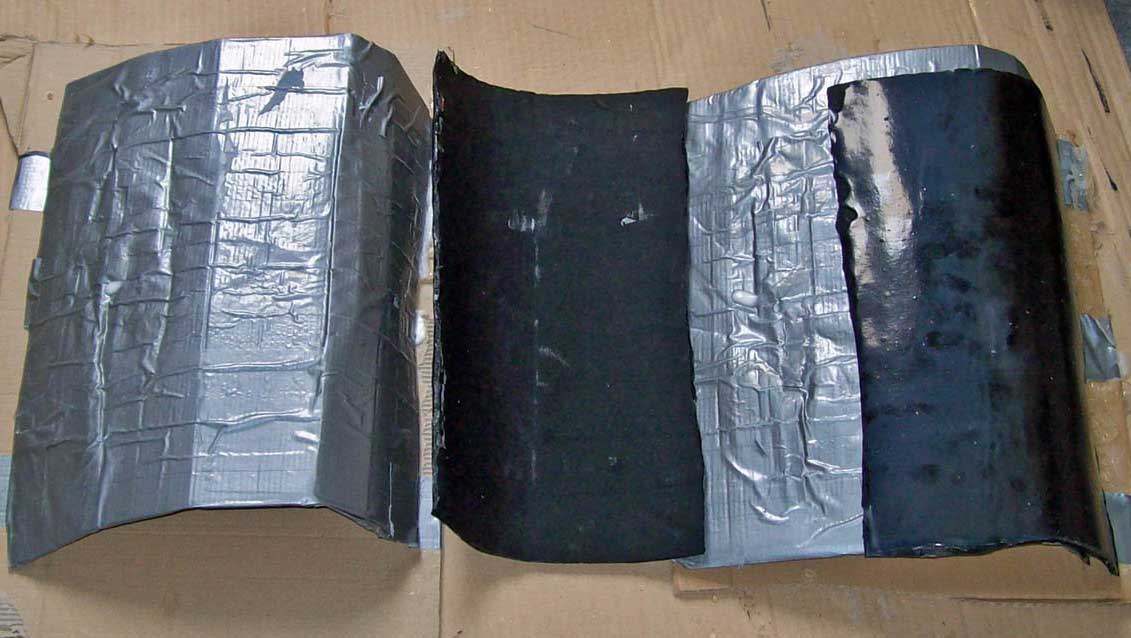
The plateīs surface will also get a second layer of armour under a sandwich of padding. The padding together with the upper plateīs underside will be glued with Pattex so the upper surface is left “textile” and not glued over. |
 |
|
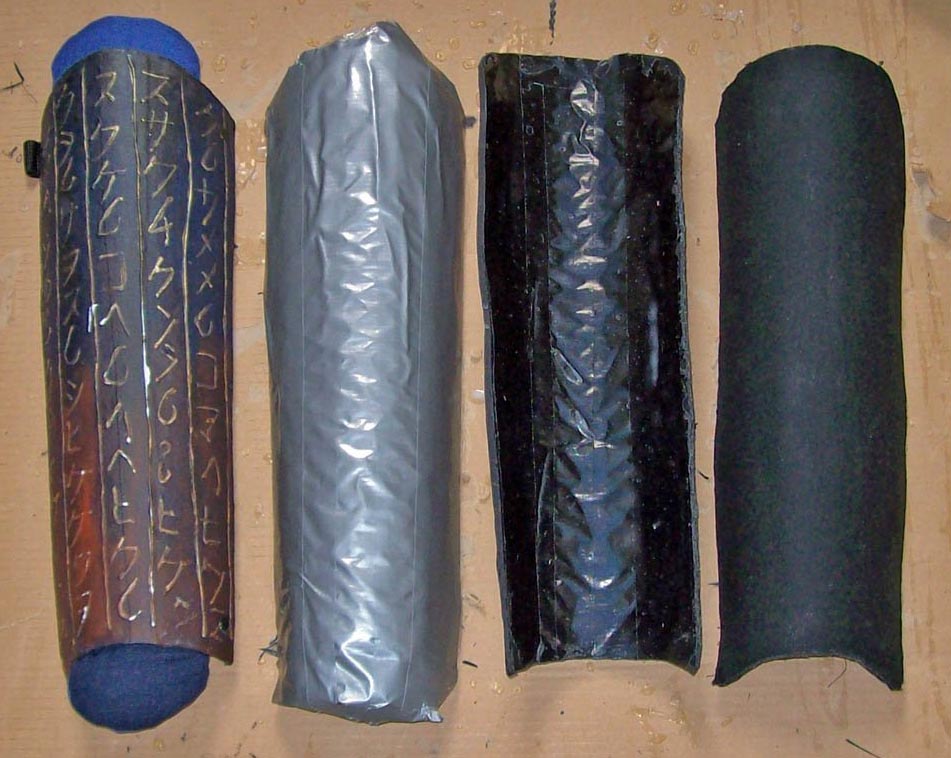
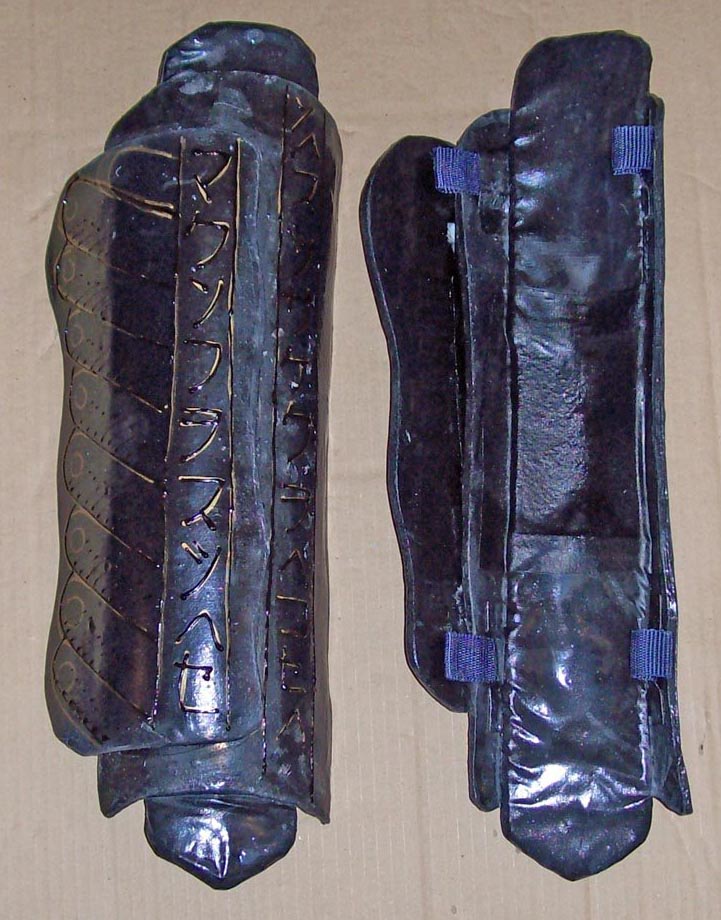
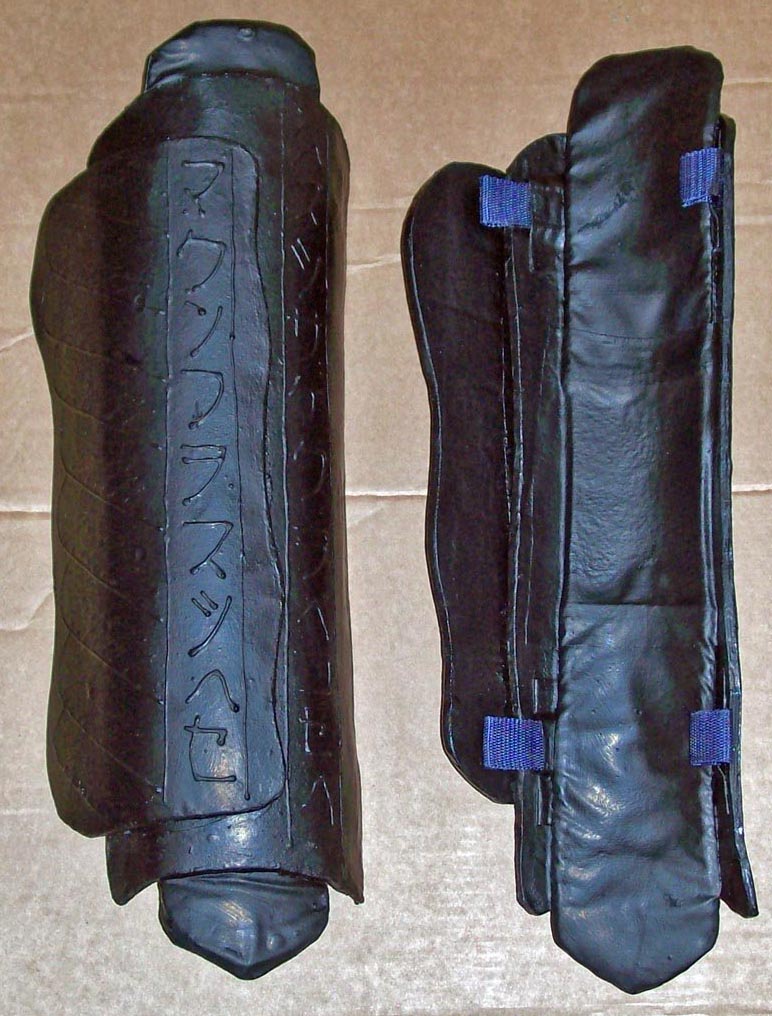
Above: When the lower legs get hit in battle it almost alwais in not frontal but from a sideways swordstroke. My greaves therefore will not only protect forward but their wing-like upper layers will extend from the middle of the shinbone half round the lower leg. The forms needed for that will have to be arched because a flat plate comprising of 10 layers of cloth-composite canīt be bend or glued securely for it will keep its tension.. The last layer of cloth for the wings in the underside, applied after the element is detached from the form. The cloth is glued on left “textile” to bond -per Pattex- with the sandwiched foam- plate. |
 |
|||||||||||
 |
|||||||||||
|
Above left: The assembled plates with half- round upper layers. The glued- in paddings unlike the ones of the arm- plates protrude over the plateīs edges to protect knee and instep. Above right: sealing (outside and inside) with 3 parts glue and one part acrylic colour. Only then the components are painted. |
|||||||||||
 |
|||||||||||
 |
|||||||||||
|
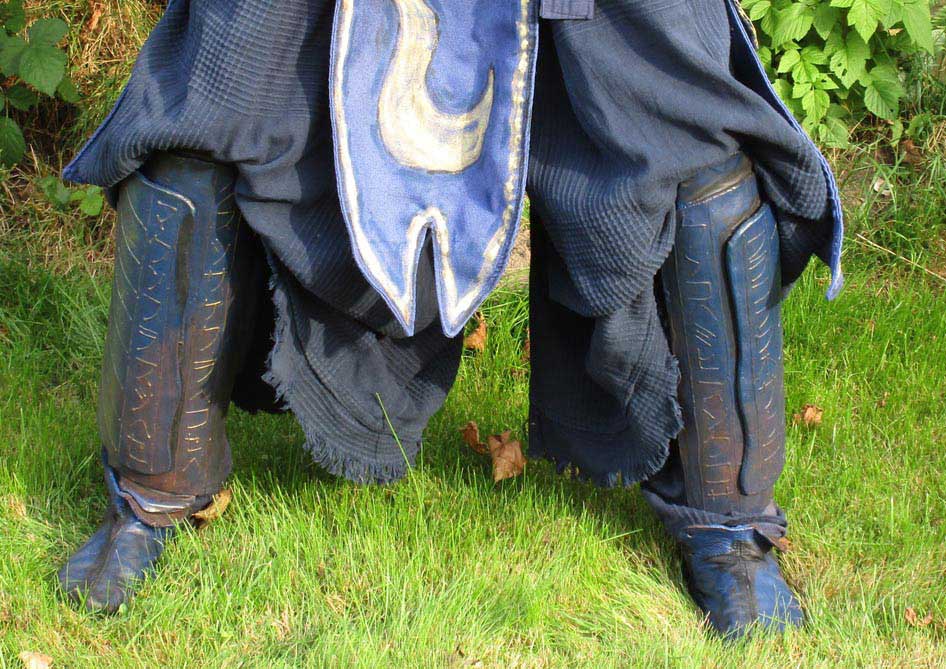
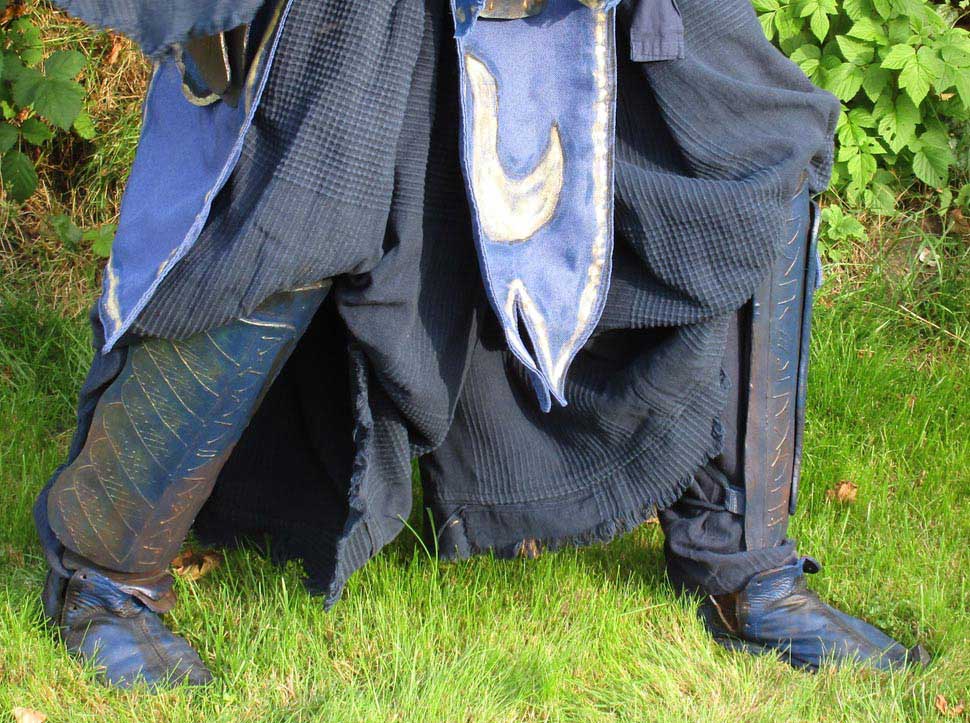
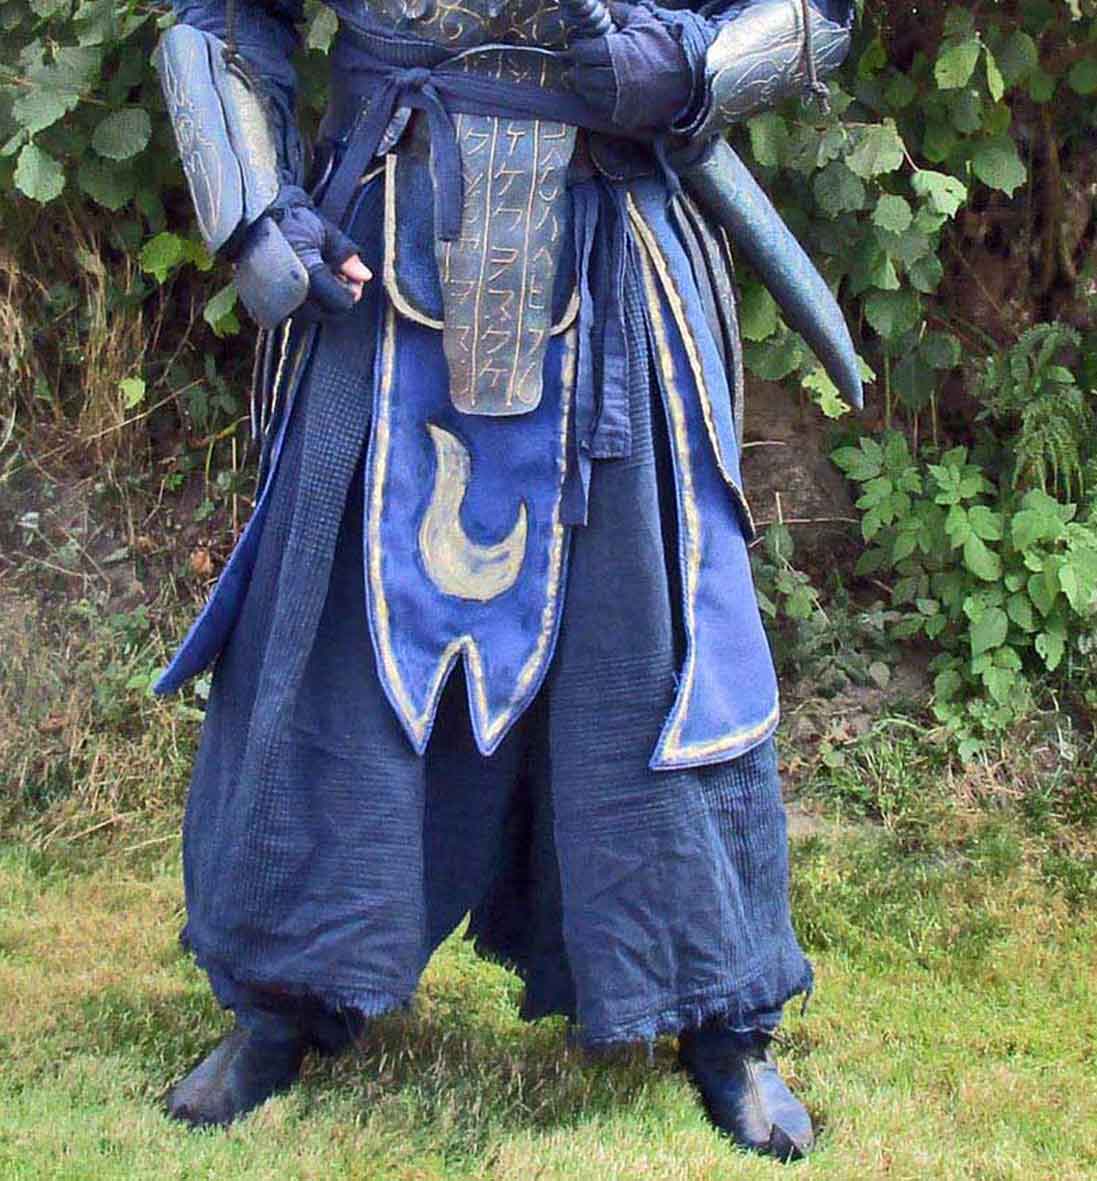
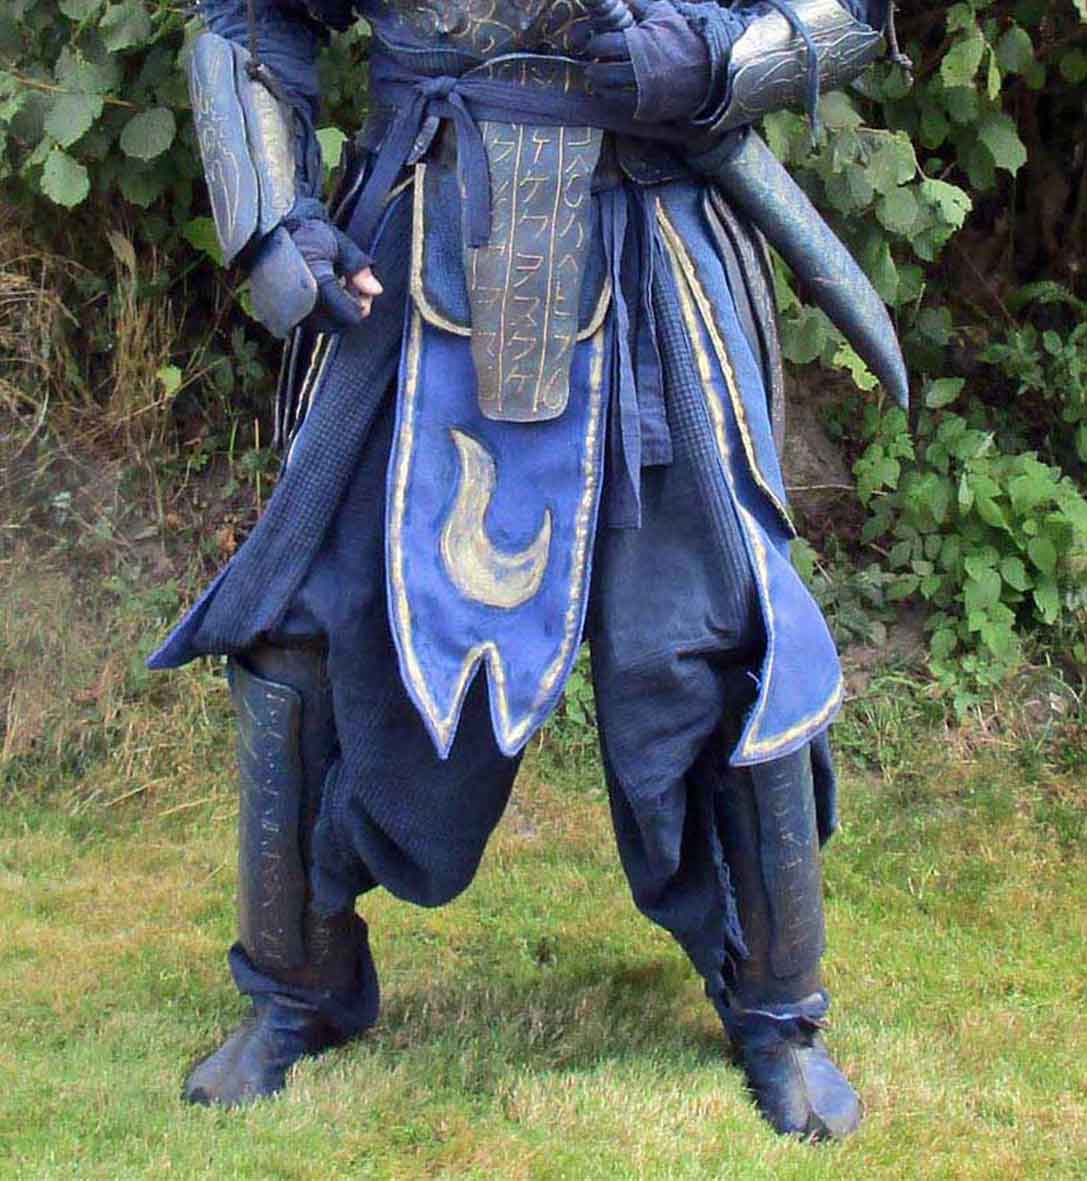
Above: The leg- plates can be worn under the hakama or visibly over it. And this was the last part of the documentation of my armour. Finally again some insights, most of them gained the hard way: |
|||||||||||
 |
|||||||||||
|
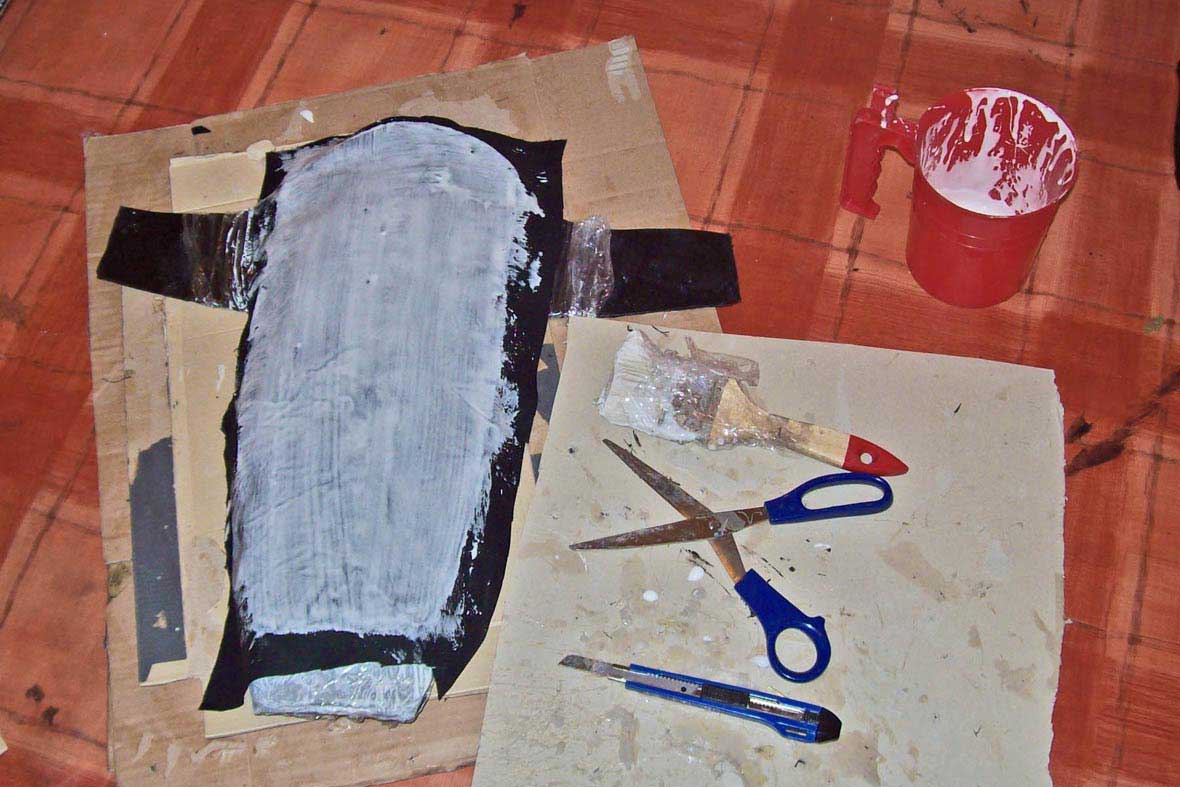
Detach components from their moulds as early as possible (after 4 or 5 layers) allowing them to dry from both sides. Nevertheless leave them on the moulds until finished and dried. Trim the edges every 2 or 3 layers. If the component becomes too thick trimming will get troublesome. Components that are built lying flat get better surfaces than ones built while hanging on a dummy. This however has no influence on the materialīs quality. Wrap brushes into clingfilm after use. That way their life will be prolonged as long as you need them. Leave scissors and carpet knives open when not in use. Otherwise glue residues drying on them will prohibit opening. Dried glue can without problems be removed from open blades. Keep your blades sharp! Sharpen scissors by cutting fine sanding paper. For knives I prefer a sharpening steel. Pay special attention when working with blades! I donīt see any advantages in thinning down glue. “As it comes” worked best with me and tends to produce less “tears” when drying. When talking about your project at some time youīll get advised to change the direction of the clothīs warp with every layer. I donīt see the point in this: Whether the fibres get soaked with glue or are enclosed- the glue in any case immobilizes every filament, thus prohibiting tearing or dislocation regardless of the warpīs position. -------------------------------------------------------------------------------------------------- Thatīs all for now about this project. The material in itself only qualifies for real armour if manufactured properly. The phrasing “stops blades and arrows” should tempt nobody to “test” his armour while somebody wears it. Certain blades were built especially to break armour and will penetrate even metal panoplies: And the most important thing to know about a linothorax today:
A linothorax offers no protection whatsoever against modern firearms.
...but from almost anything else. See the test: linothorax test Oct 2014, Feb 2016, Oct 2016, may 2018 |
| [Home] [Deutsch] [English] [about me] [whatīs new] [Contents] [about monsters] [faqs] [other sites] |
