|
|
|
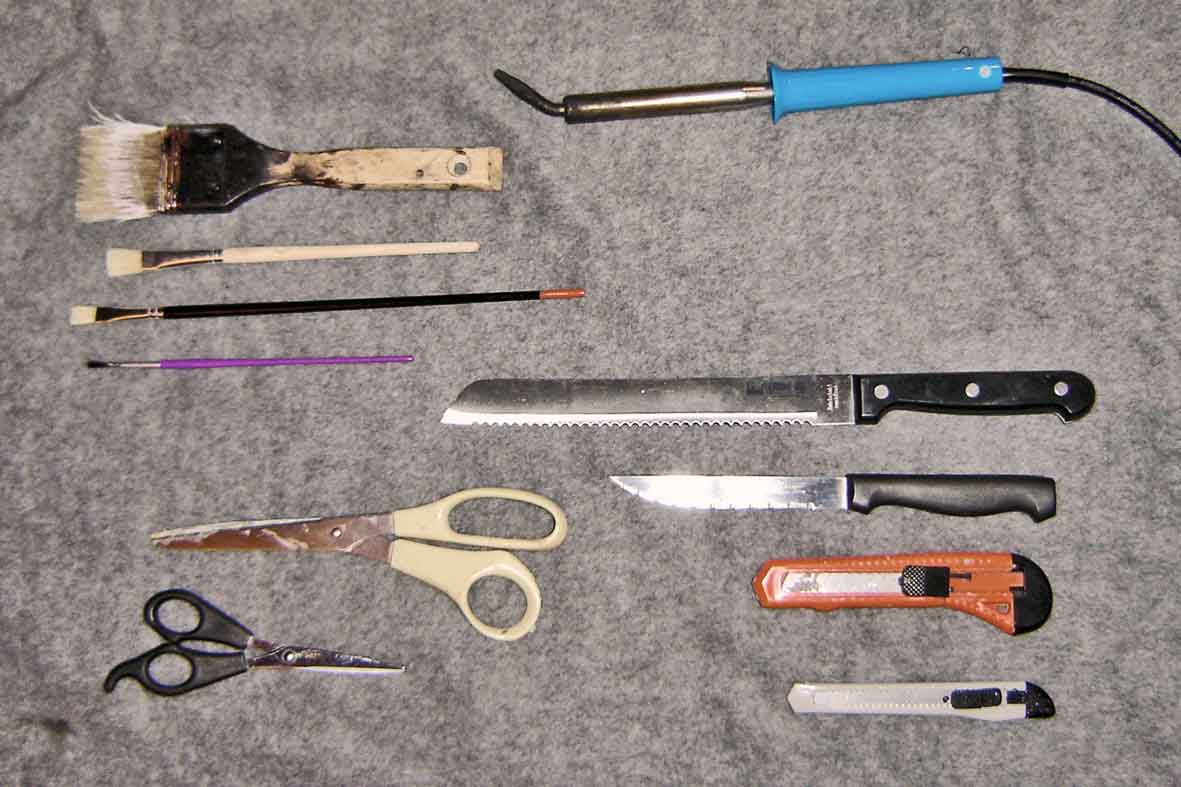
So what is needed to build monsters? 1. Tools, see picture below: above left: verious types of brushes. I use more bristle- than soft brushes but employ the same painting- techniques as with miniatures. above right: an electric soldering iron for treating surfaces. It closes the foamīs pores and makes script, battle-damage or cuts. Take the strongest you can find; cheaper (and less strong ones) are annoying. below right: various knives. Bread- and steak- knives are good for open- pored matress foam, the carpet- knife is for mats, evazote and plastazote. below left: various types of scissors. By the way: Did you know that things with blades can bite you?? |
||||||||
 |
||||||||
|
Whereby this seems the right moment for a basic security suggestion: Working with tools is DANGEROUS and can ruin your health, property and good humor. |
||||||||
|
Keep your blades sharp. Sharpen knives (also carpet-knifes) with a sharpening steel and scissors by cutting middle- grade sanding paper.
2. Consumables; see picture below: |
||||||||
 |
||||||||
|
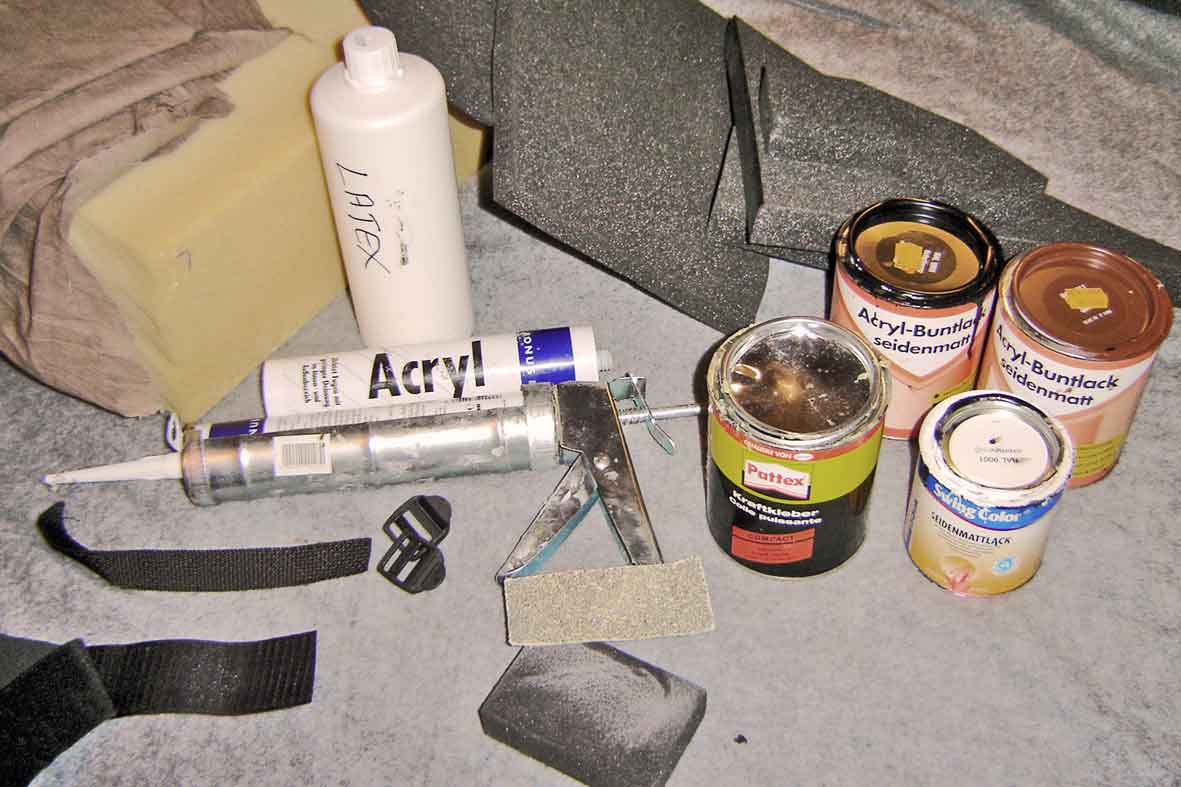
Above: various sorts of foam. Not seen here are cheap camping mats which can be used if nothing else is available. The “classic” foams are called “evazote” and “plastazote”; they come im mats from a few millimetres to a few centimetres thick. Whenever possible I use black ones because abrasion damage is less noticable there. I use the open- pored matress- foam on the upper left for carving big masks (see “jackals” or “wild hog”). The material isnīt good for details but these can be added with more suitable sorts of foam. The big advantage of the soft, open- pored matress foam is in the protection of the puppeteer from impacts which dent or forcibly displace the mask. It will just cave in and bulge out again without any harm done. Then, a word or two regarding paint (below right):
First aid in the event of acrylics accidents: Splashes on the tiles in your kitchen? On hard surfaces they can be tracelessly removed with the scratchy side of a damp kitchen sponge - even when dry. Splashes on the carpet? Tsk tsk tsk.... Immediate mechanical gathering of as much paint as possible: use a kleenex kitchen tissue and donīt wipe but “gather”. Then thin down rest of paint as much as possible with damp kleenex and sponge it up with dry kleenex. Chances are good, depending on colour and quality of your carpet. Upset the can? Splashes on the wallpaper? Sorry, youīre dead. Acquire alibi at once or try blaming somebody else. Acrylics from a cartridge gun (below left) for glueing fabric onto open- pored foam to simulate skin. Can - contrary to silicone- be painted with acrylic paint. Heavy when used in large quantities but much cheaper than pattex. Pattex- the stuff monsters are made of... the most expensive material in monster-building, but I wonīt miss it or replace it with anything else. There is no alternative to the contact adhesion application method: coat both surfaces you want to glue with a thin layer, wait until you can touch it without disturbing the stuff, then press both pieces together as strong as you can. Strength is of the essence, not duration of pressing. Contrary to rumours pattex doesnīt glue everything- the technique is important. Pay attention to big enough contact surface and direction of pull. Ignore one of these and your monster will fall to pieces on the battlefield. Sanding- paper and -block (below middle). Foams with smooth, slightly greasy surface have to be sanded because otherwise neither pattex nor paint will stay. Velcro and webbing strap with clip- and loop-clasps (below left). From any DIY-Superstore. Much better than leather. Velcro and webbing cannot be glued (too small contact surface), so they have to be sewn on a piece of cloth; that can be glued. Thatīs why I also mention non-elastic fabric (and at “tools” a sewing- machine...). Foam is not tearproof. But it becomes so when you glue fabric under it. OK. Got everything? Is your work surface protected? Kleenex ready? Then īere we go... Link back to “contents”: Contents last edit oct 2016 |
||||||||
| [Home] [Deutsch] [English] [about me] [whatīs new] [Contents] [about monsters] [faqs] [other sites] |