|
|
|
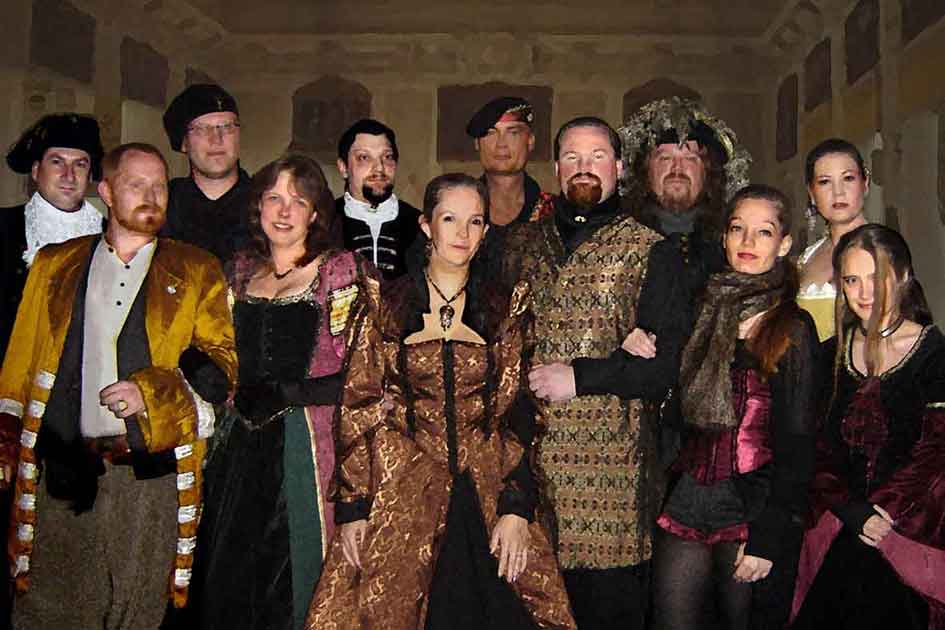
For indoor- conventions it is possible to equip the location with paintings of plot-relevant content. A portrait of the head of the household, the dead great- aunt who haunts the premises, a concealed clue or just ambiente. |
 |
|
The skills one needs to produce satisfying results aren´t difficult to learn- but how the heck do I describe them without the right vocabulary? Ok- here comes the language- barrier: There is nothing like “...press this here button and all is well”. The quality of the result depends on your prowess- which will improve the longer you tinker with the things. Stay with it! If you have contact with folks who know what they´re doing, show them a few of your pictures and ask them about their opinion. Listen to them without defending your work. One should practise with people who are better than oneself, even if one gets a few bruises during the process. These will heal and one hears it builds your character. Thanks Martin/Jeanette/ Trapper/ Tanja/ Markus/ Marc. |
|
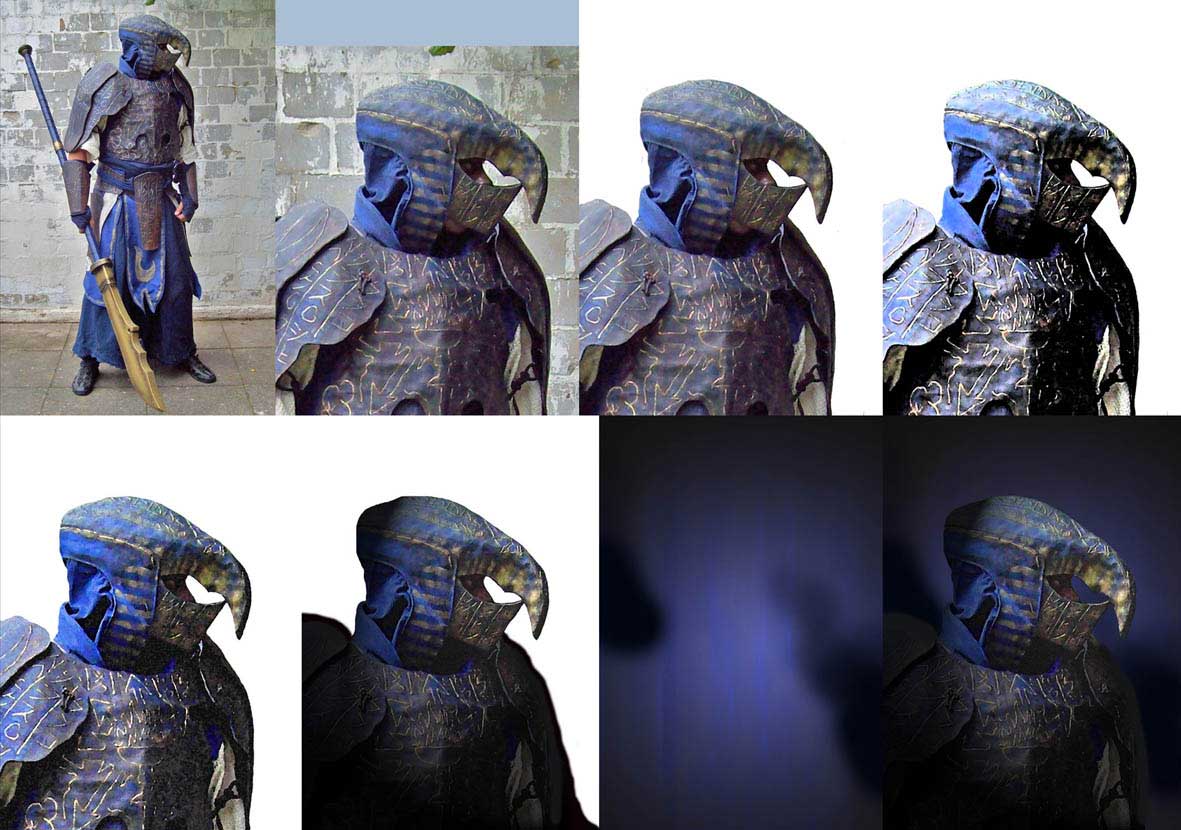
Below: From photo to “painting”: |
 |
|||||
|
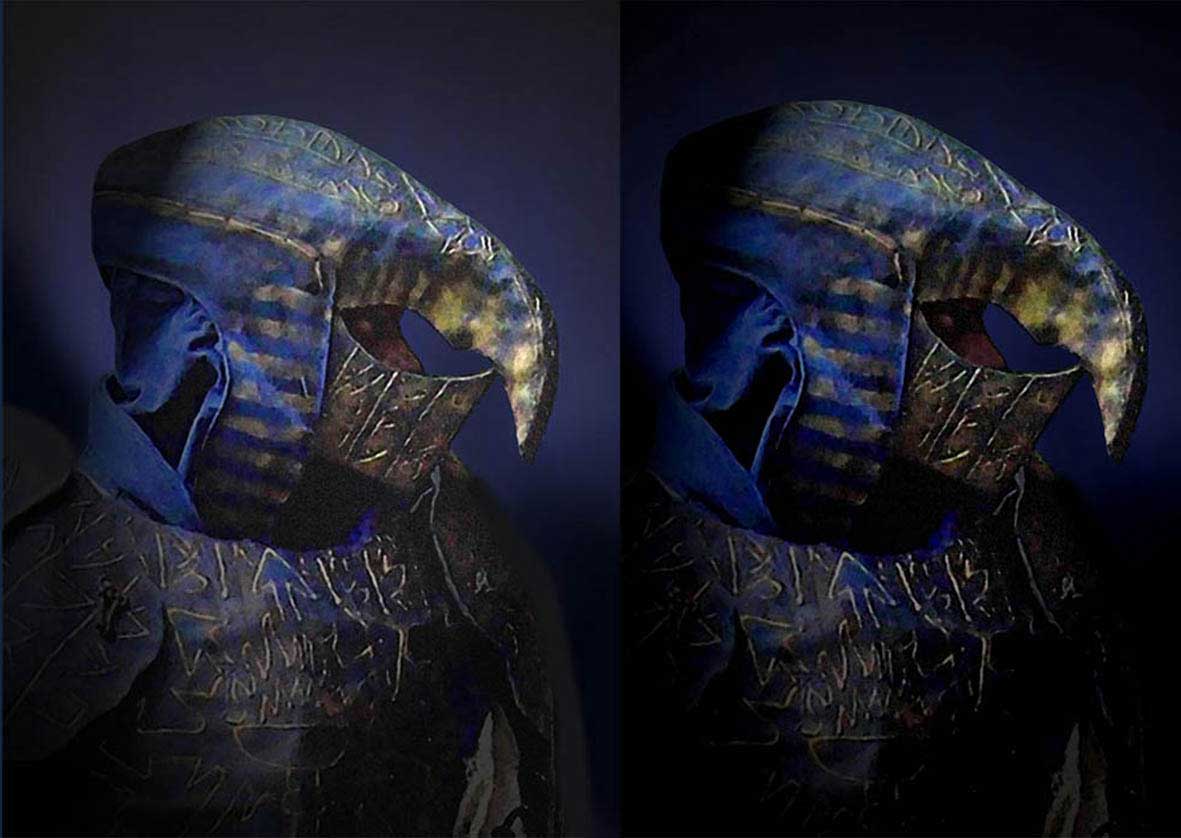
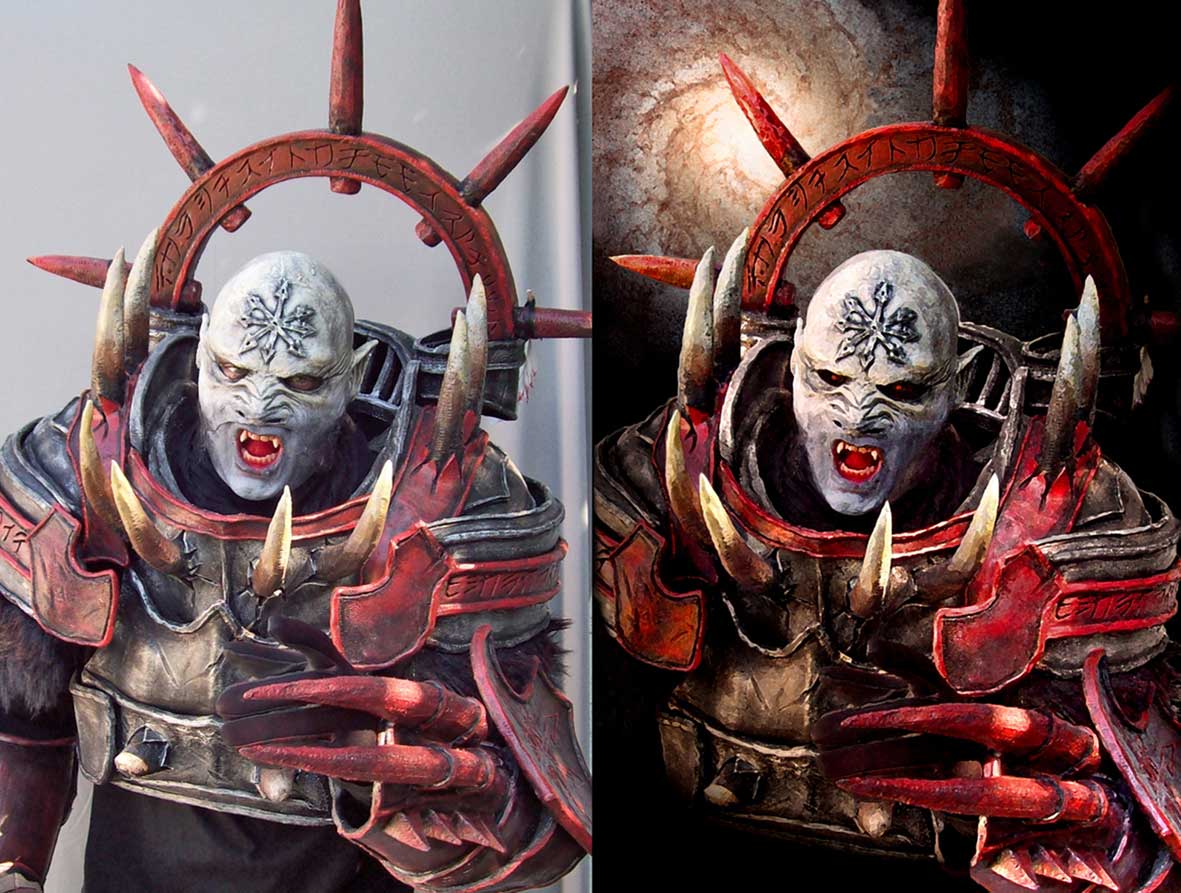
Top row: original picture (photo), then choose snippet and define frame, then cut out motif, then effect 1 The back- lit version seen on a computer monitor´s screen is not the printing version. Most monitors around here are set way too bright (is black on your screen really deep black or more greyish?) because they are used in well- lit bureau- environments and do not have to meet a graphic designer´s requirements. Below: The difference between computer- and print version. It may be possible to calculate these results with some sort of standards but I don´t know them. Anyhow the print version is about one fourth darker than the back-lit computer picture. |
|||||
 |
|||||
|
Above left the computer version that on my screen looks absolutely ok, on the right is what I have to feed to a printer to get a usable result. |
|
|
|
I order my posters in a shop of a big german drugstore chain instead of online because on-site you get a last chance to control the quality of the print and even can make last- minute- changes. The posters they make there have a robust, waterproof surface tough enough to be painted over- normal paper would be cheaper but will not produce satisfying results because it´ll absorb paint and billow. |
 |
|
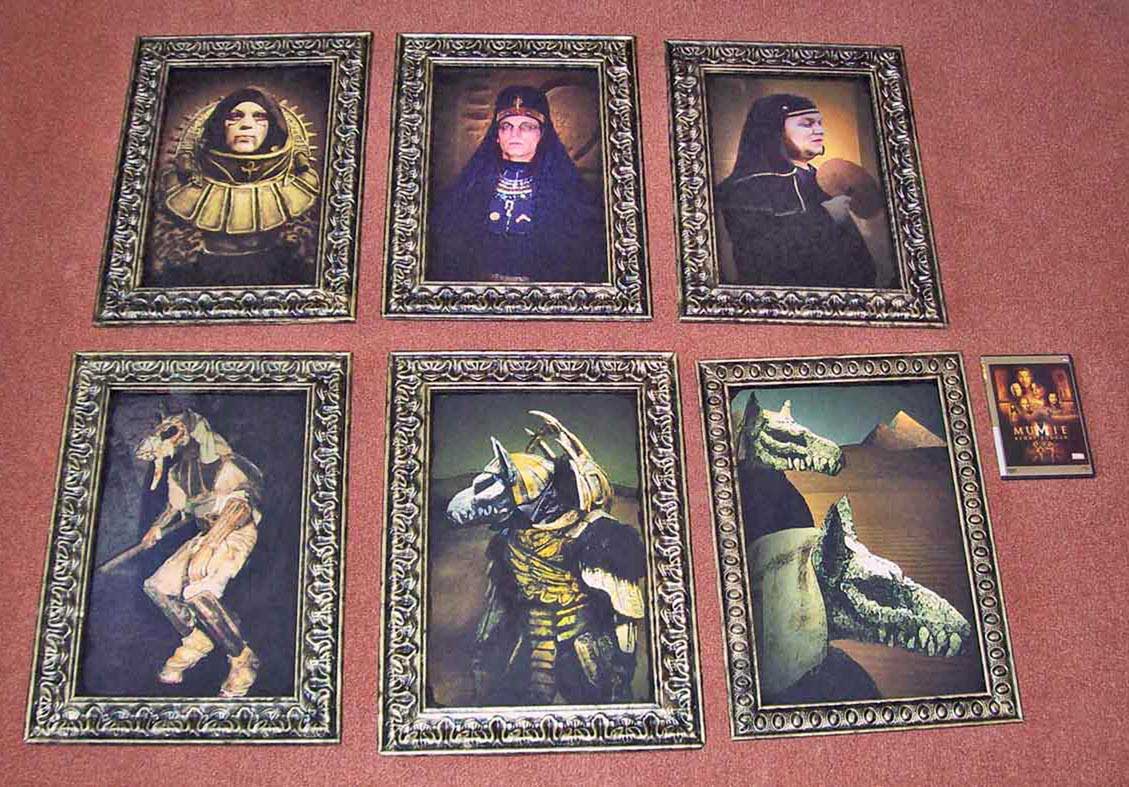
The bigger the poster, the better the “painting” effects come across. In our games the above- shown size (50 x 75 cm) has been found practical (see the DVD for size reference). The paintings fit upright across into a german moving- box (although it can´t be closed). Then there´s the problem of the frame: to buy a real frame for each painting would be way too expensive. Real frames also are quite heavy but fragile- our paintings by contrast must be lightweight and as cheap as possible. And finally our starting material is no wood- framed canvas but a paper poster that needs a stable rear cover. |
 |
|||||||||
 |
|||||||||
|
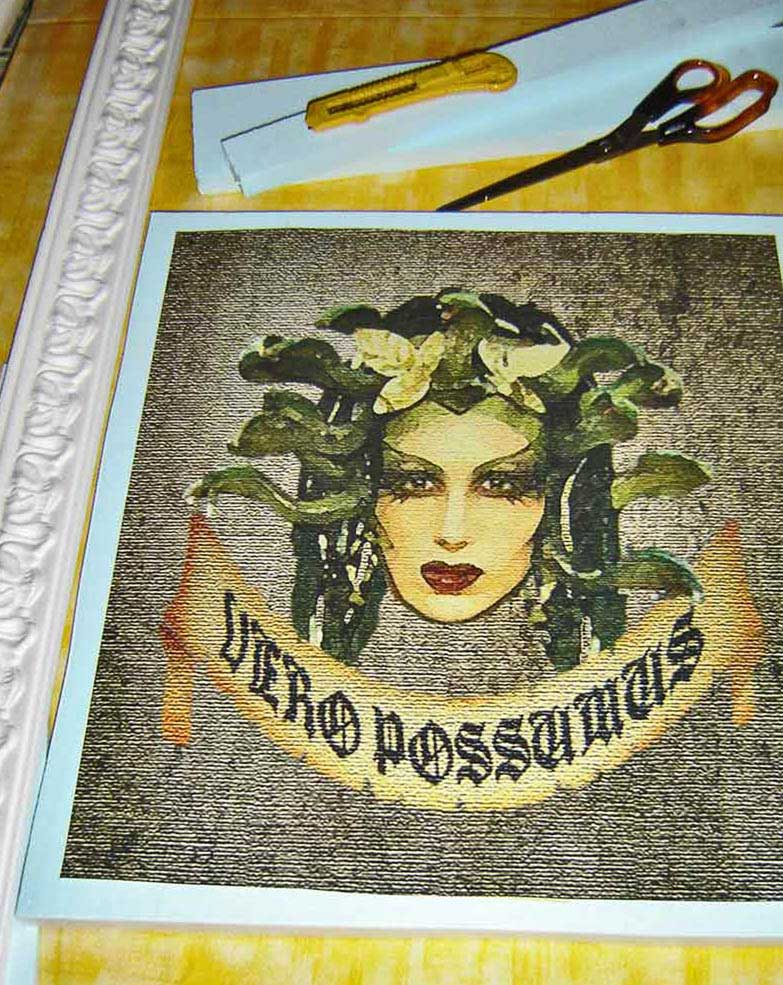
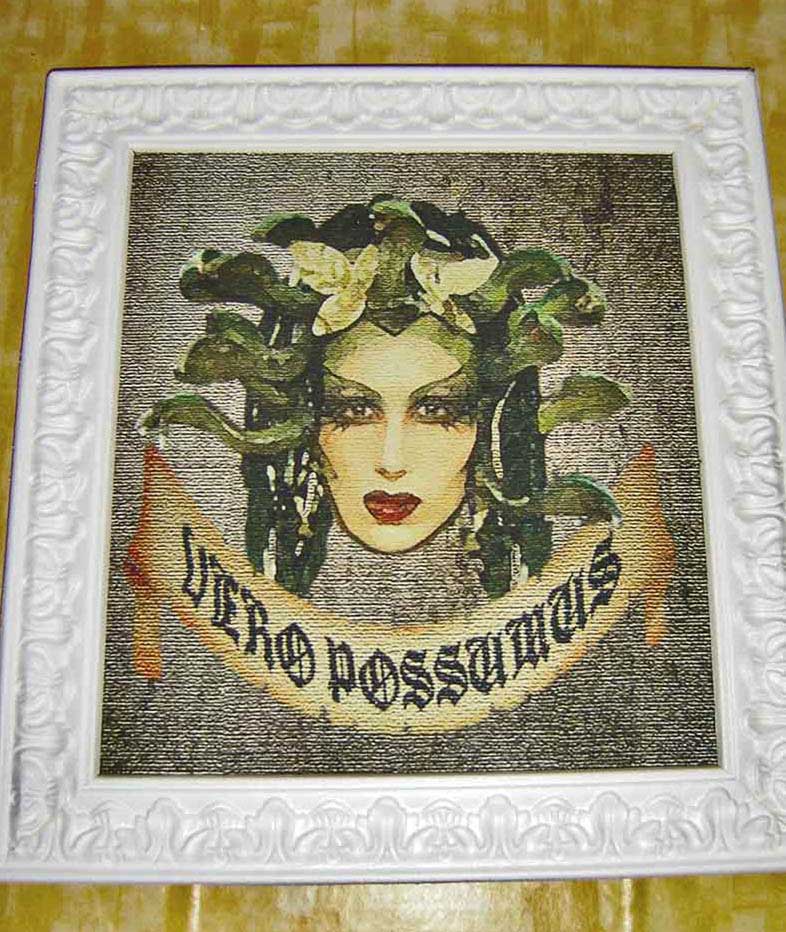
Above left: Poster is glued onto a plate of isolating material using appropiate glue (both from a DIY- store. Wrong glue will eat the foam). I like a stuff called “StyroDur”. Its cheaper reative, “StyroPor”, consists of small balls and will break too easy. The plate is slightly bigger than the poster to glue the frame onto. Above right: Frame construction out of foam “stucco” bars (available by the metre also at DIY- stores). The bars must be cut in a 45-degree- angle (use a sharp carpet- knife). The eye notices irregularities of a half centimetre which will ruin any other ever so good effects. |
|||||||||
 |
 |
||||||||
|
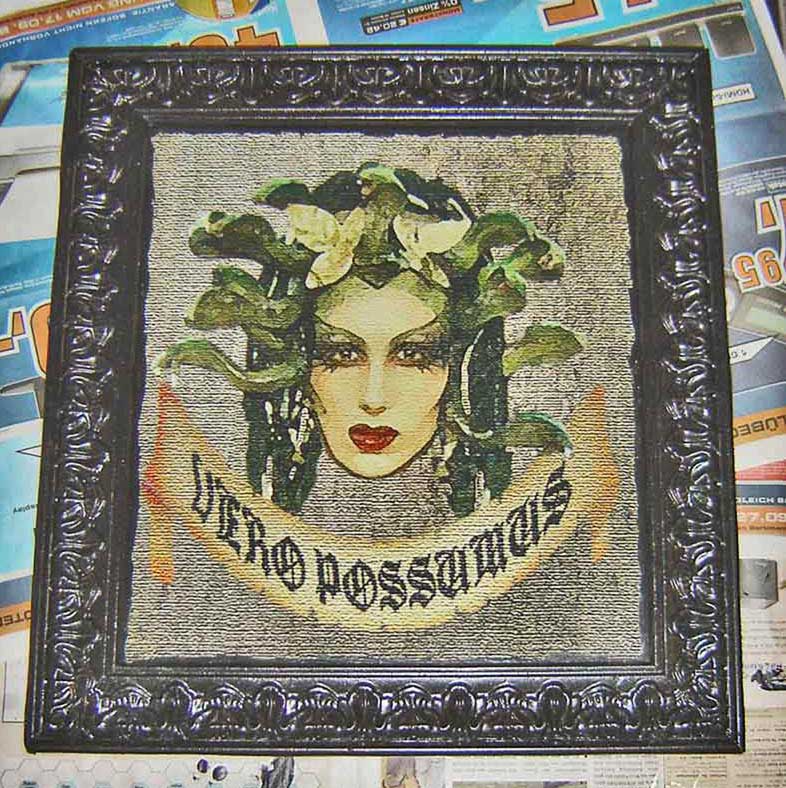
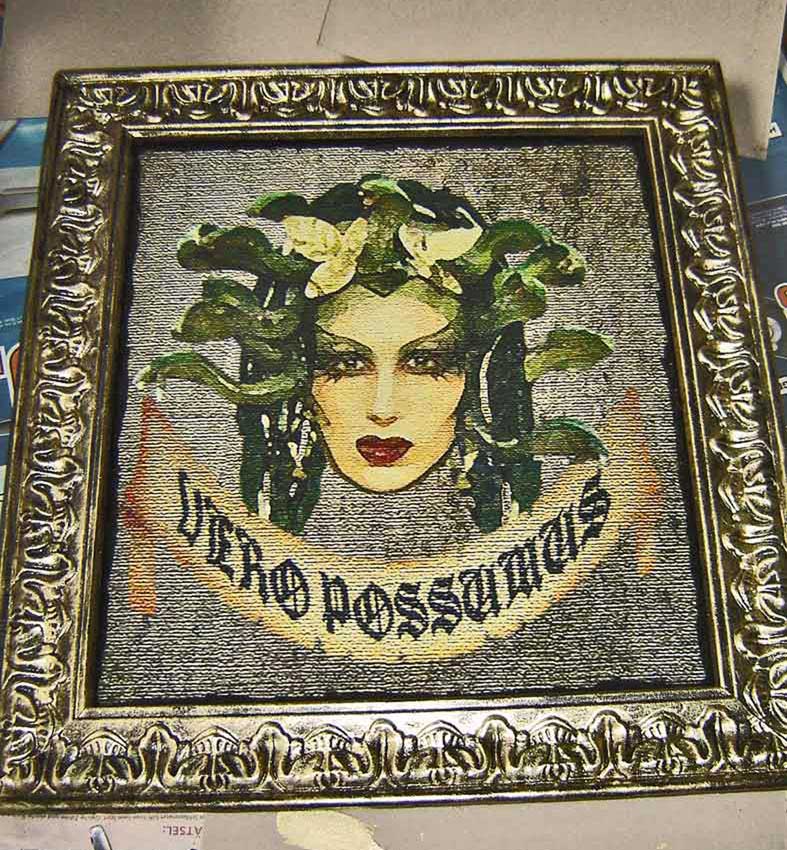
Above left: Black acrylics. Make sure the white material is covered completely, because if you intend to use turpentine- based metallic colours they will eat away the unprotected areas of foam they come in direct contact with. Above right: Drybrush metal, ink black and highlights again in metal. |
 |
|
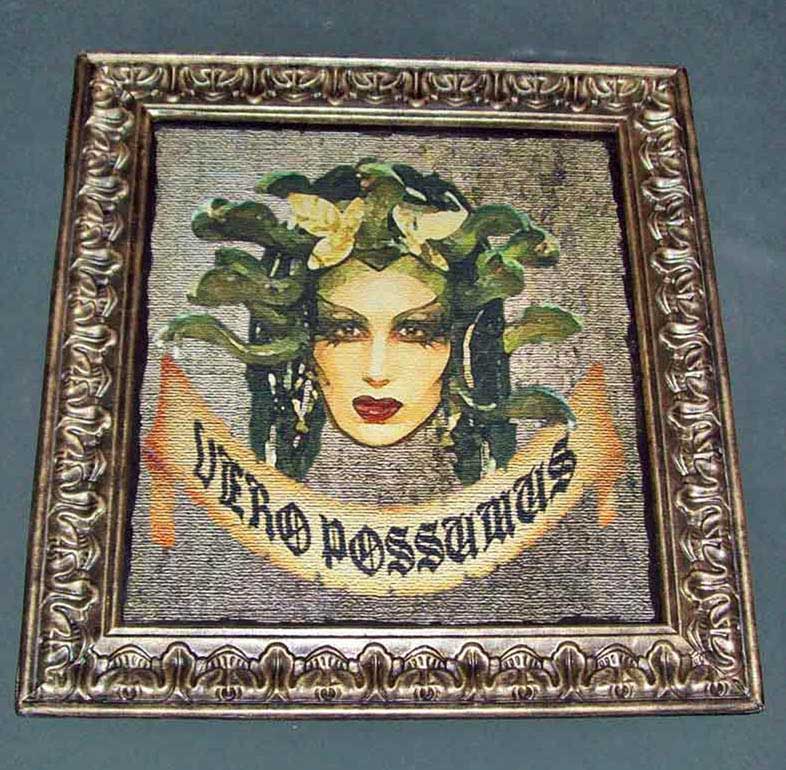
Above: And there we are. The last step (the varnish) again can´t be seen on the photo. With big pictures it is possible to match the brush- strokes to the lines of the photo. Use a good brush or loose hairs will ruin your work of art. If you´re good enough players will even touch the “painting” to verify the truth because the poster is no more readily to be recognized as one. And how do you hang the things on a wall? Last but not least in a nutshell a few setbacks I encountred while building my “paintings”: A phenomenon I haven´t managed to control is: To appear like a painting the picture should be at least about 20 x 30 cm because with smaller sizes the filters that make the “painting” aren´t perceived properly and the realistic proportions of the motif that result from the use of a photo kill the effect. When you open the gallery with the examples (below) you´ll see what I mean. Beware of “lines of pixels”: areas of the photo that have not enough of the little buggers so that straight lines appear as “stairs”. These areas must be identified on a test- printing of appropriate size and eliminated before printing the expensive poster. Colours are evil and malicious- ask anybody! The backlit CMYK- colours of your monitor tend to change on a RGB- print. Often they´re too light, too dark or “wromg” (with me often too “red”). And just because your monitor can show zillions of colours doesn´t mean a printer can duplicate them all. The correct adjustment of these parameters is a damn science which I circumvent through experimenting. This is because we have no influence on the printers we order our posters from- so the way is to change our orignal -regardless of how it looks on the monitor- until we like the quality of the print. You´ll gradually learn what´s important but prepare to need 2 - 3 DIN-A4 (roughly 20 x 30 cm)- sized prints before all is well. I´ve tried to overpaint a print with real colours but failed. I´m not that kind of an artist...
OK- here are a few of my works to illustrate my ramblings. A graphic designer would probably turn over in his grave (if he were dead) but hey- this is larp... |
|
Gallery “Kings & Monsters” |
|||||||||
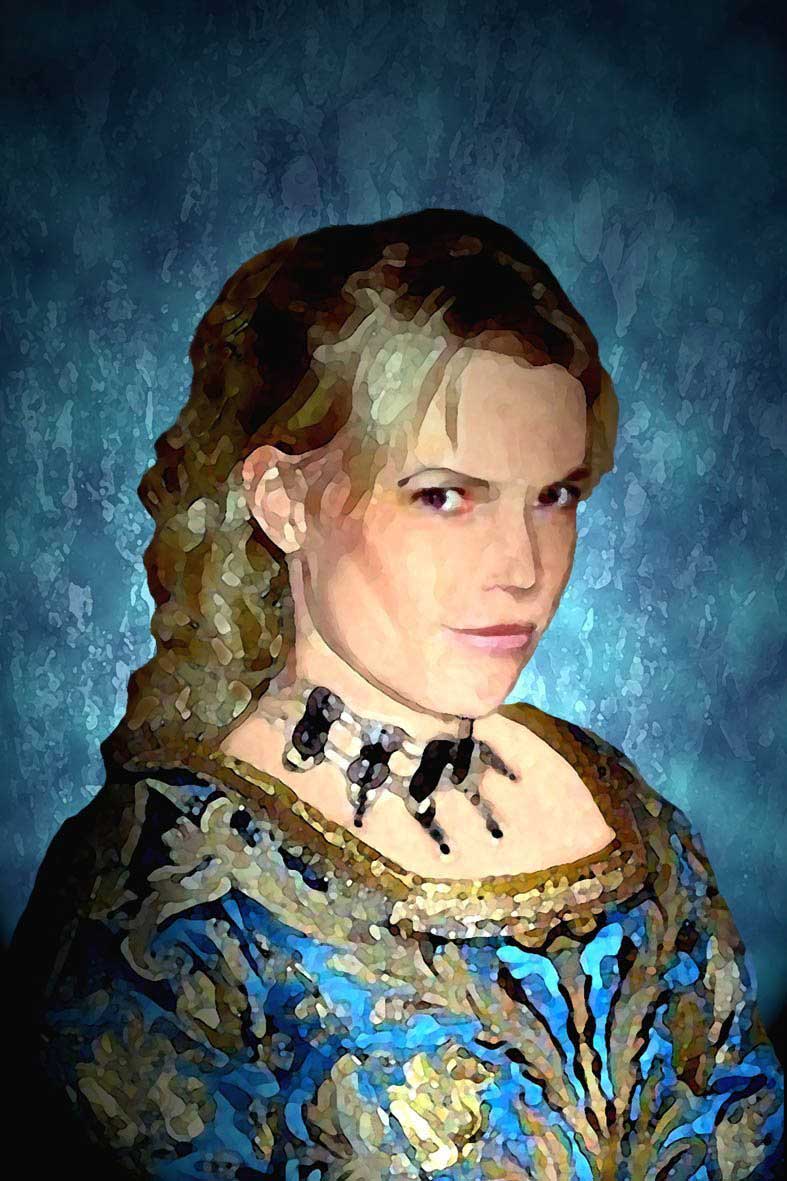 |
|||||||||
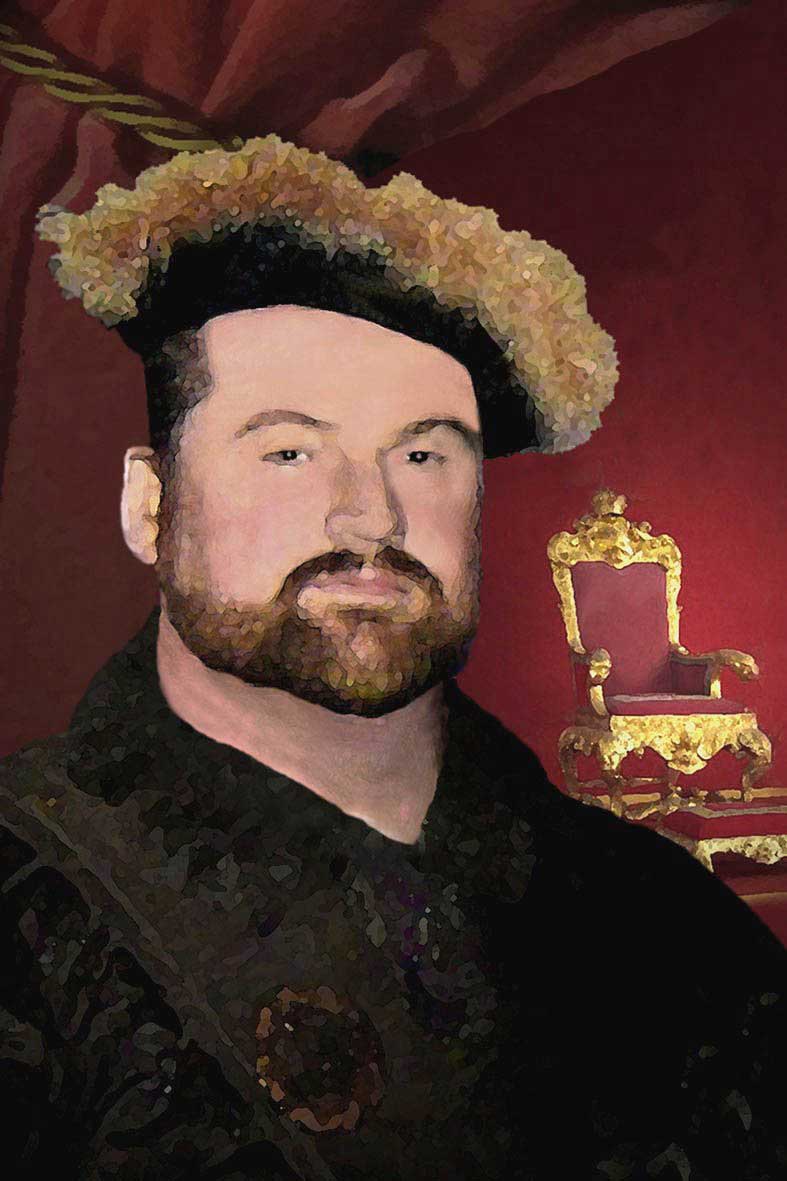 |
|||||||||
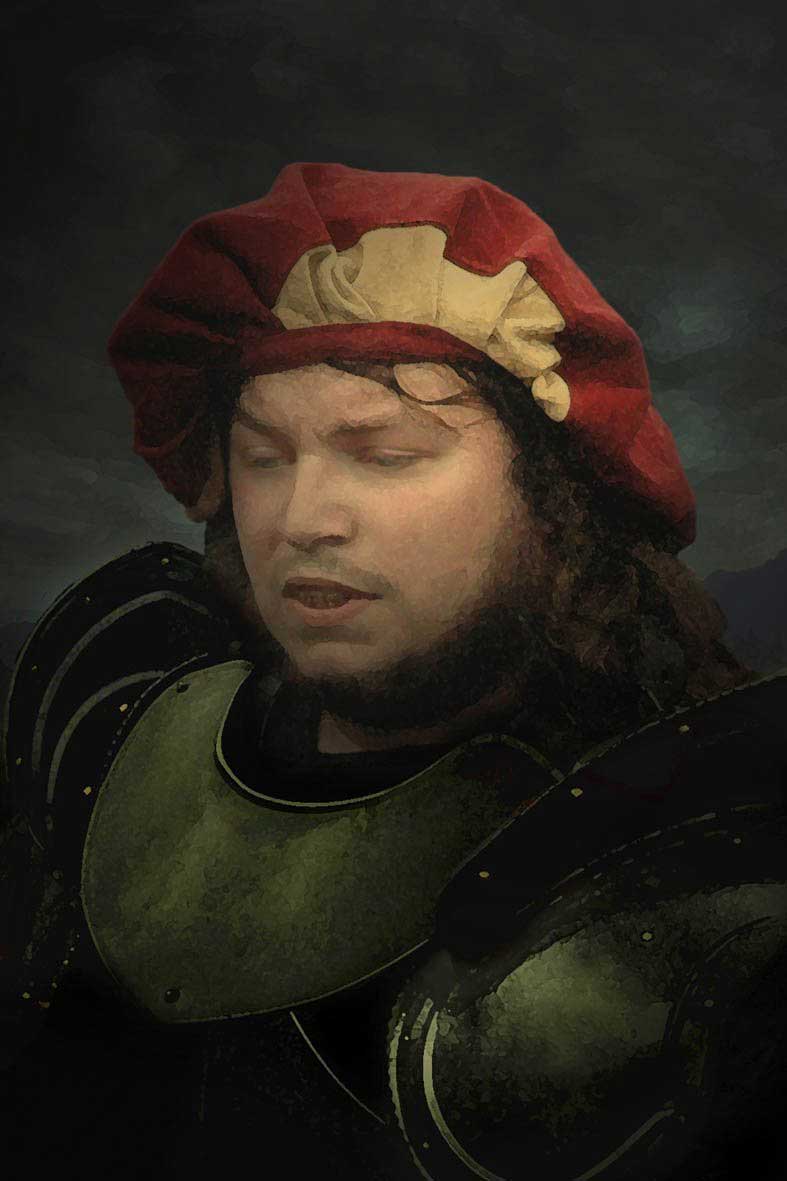 |
|||||||||
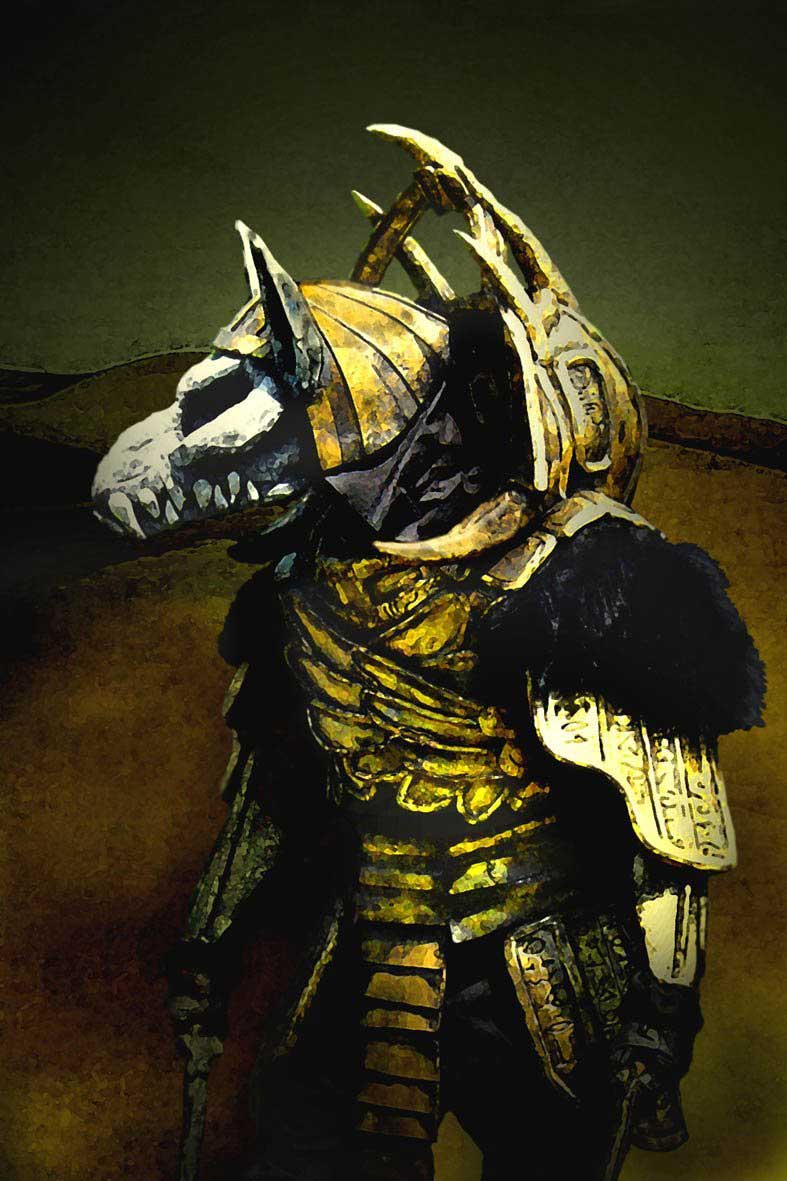 |
|||||||||
|
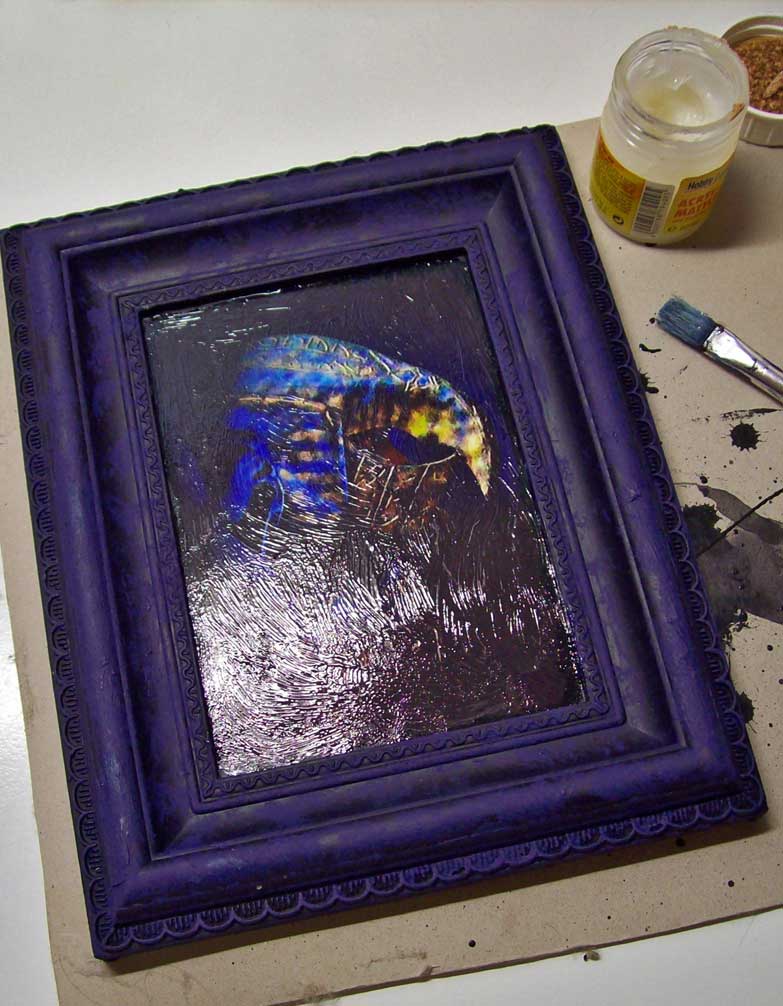
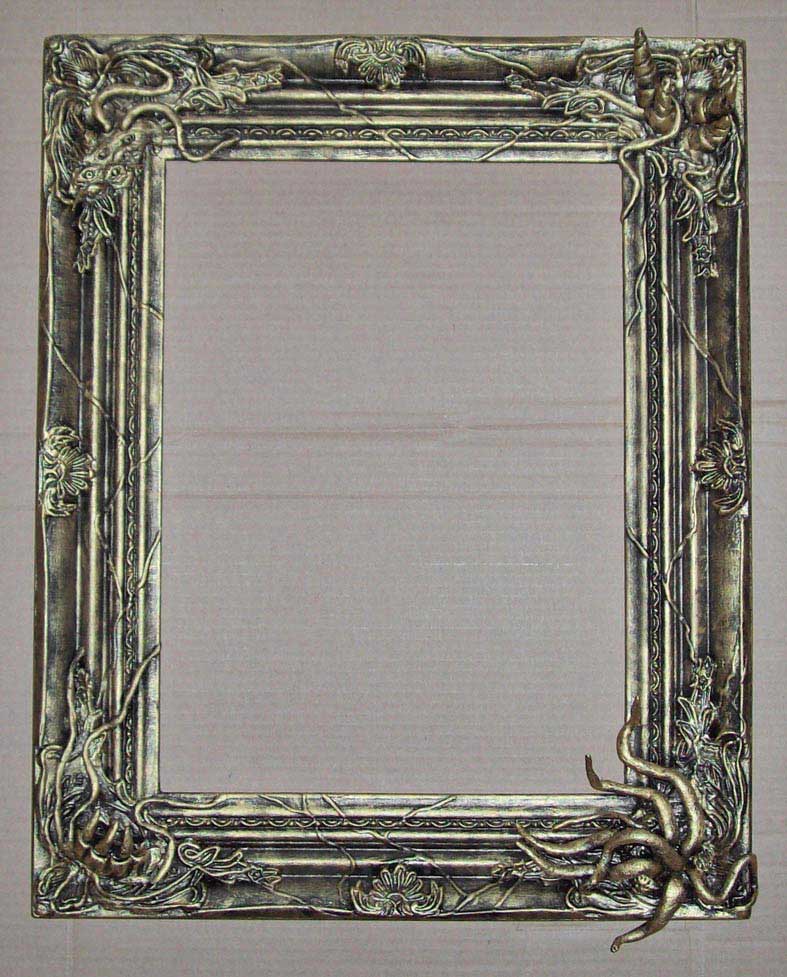
The method I described above is a cheap solution that produces big enough lifesize “paintings”. The results are relatively simple to produce & transport, they´re lightweight and can be easily hung on walls- and if one gets damaged it´s no desaster either. corrupted picture- frame Wot, you can corrupt a picture-frame? But yes! For non- larpers: “Corruption” here means the detrimental influence the powers of chaos have not only on the soul but also on the shape... I want a fitting frame for the portrait of a champion of chaos. |
 |
||||||
|
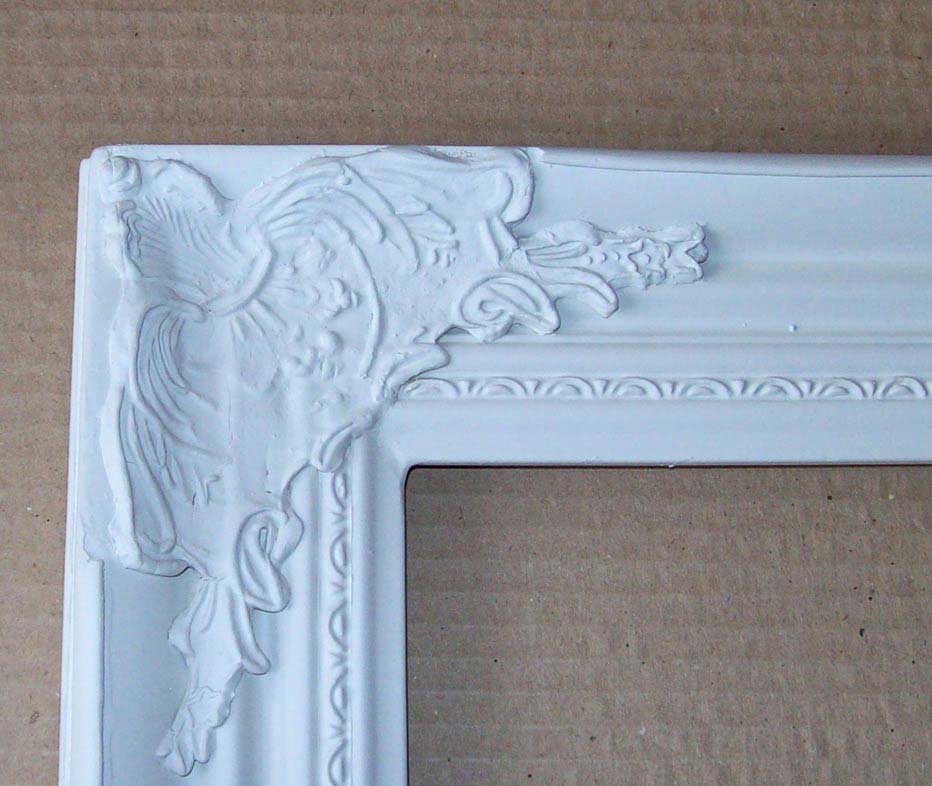
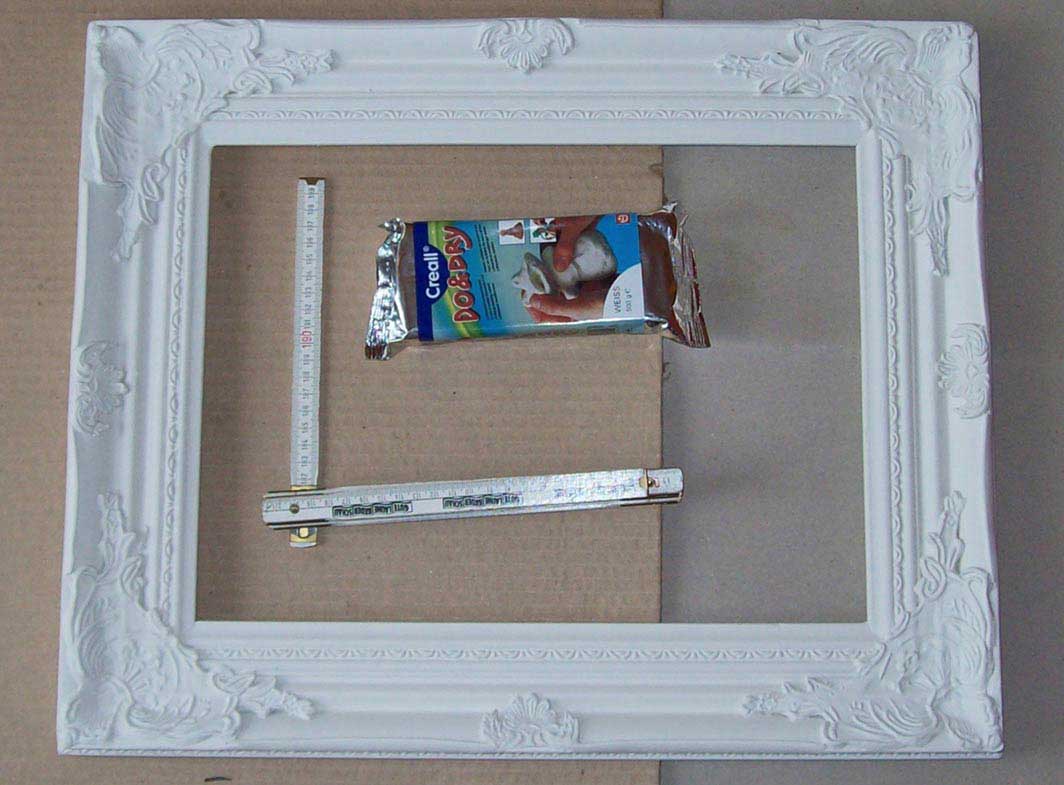
As was said before: What counts is how the thing looks printed. Make as much test- prints as it takes and keep pushing pixels until it looks good. The picture- frame is made of a cheap mirror. In germany we have extra shops for this kind of things. I like them but try not to think of the fact that normal people are obviously supposed to furnish their real-life-homes with the stuff... |
||||||
 |
||||||
 |
||||||
|
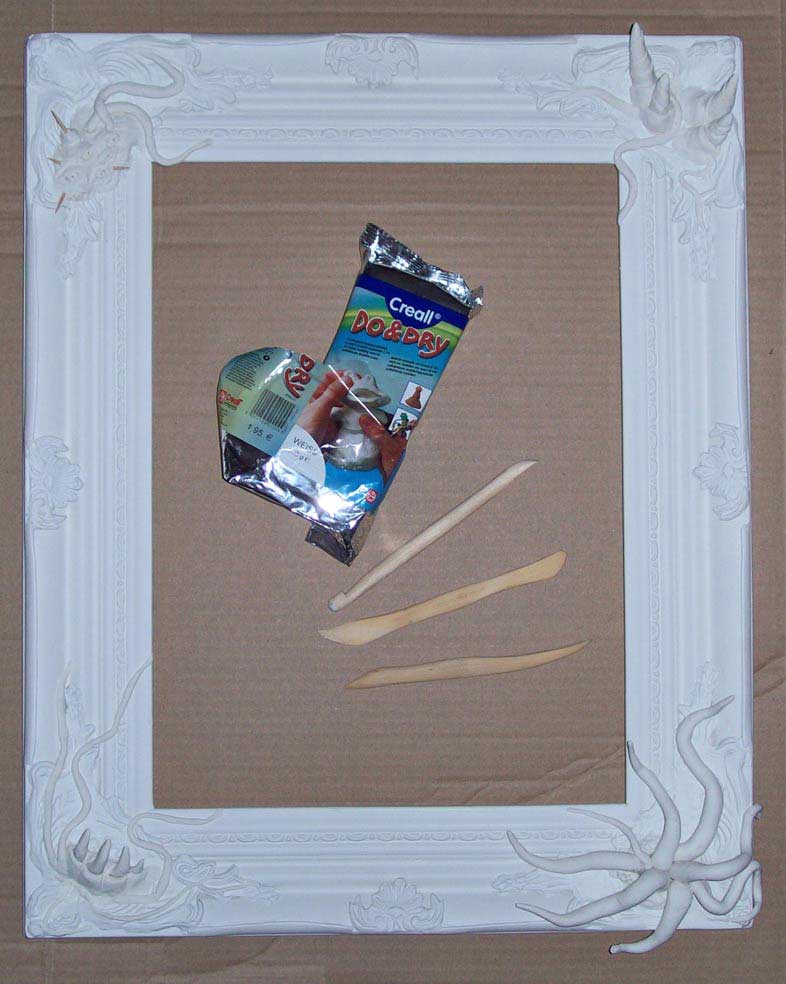
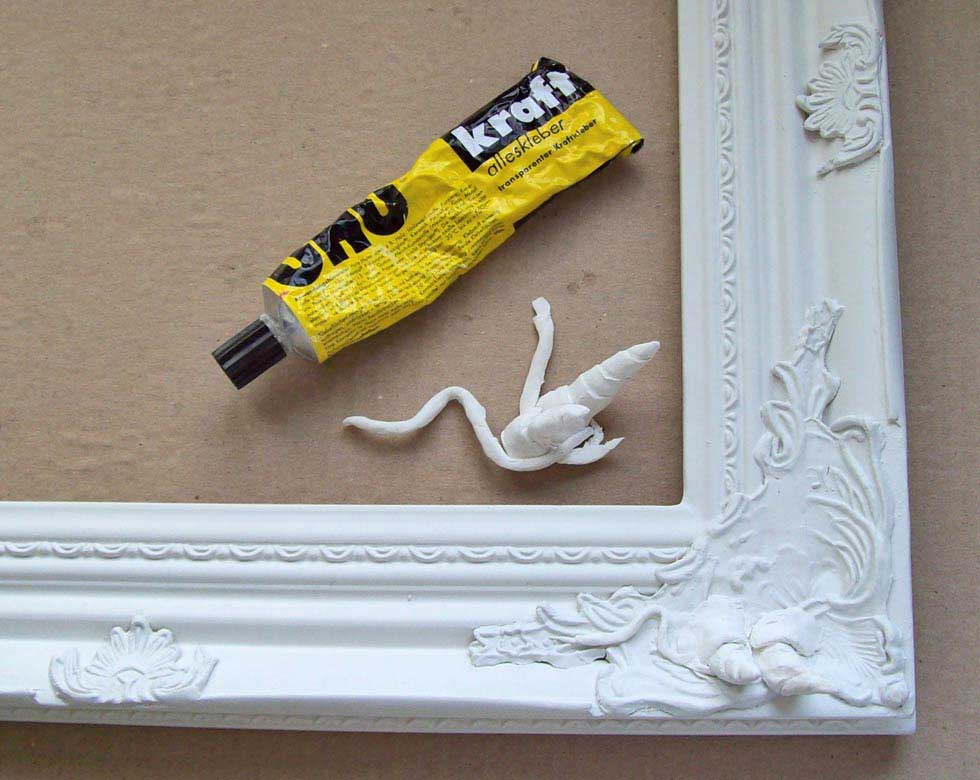
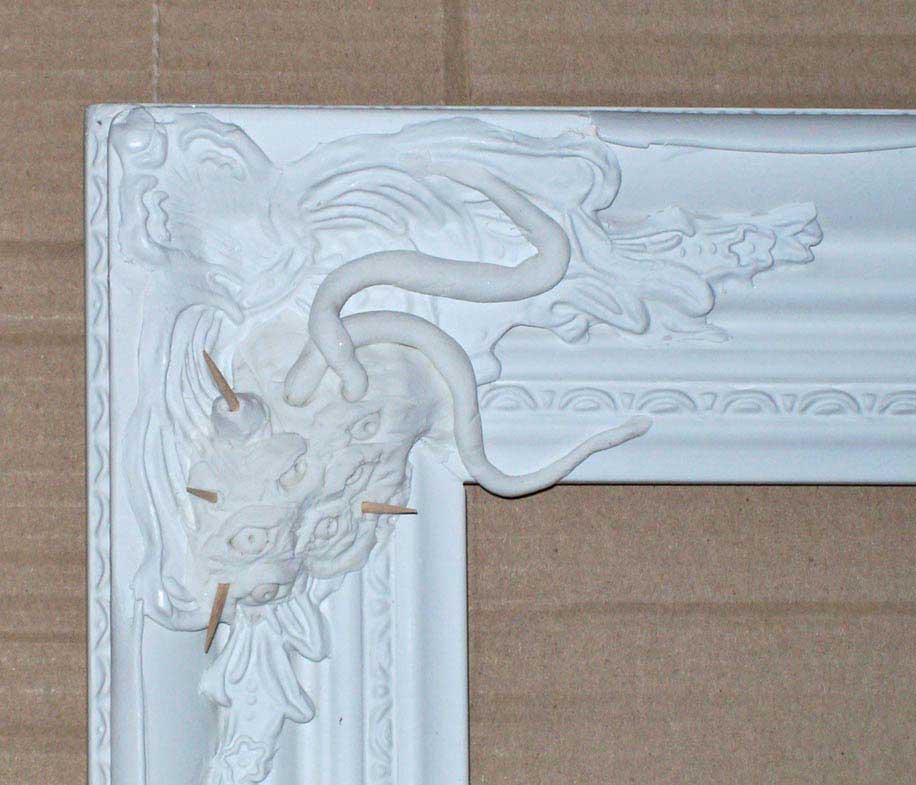
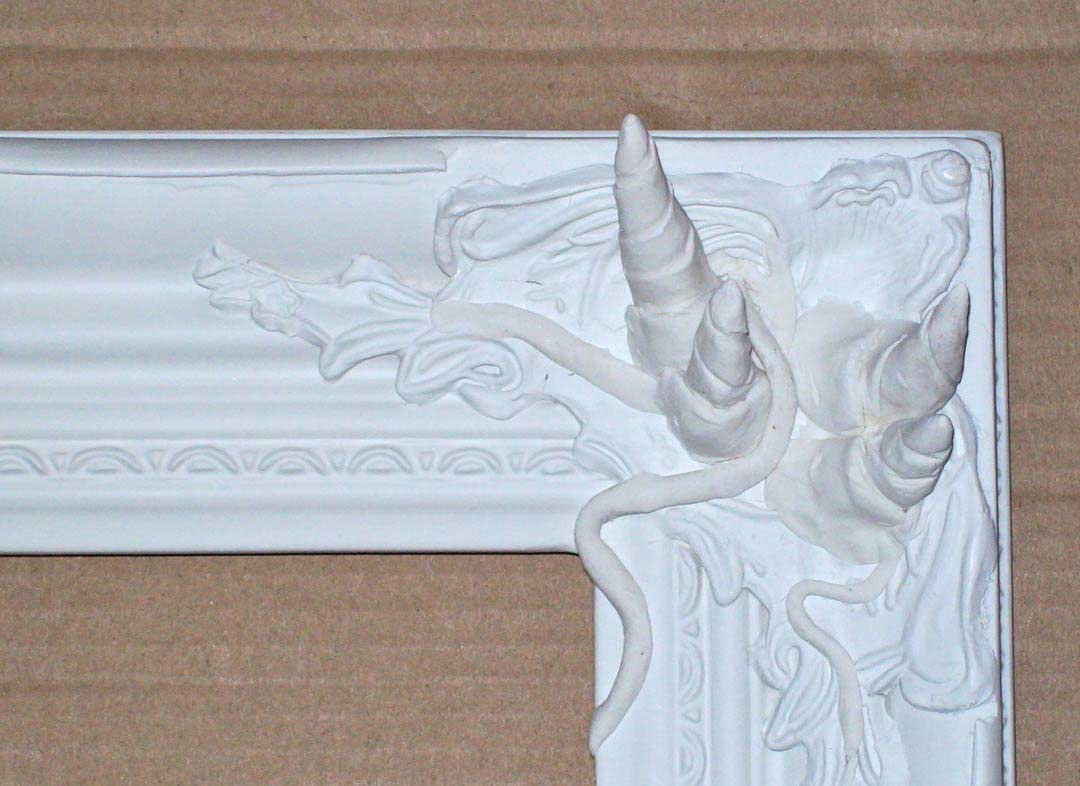
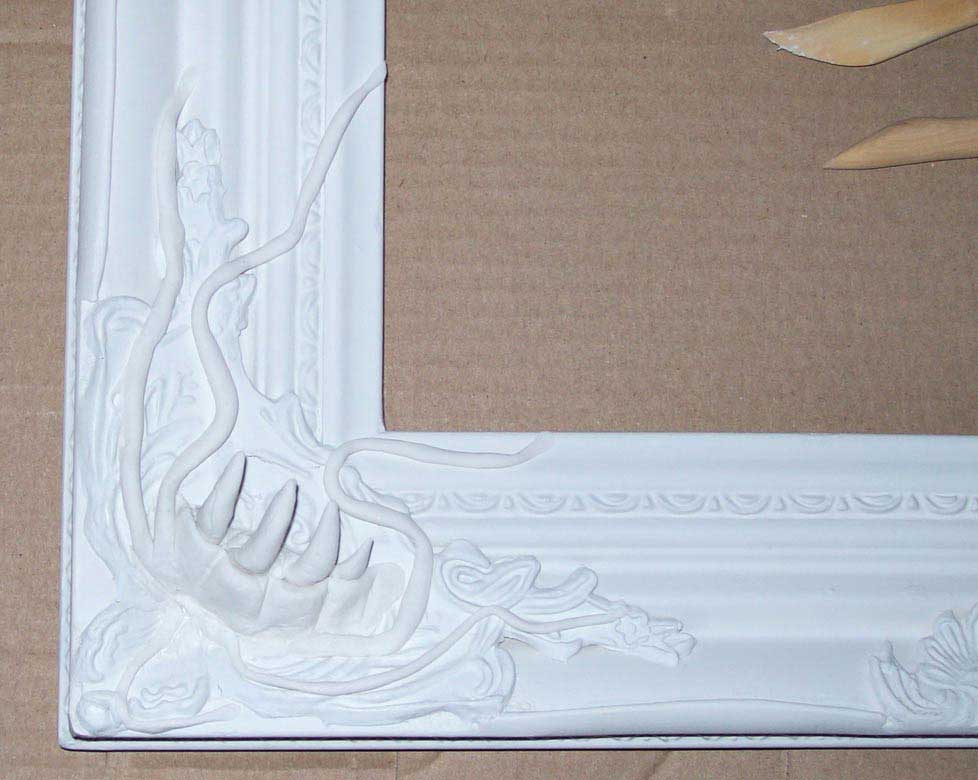
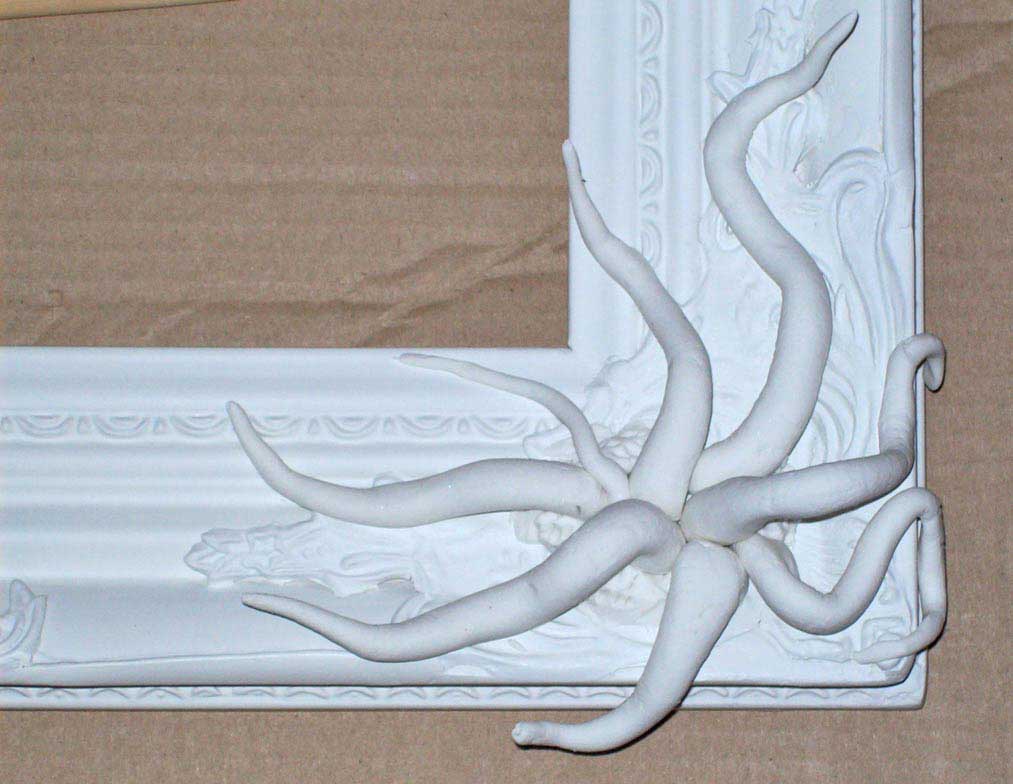
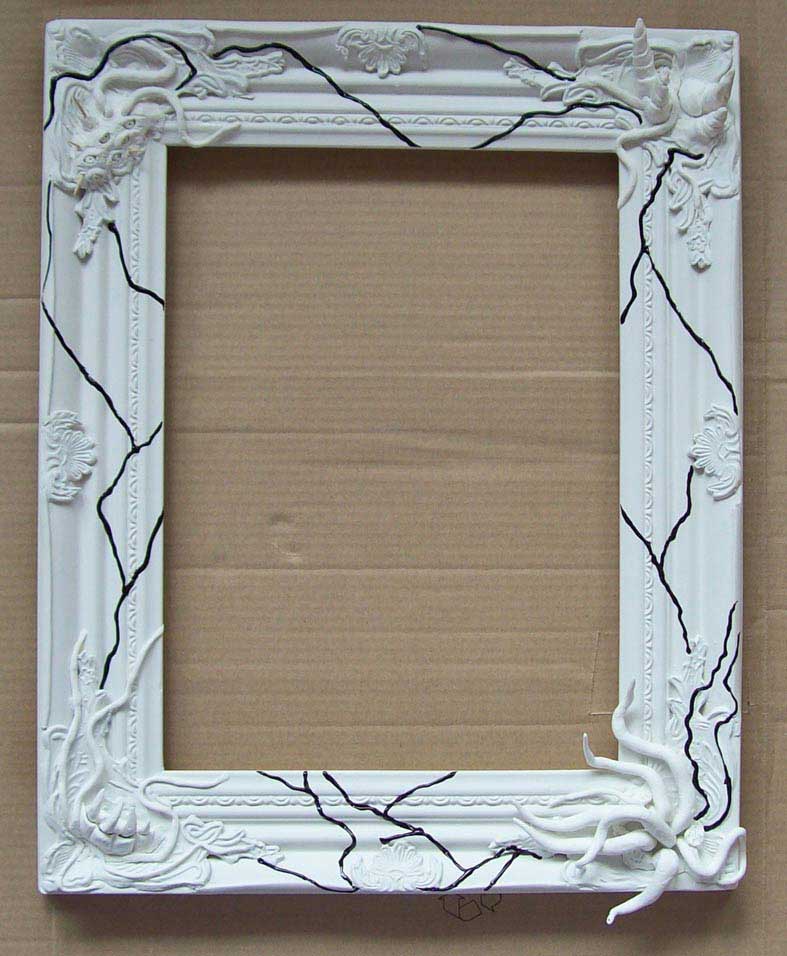
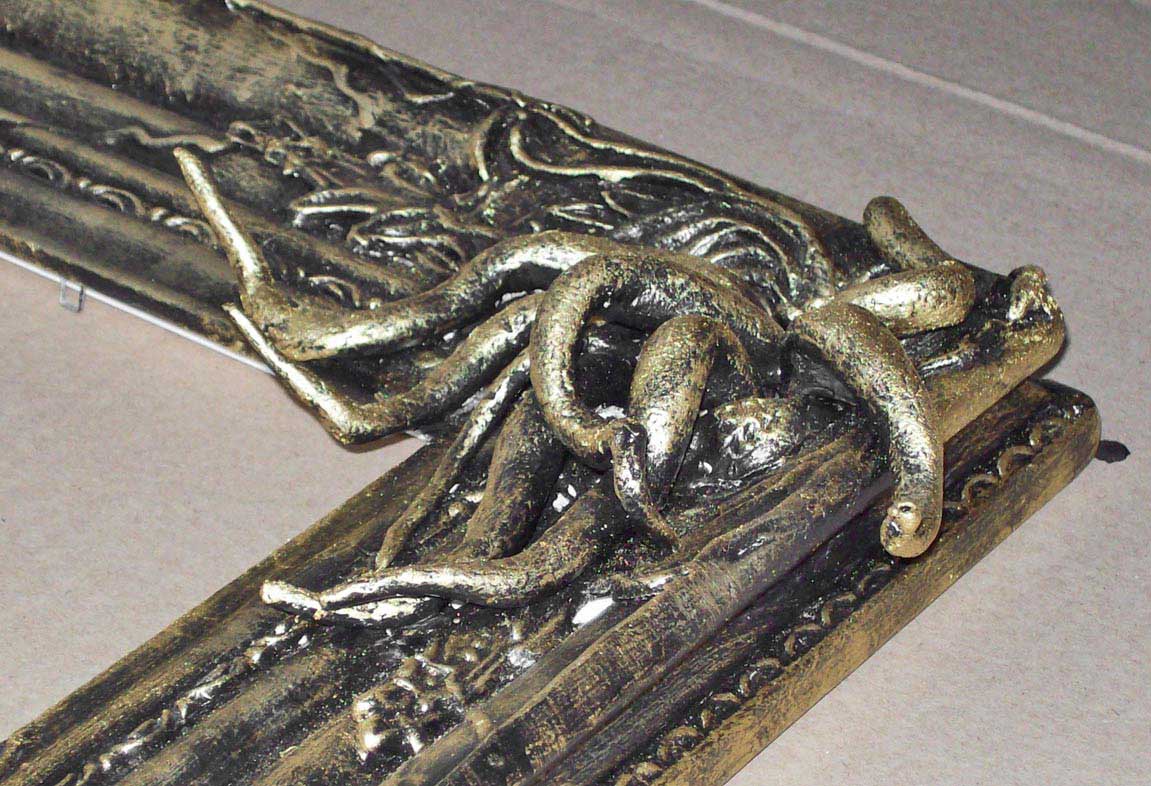
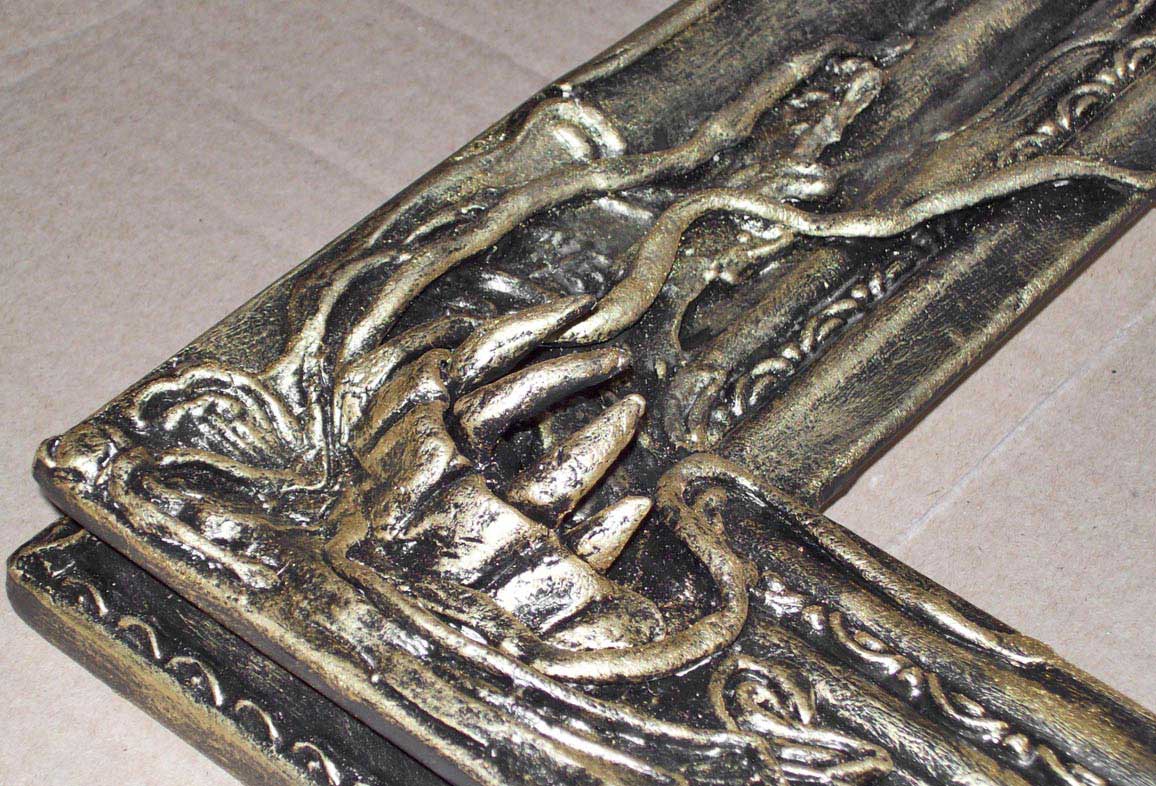
...that exactly there the chaotic changes will appear, in our case made of air- drying clay. In the novels normal people get sick if a champion of chaos just looks at them, so strong is the corrupting influence of the ruinous powers; small surprise that the frame of a picture of one of these guys gets affected too. |
|
|
 |
 |
 |
 |
|
|
|
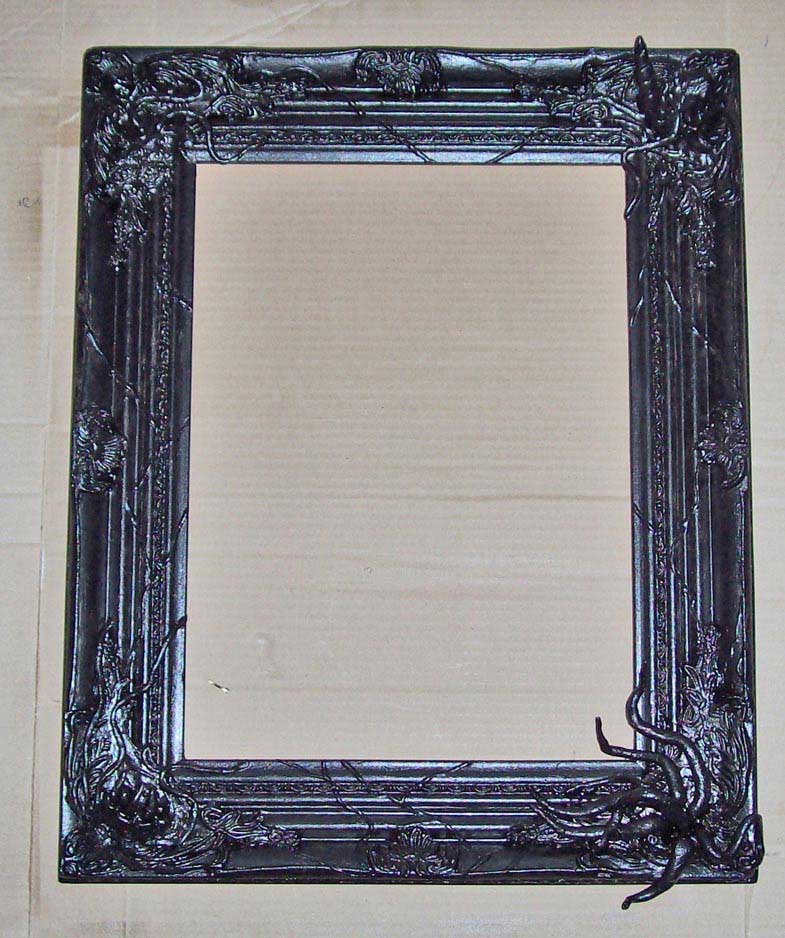
Below left: The delicate veins are window-color-contour (normally used for separating the coloured areas on a window- picture). |
 |
 |
|||||||||||
 |
||||||||||||
|
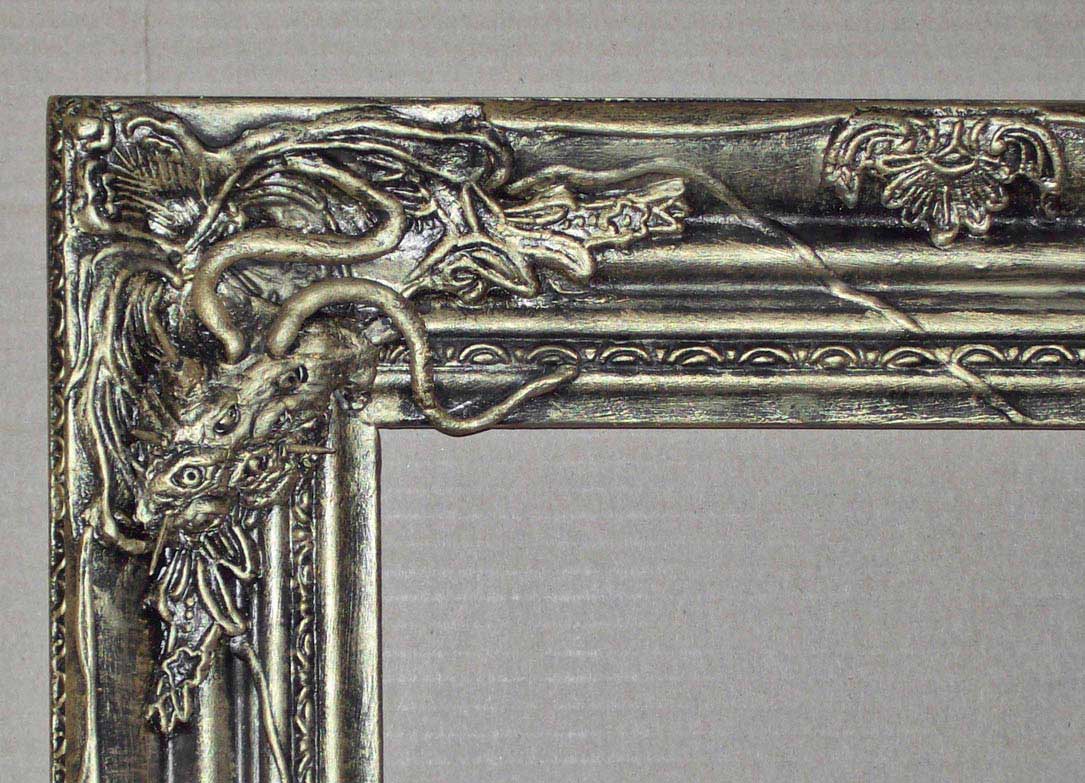
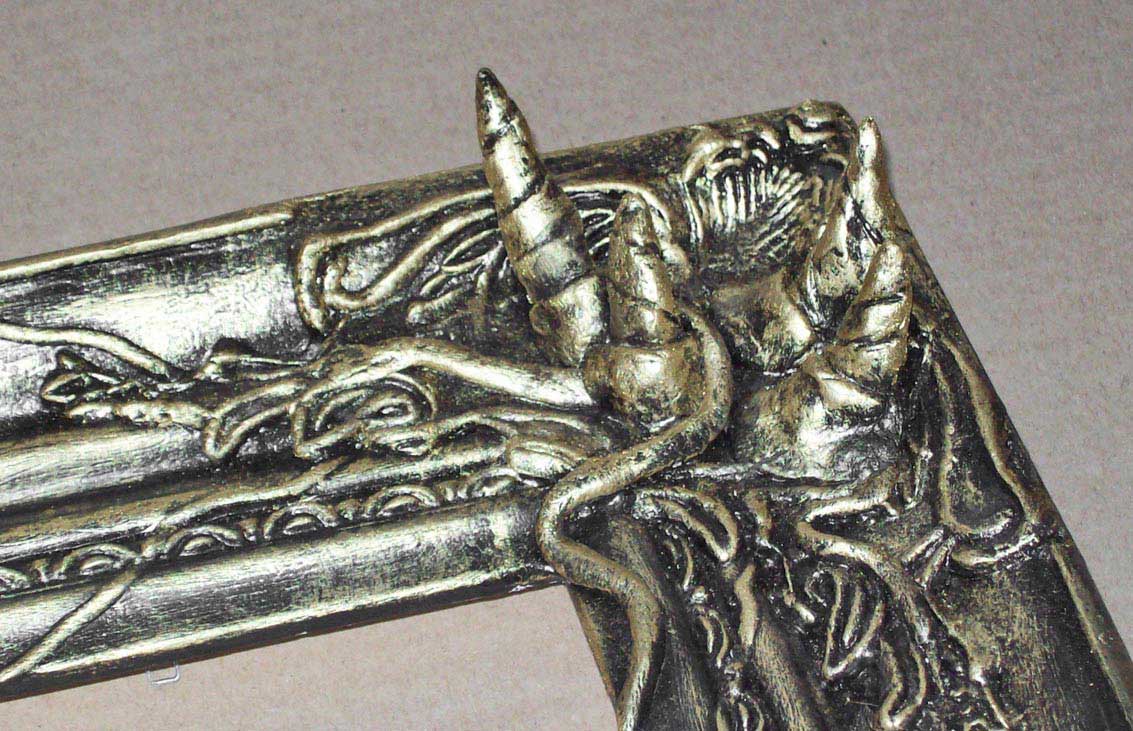
Below: the painted details: |
||||||||||||
 |
||||||||||||
 |
||||||||||||
 |
||||||||||||
 |
||||||||||||
|
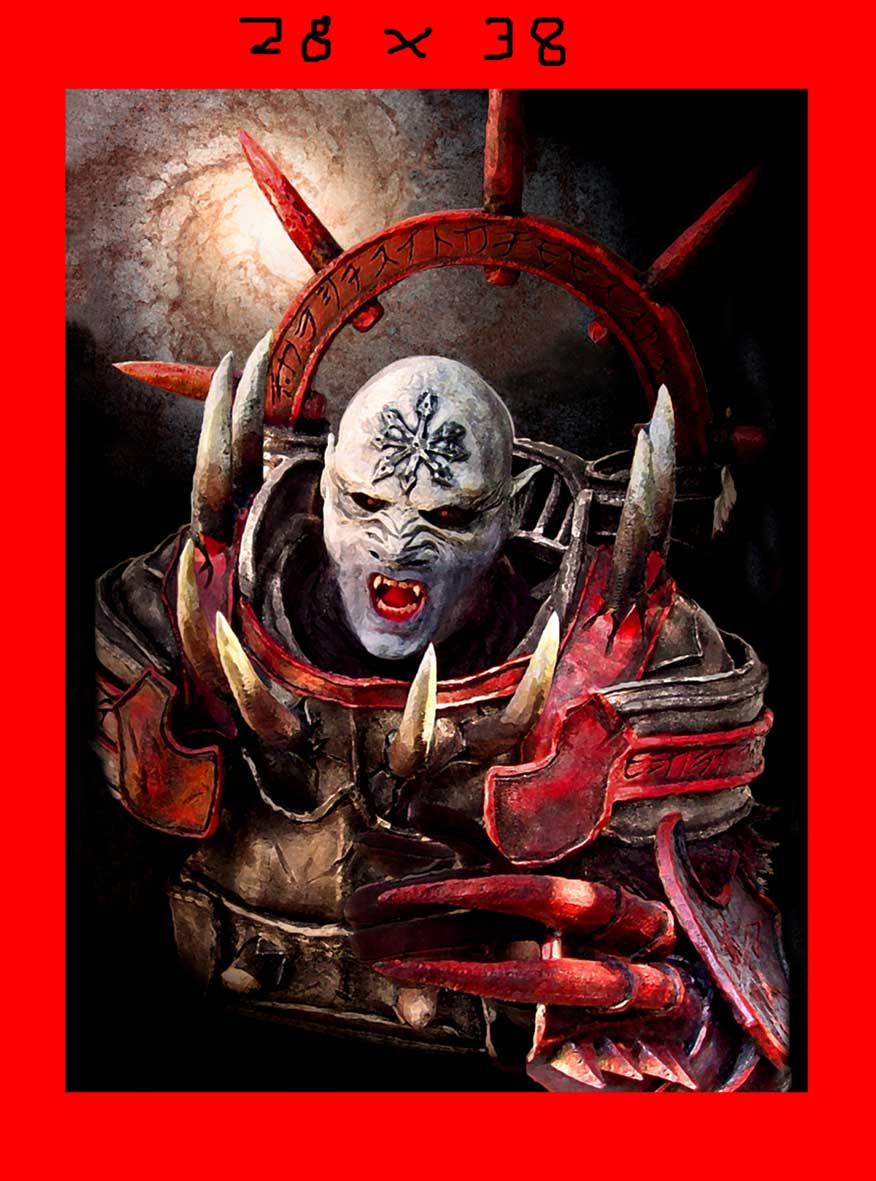
The poster-size: This time we don´t build a frame for a poster but the other way round: we need a poster that fits into a frame there´s no poster- size for. So what we do is we take the next available bigger size of the posters and produce a print on which our painting appears in the required size. This will- when cut out- fit into our frame. In this case it was 28 x 38 cm which fit readily onto the available 30 x 40-cm- poster. |
 |
|||||||
|
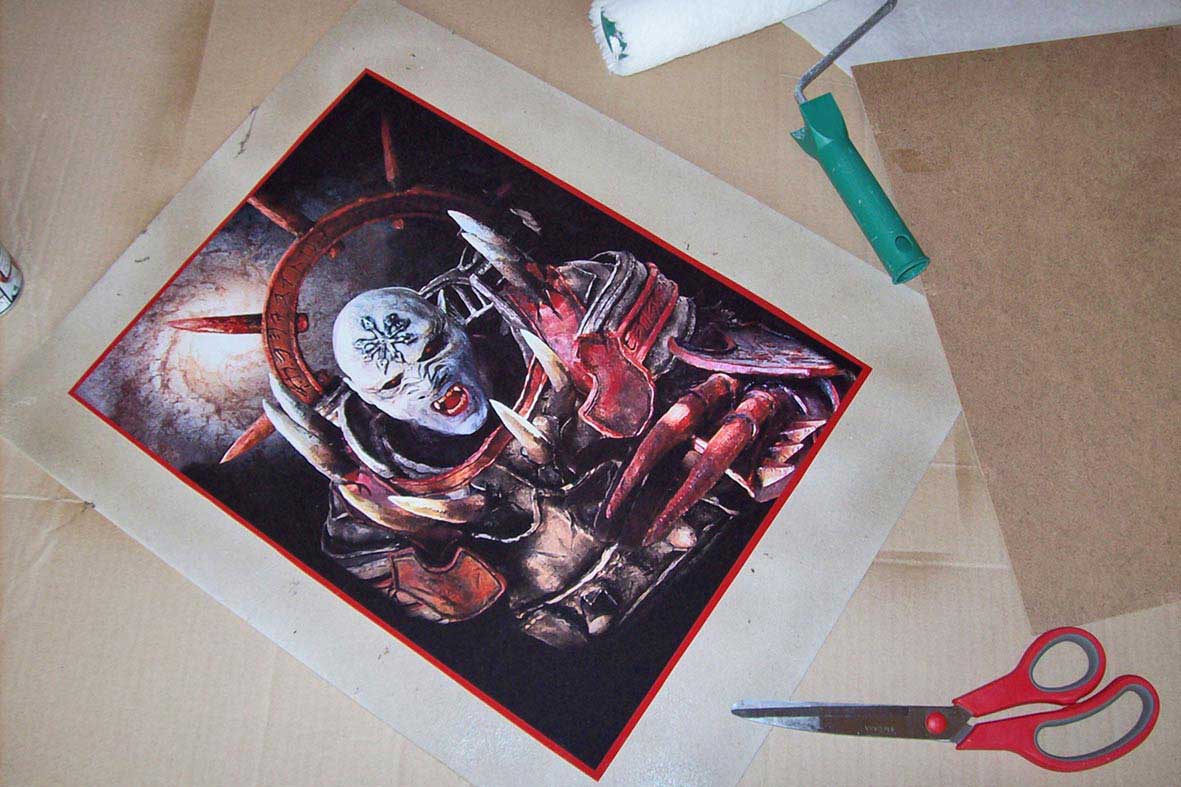
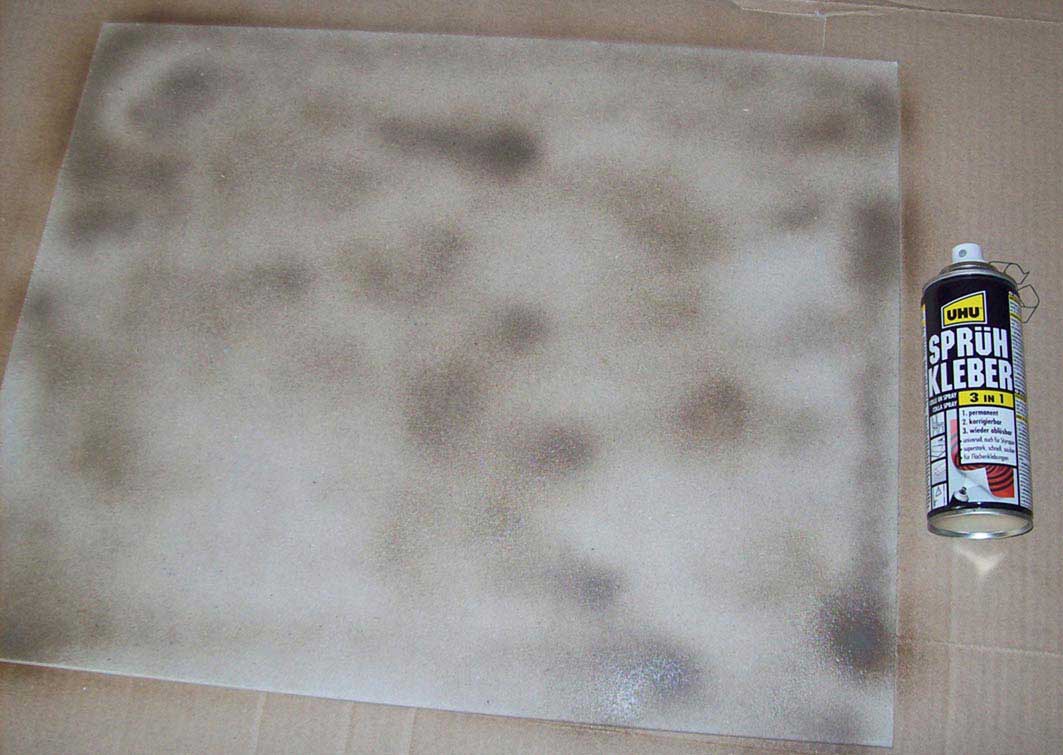
The red edge facilitates cutting out the poster which is now glued onto a piece of cardboard with a strength of at least 2 mm. This we then install into the frame instead of the deceased mirror. I used a spray adhesive. Spray the cardboard, let the glue dry a little (below left) and then affix the poster without producing any air- pockets (below right). Only then cut out the cardbord with a carpet- knife. Use the measures of the mirror to determine the required size. If you´ve smashed the mirror before measuring it, use back of frame for reference. Spray-adhesive producess a very fine -adhesive- fog which will at once spread into the immediate area. So cover your work surface generously or refurnish your living- room. Zis is no joke. |
|||||||
 |
|||||||
 |
|||||||
 |
|||
 |
|||
|
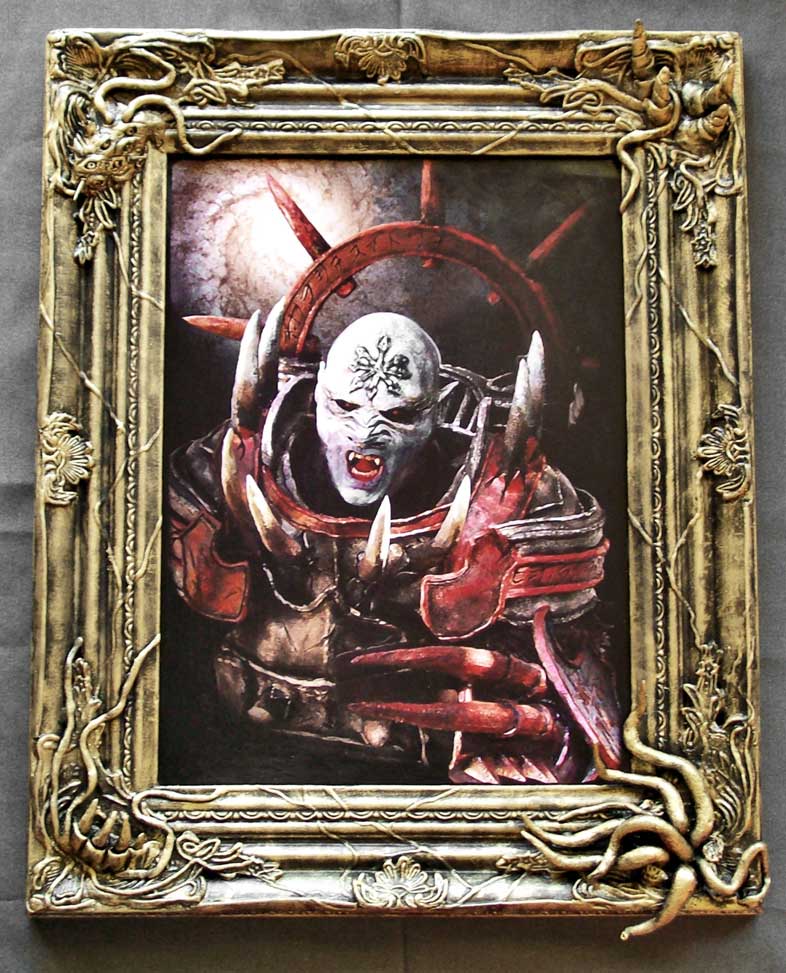
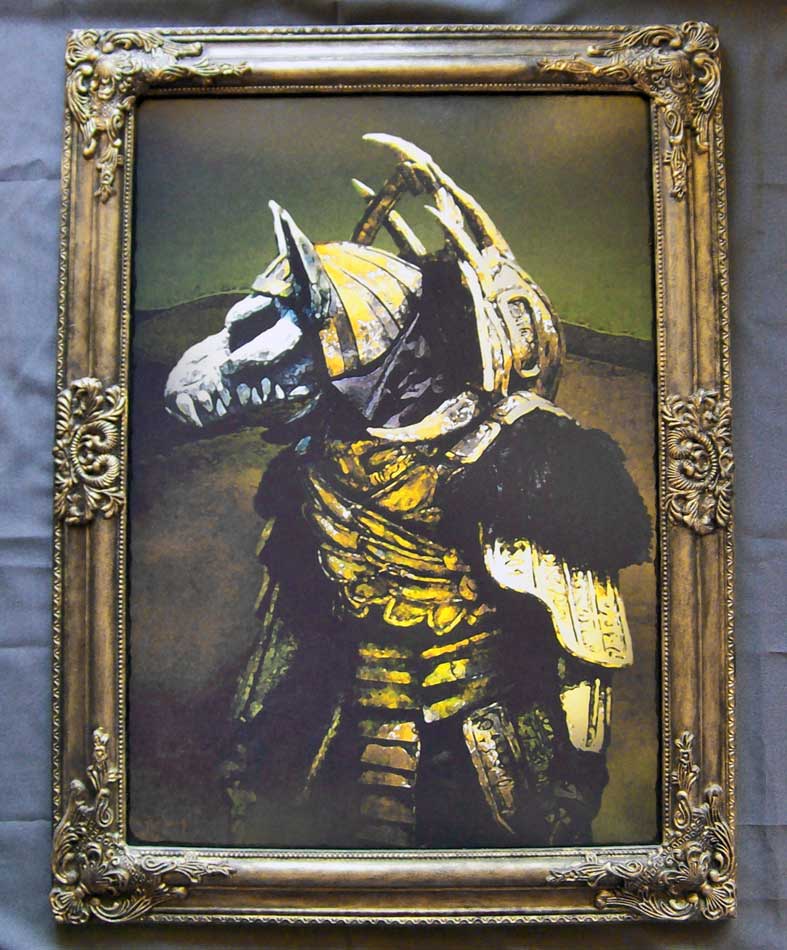
Above: “Paintings” with frames made from converted mirrors: The price of such props is about 30-40 €. And they´re quite delicate- same as a real painting. This only partly qualifies them for the use in games, but they look so cool that they might even find their place somewhere in the real world- with the priceless bonus that the depicted creatures (contrary to “normal” artwork) really exist: you can meet them face to face. mai 2010, apr 2012, last edit jan 15, nov 16 |
| [Home] [Deutsch] [English] [about me] [what´s new] [Contents] [about monsters] [faqs] [other sites] |
